
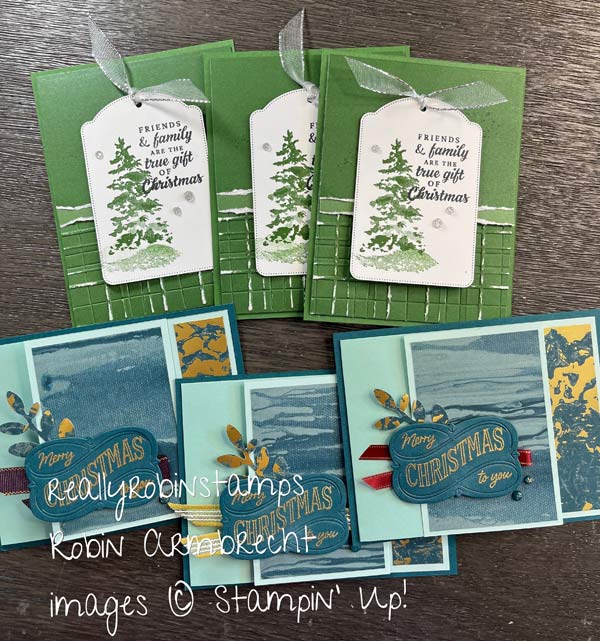
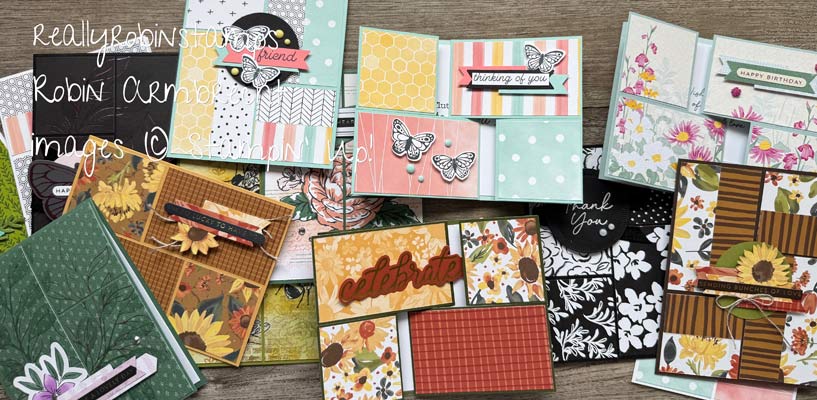
My cardmaking mode lately has been all about making simple cards in multiples. I’m in nesting mode I guess. I feel the need to harvest the garden and put up some canned goods for winter so-to-speak but with cards. So in part because of that, our projects this week are easy and FUN! I’m going to show you how to use the new 12 x 12 Two-Tone Cardstock to make two different 3-in-1 Fun Folds: Overlapping Gatefold and Z-Fold
Here’s Your Homework 😉
- So much fun! Watch the video tutorial to learn how to make 3-in-1 cards!
- Download the pdf to help you create your cards.
- Locate your 12 x 12 pattern paper and get ready to create some cards!
Two-Tone Cardstock Details (links to product below)
- Two-Tone Cardstock is great for handmade cards and scrapbook paper, too.
- This cardstock is two-tone meaning one side is the full-strength color and the other side is a lighter version of the color. The ultrasmooth surface makes it an ideal paper for stamping, giving you clean, crisp images.
- 12 sheets/package, 12″ x 12″
- White core
- 4 packages of assorted cardstock: Reindeer Memories, Snowy Day, Halloween Memories, & Autumn to Remember
- 4 packages of single color cardstock: Garden Green, Real Red, Pool Party, Basic Black
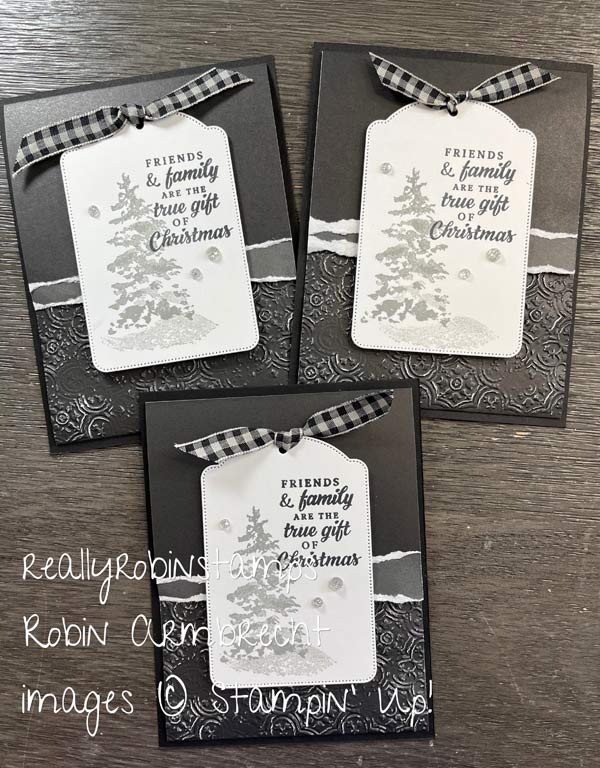
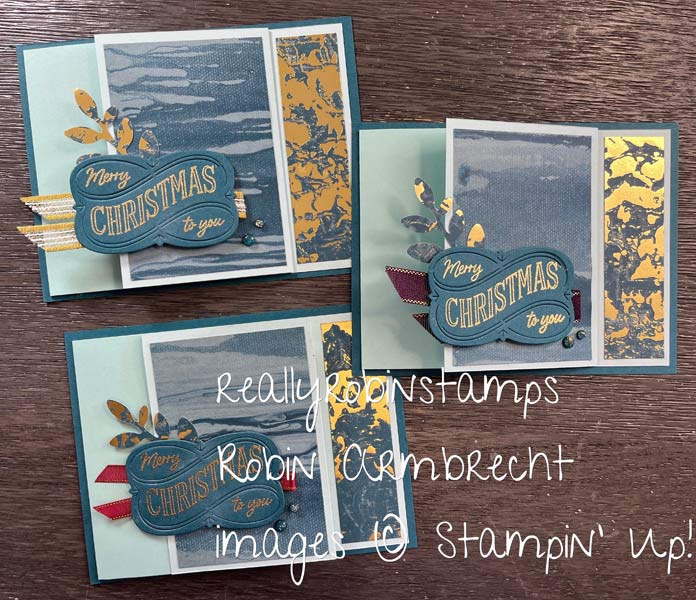
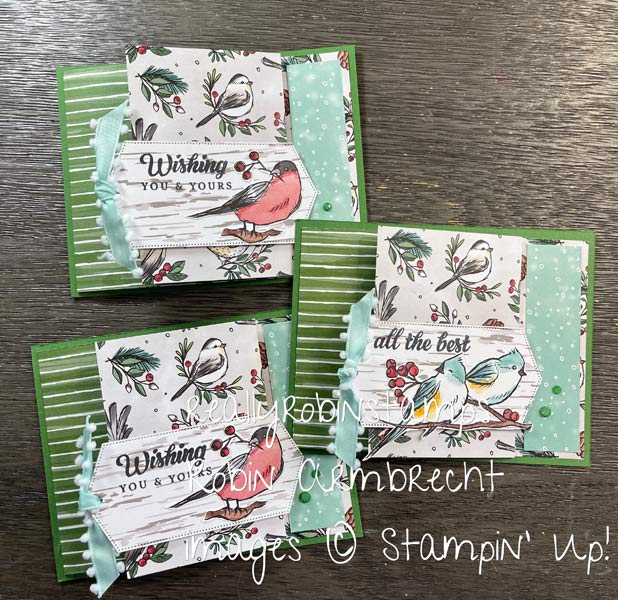
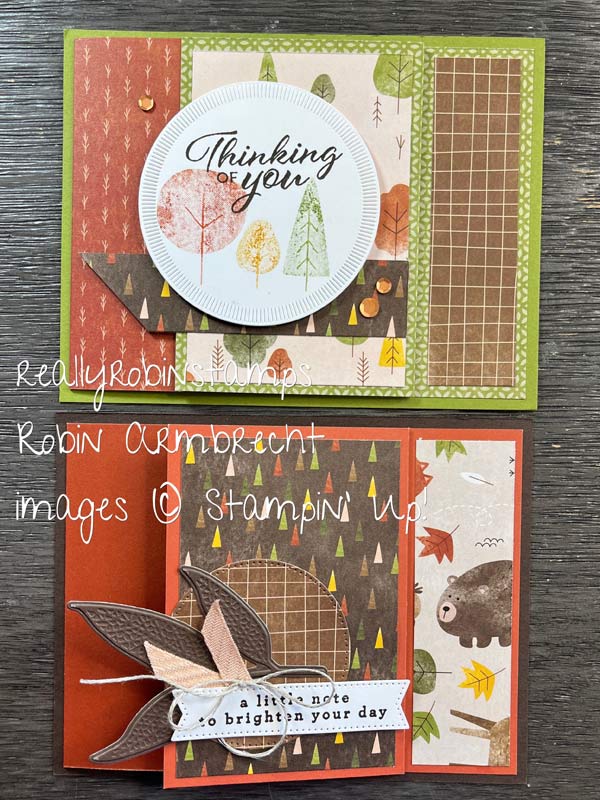
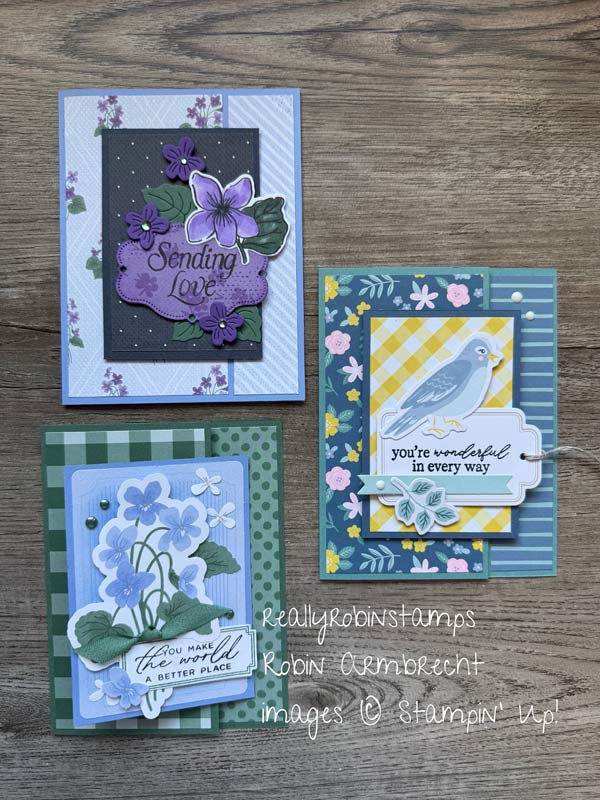
3-in-1 Fun Folds: Overlapping Gatefold and Z-Fold
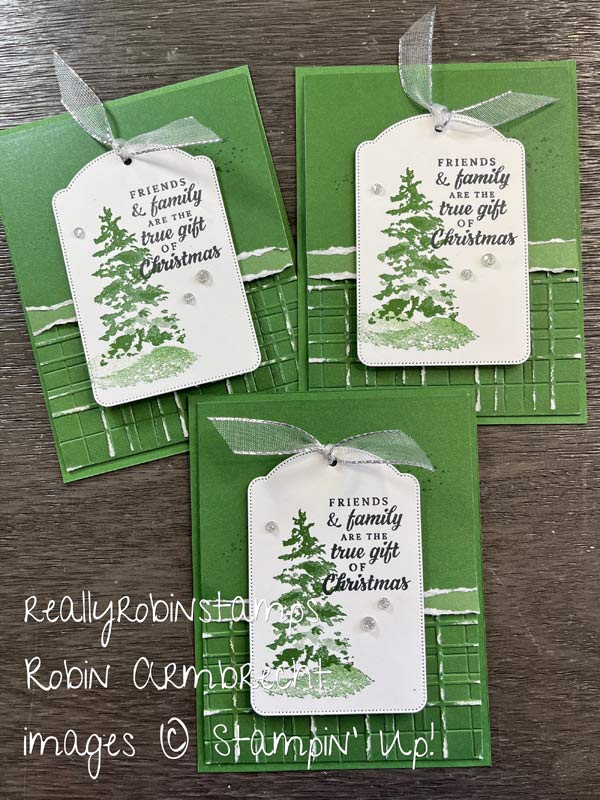
Overlapping Gatefold Version
Supplies & Directions
- 12” x 12” pattern paper or Two-Tone cardstock for card bases
- 5-1/4” x 4” pieces of cardstock (3)
- 3-3/4” x 5” Basic White cardstock (3)
- 3-1/8” x 3-3/4” pattern paper (3) (optional)
- Punched or die cut shapes for focal image (3)
- Embellishments
- Score the 12 x12 patterned paper at 3 3/8” and 8 5/8” along one edge.
- Turn the patterned paper so that the score lines are horizontal and cut the paper at 4” and 8”. This will give you 3 – 4” x 12” pieces of patterned paper.
- Fold on the score lines so that the gatefold edges overlap. Decide which side fold you want on top. Optional: tear a small amount off the edge of this flap to give it some texture.
- Attach the patterned paper card to the quarter sheet of coordinating cardstock. Add a layered focal point image to only one half of the gatefold (the fold on top). Embellish as desired.
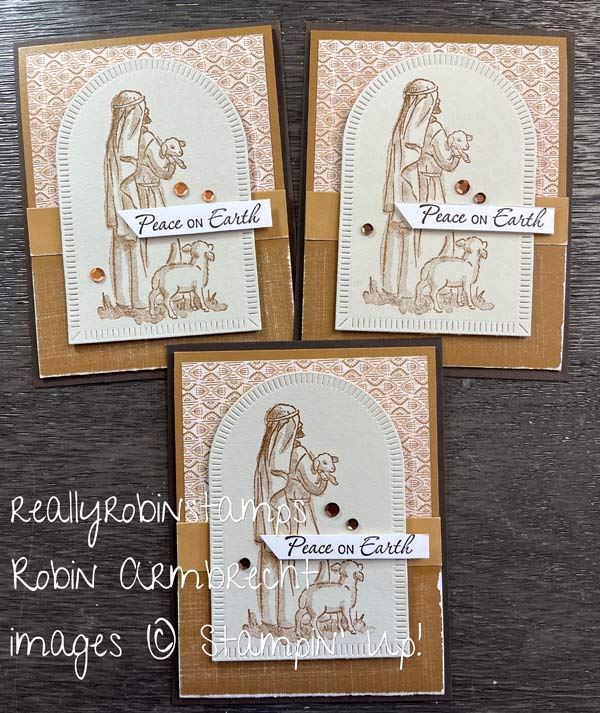
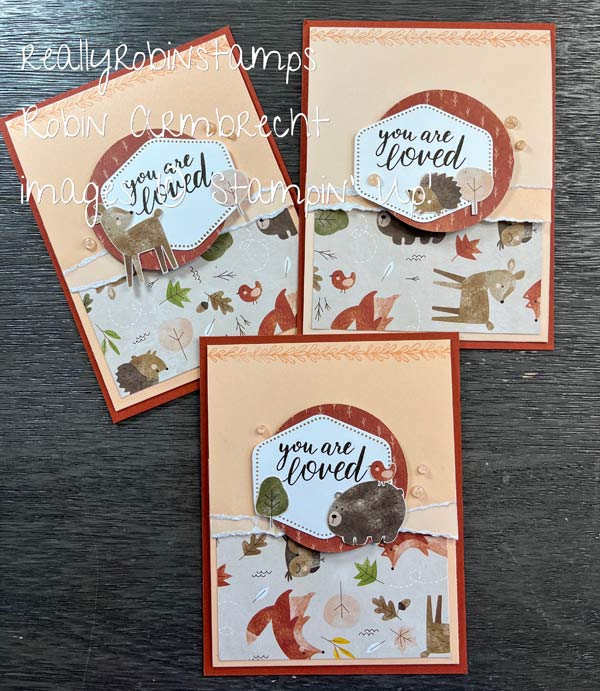
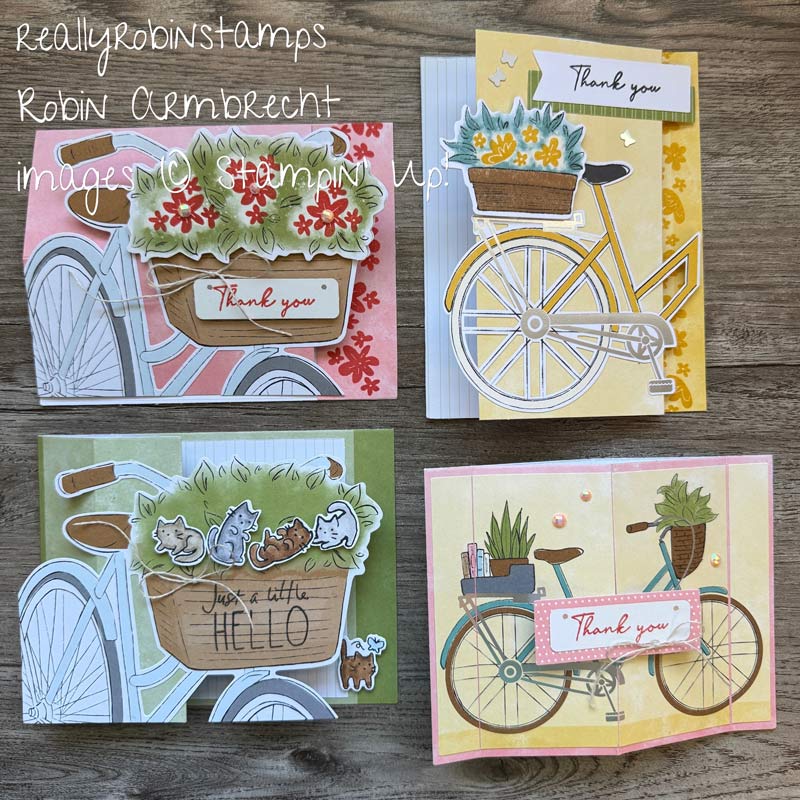
Z-Fold Version
Supplies & Directions
- 12” x 12” pattern paper or Two-Tone cardstock for card bases
- 5-1/4” x 4” pieces of cardstock (3)
- 3-3/4” x 3-3/4” Basic White cardstock (3)
- 2-1/2” x 3-3/4” cardstock or coordinating pattern paper
- 1” x 3-3/4” cardstock or coordinating pattern paper
- Punched or die cut shapes for focal image (3)
- Embellishments
- Score the 12 x12 patterned paper at 2 3/4” and 6 3/4” along one edge.
- Turn the patterned paper so that the score lines are horizontal and cut the paper at 4” and 8”. This will give you 3 – 4” x 12” pieces of patterned paper.
- Accordion fold on the score lines to create a z-fold.
- Attach the 2-1/2” x 3-3/4” piece over the front fold back flap.
- Attach the 1” x 3-3/4” piece along the edge of the inside.
- Attach the patterned paper card to the quarter sheet of coordinating cardstock. Add a layered focal point image to the card front. Embellish as desired.
Grab some 12 x 12 pattern paper to create some 3-in-1 fun folds today!

Product List

|
||||

|
")
|
")
|
 Designer Series Paper")
 Two Tone Cardstock")
 Two Tone Cardstock")
 Designer Series Paper")
 Designer Series Paper")
 Two Tone Cardstock")
 Two Tone Cardstock")
 Two Tone Cardstock")
 Two Tone Cardstock")
 Cardstock")
")
 Two Tone Cardstock")
 Two Tone Cardstock")
 Specialty Designer Series Paper")
Love the black one,
As for Christmas cards rarely do two of the same
Have a blessed day