
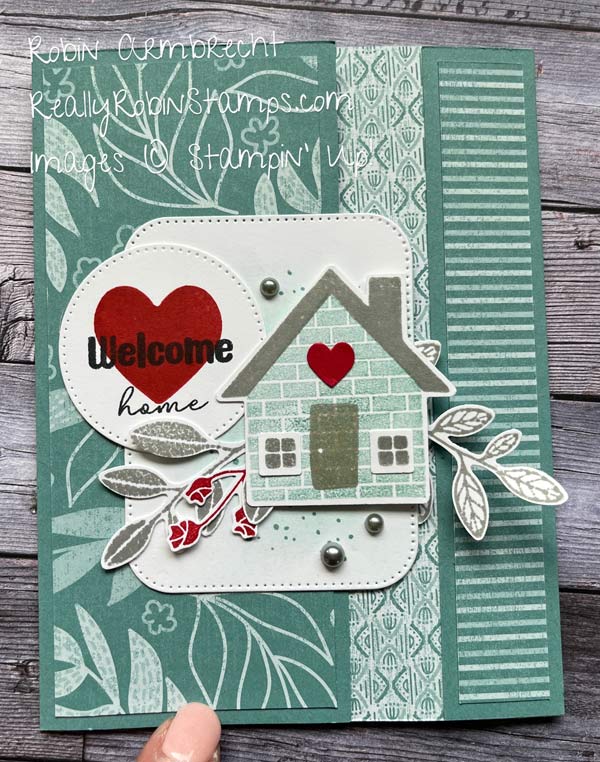
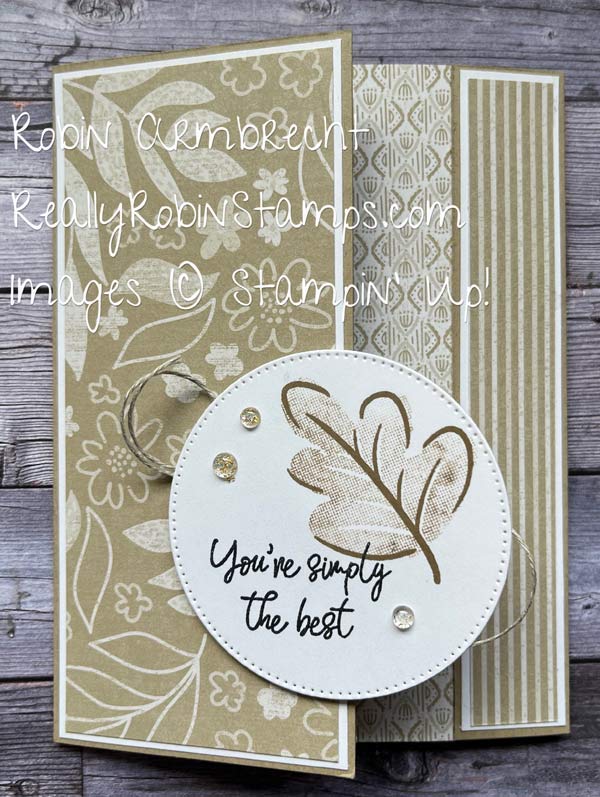
It’s time to get excited about another fun fold card, a trifold to be specific, with a pocket on the inside! We love pockets and fun folds. The inspiration for these cards came from a card designed by a fellow Stampin’ Up! demonstrator, Meg Loven, who received the idea from Jill Olsen, who was inspired by Elizabeth Price. I love the circle of inspiration.
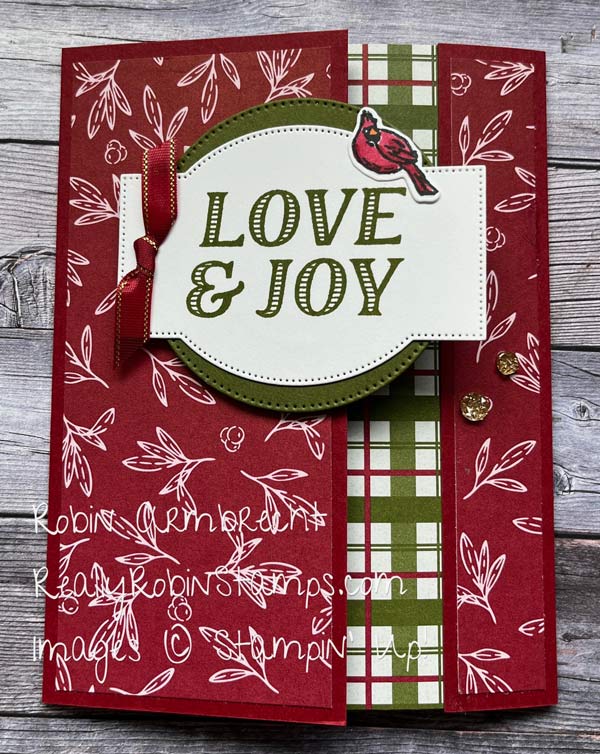
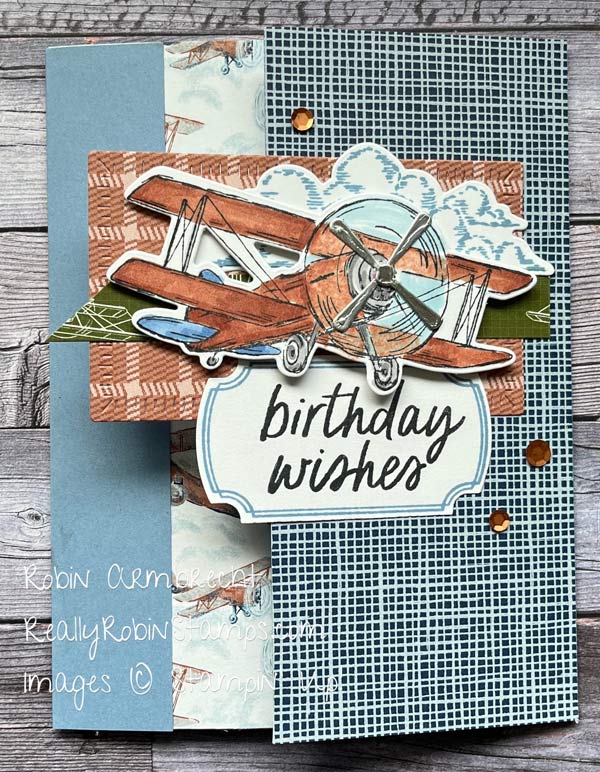
This easy trifold card is made by combining a shortened cardstock card base and a pocket made from Designer Series Paper. When these two pieces are combined and attached the result is a fun fold with instant layers on the front and a large pocket on the inside.

Here’s Your Homework 😉
- Watch the video tutorial for this project – Papercrafting Playdate 129
- Download the pdf to help you while creating this fun fold.
- Get out your stash of paper and start card making!

Supplies and Directions
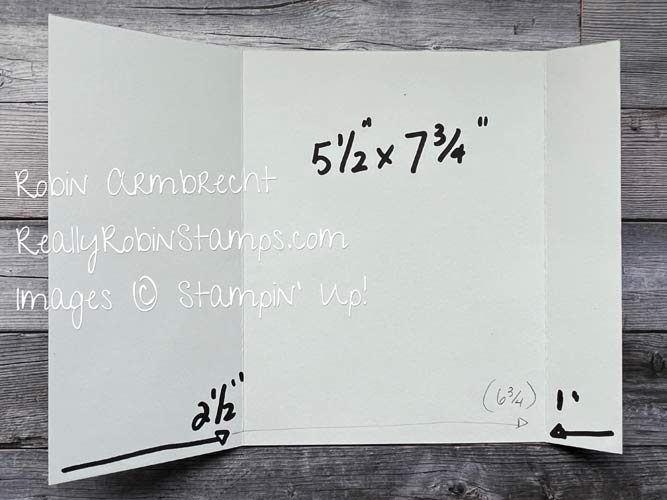
- 5-1/2” x 7-3/4” cardstock for card base
- 5-1/4” x 4” Basic White cardstock for inside
- 5-1/4” x 2-1/4” DSP for front left panel
- 5-1/4” x 3/4” DSP for front right panel
- 5-1/2” x 6” DSP for trifold pocket
- 5-1/8” x 2-3/8” coordinating cardstock to layer
- 5-1/8” x 7/8” coordinating cardstock to layer
- Score the card base at 2-1/2” from the left edge and 1” from the right edge.
- Fold the both of the score lines forward to the middle of the card like a gatefold card except the “gates” will have a gap between them.
- Attach the 5-1/2” x 2-1/4” piece of DSP to the left 2-1/2” gatefold section of the card front
- Attach the 5-1/4” x 3/4” piece of DSP to the right 1” gatefold section of the card front.
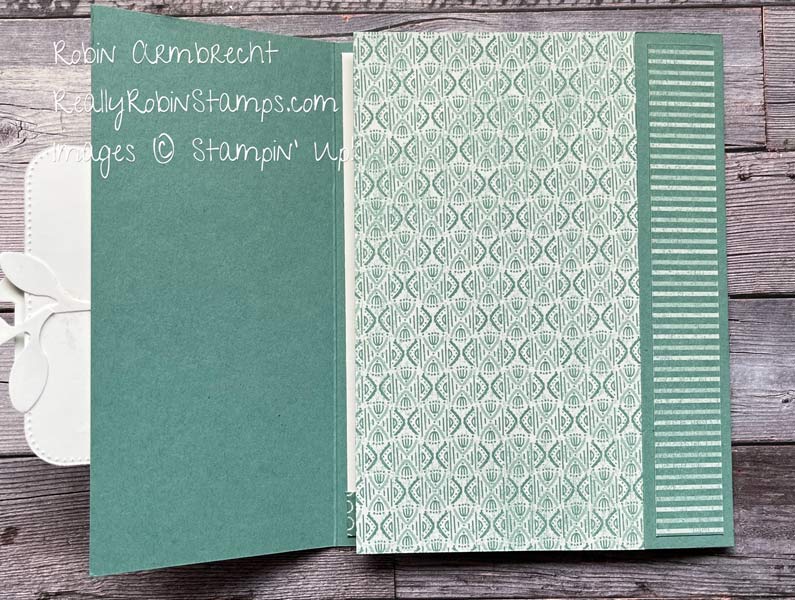
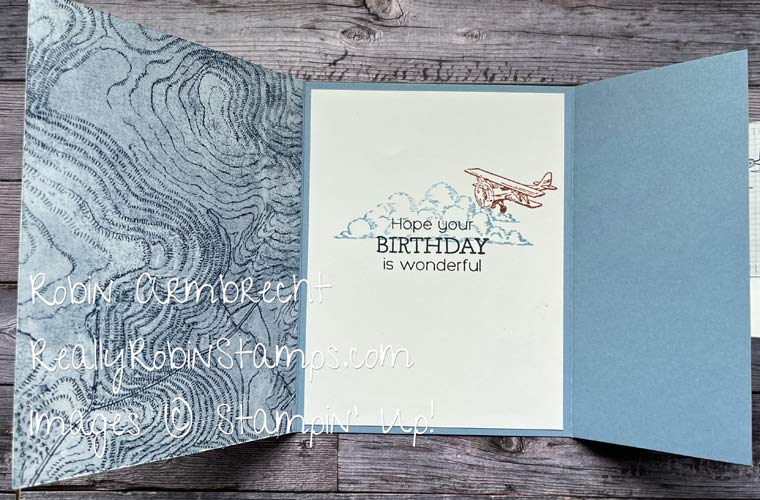
- Add the 5-1/4” x 4” piece of Basic White in the inside for the message.
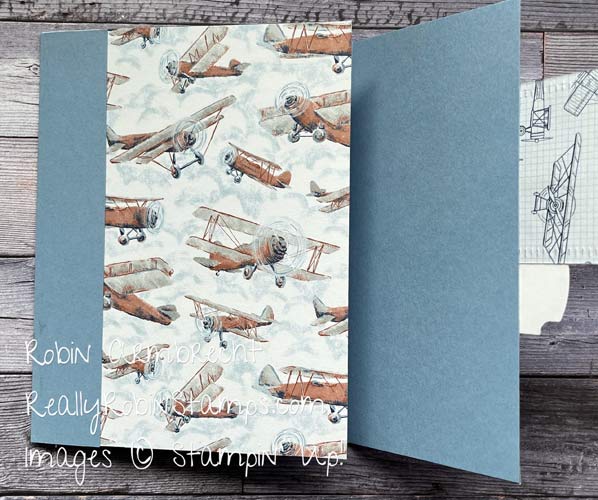
- Score the 5-1/2” x 6” piece of DSP at 2” along the 6” edge. Punch a finger hold (a partial circle punch) on the edge of the 2” panel. Fold on the 2” score line to create a pocket. Adhere the pocket edges together.
- Attach the pocket trifold piece to the card base behind the right 1” gatefold section oriented so the pocket is on the inside.
- Add a focal point/ cluster/greeting to the edge of the left 2-1/2” gatefold section so that it overlaps the gap on the card front.

Variation Without Pocket
Flip the card base so that the gatefold sections are opposite with the 1” on the left and the 2-1/2” on the right. Instead of a pocket, attach a 4-1/8” x 5-1/2” piece of DSP or cardstock to the underside of the 1” gatefold.
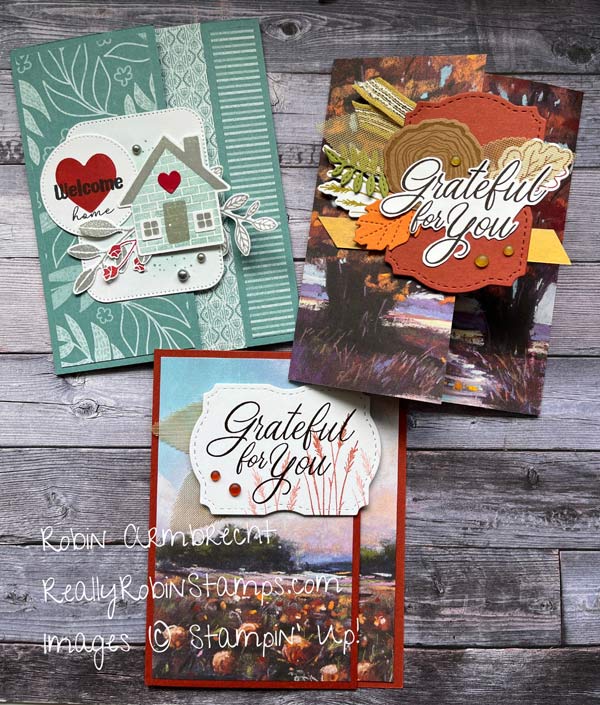
It’s your turn to grab some paper and try out the Pocket Trifold fun fold! I’d love to see your creation! -Robin


I love your cards
Thank you very much, Judy!
I think you must be the Queen of fancy folds. These are darling and wonderful instructions. I like having the .pdf and the video tutorial! Thank you so much for the ideas.
Thank you, Jan! I hope you try out this fun fold ASAP!
Hello Robin,
Your card tutorials are beautiful and the cards are gorgeous. I live in the UK, I Have not looked at your tutorials because I have been in a hospital. I have Lung Cancer and had an infection. I am much better now, so I am back at your gorgeous tutorials.
Have a wonderful Labour Day Weekend.
Wishing you a good weekend too, and hope you get back on your feet feeling well as soon as possible. I am so glad that you sent me your message!
Totally love all these cards Robin you are so talented.
Thank you very much – I hope you try this fun fold!
Hi ,
Was wondering why on the supplies 3rd line it says 5-1/4 x2-1/4 DSP
But on the direction line 3 it’s written 5-1/2x 2-1/4 piece of DSP to the left 2-1/2 gatefold
Am I just not reading it right.
Love this card getting ready for Christmas cards.
Thanks Diane Duguay from Canada
Hi Diane! Thank you for catching my error! I’ll have to reprimand my assistant!!🤣 (me).
I was part of Robin Cardons’s group but since she has retired from being a card maker, I have just been fumbling around. I am a demonstrator but only for the discount. Do you have room on your team for me?
Hi Mary! Can you send me an email so we can connect? reallyrobinstamps@gmail.com
Wonderful variety using one template! Thank you for sharing.
Thank you very much, Dollie!
Thank you for sharing the directions for this card. Had wondered how it went together. Saved your instructions to make later. Thanks again.
I’m so glad you are excited about this fun fold! I appreciate your comment very much!