
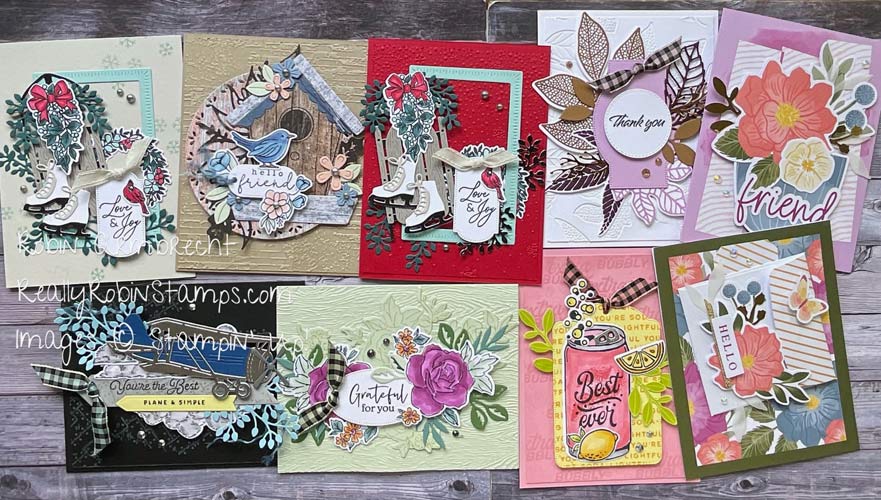
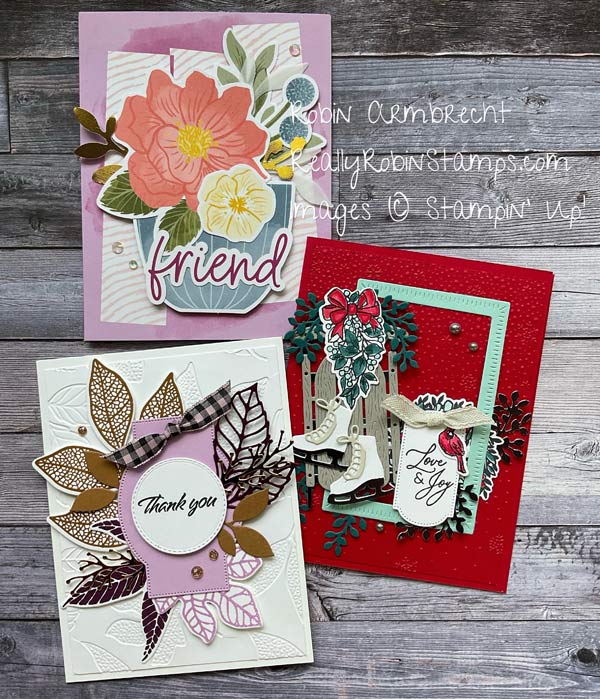
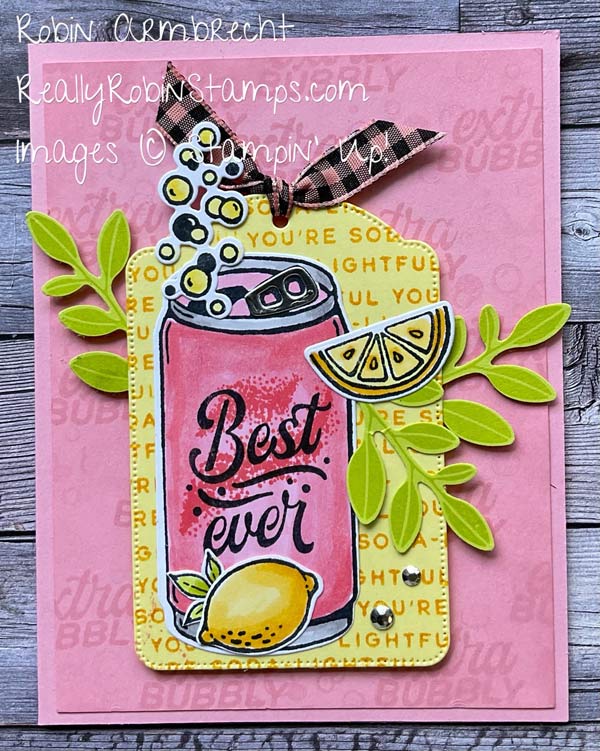
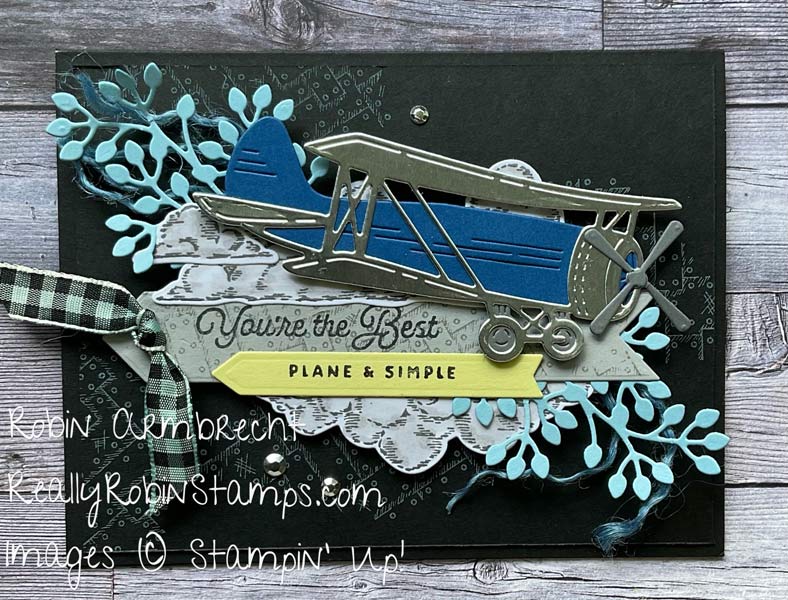
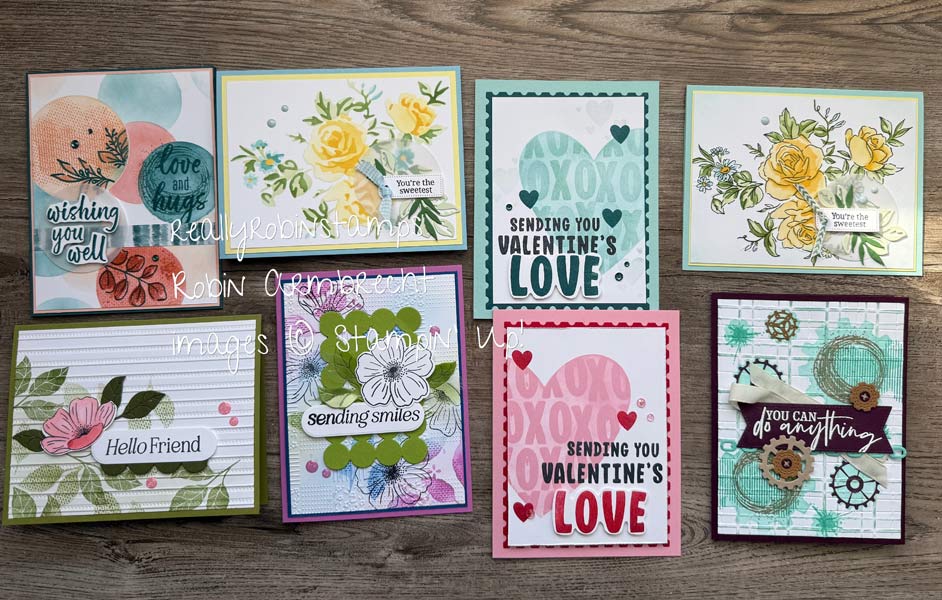
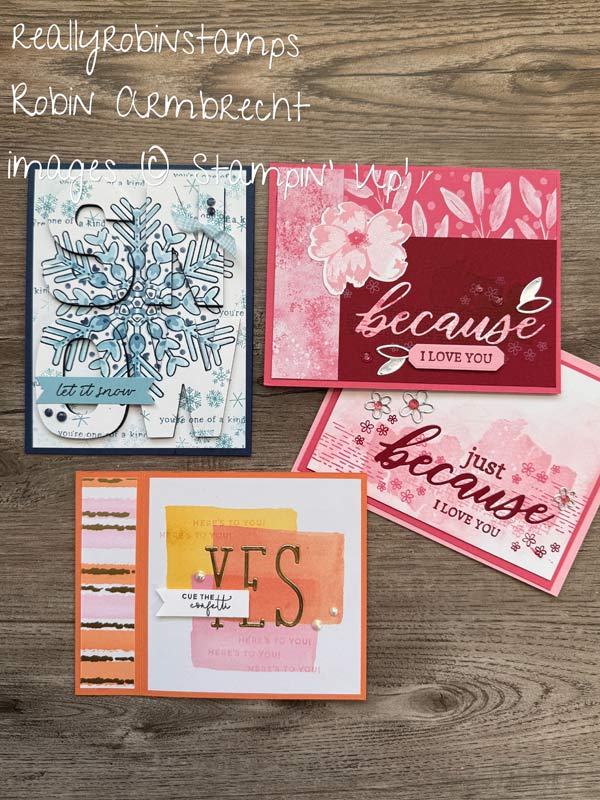
It’s time to play with focal point clusters again! This time we are working on how to use a large or unexpected element in a focal point cluster. Creating focal point clusters (FPCs) can be a very relaxing activity. Collecting the different elements used in creating FPCs is part of the fun too. The process may be more time consuming but the end result is a huge WOW!
If you have never heard of focal point clusters before or want to start at the beginning with this concept I have four previous video tutorials & posts on this topic. There is one PDF to download and use for focal point clusters which you can find here: Focal Point Clusters PDF. Scroll all the way down to see the list of products used for these projects.
Previous Focal Point Clusters Tutorials
- Focal Point Clusters (Papercrafting Playdate 92)
- More Focal Point Clusters (Papercrafting Playdate 93)
- Even More Focal Point Clusters (Papercrafting Playdate 94)
- Fall Focal Point Clusters (Papercrafting Playdate 101)

Focal Point Clusters (a review of information)
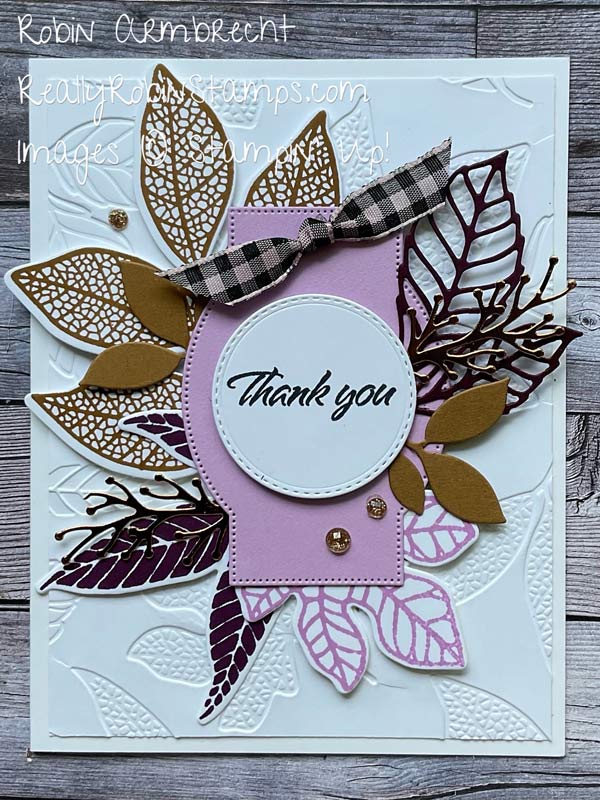
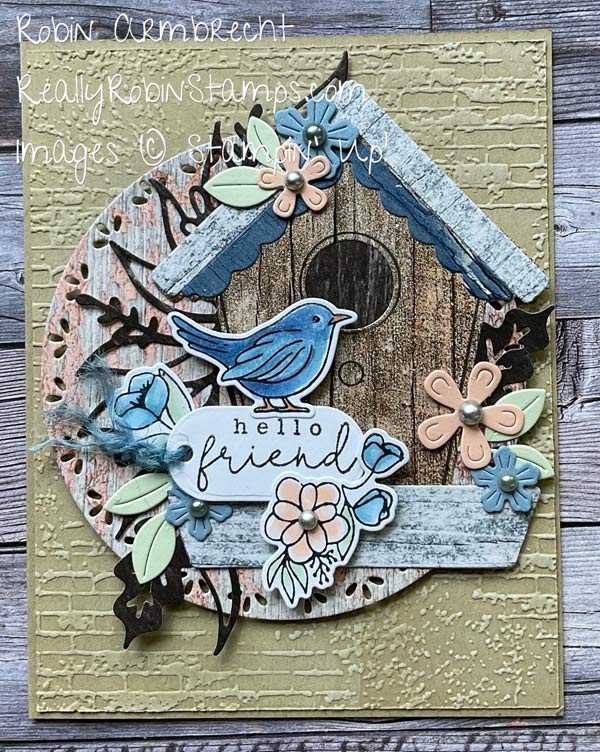
Elements that Create Clusters and How to Choose Them
- Choose a BASE to support the cluster. (Pick 1)
- Any punched/die cut shape (square, circle, rectangle)
- Large detailed die cut like a leaf, flower, or design
- Tag
- Banner
- Doily
- Distressed paper (crumpled or textured with an embossing folder)
- Vellum
- Choose a SECONDARY SHAPE for the greeting image for the card. (Pick 1)
- Smaller punched/die cut shape than the BASE.
- Smaller tag or banner
- Die cut words
- Choose punched/die cut GREENERY PIECES to layer in an around. (Pick 2)
- Choose coordinating ACCENTS to add interest. (Pick an odd number)
- Torn strip of cardstock or Designer Series Paper
- Ribbon layered under the SECONDARY SHAPE as a strip or in a nest, or tied in knot/bow
- Smallest punched/die cut shapes like flowers, hearts, arrows, stars, leaves
- Foil or Glimmer paper strips
- Punched/die cut detailed edge strips of coordinating cardstock (scalloped, laced, stitched)
- Choose coordinating EMBELLISHMENTS. (Use 3 of 1 type)
- Rhinestones or pearls
- Sequins
- Enamel Dots
Types of Clusters
- Basic Shape
- Tag
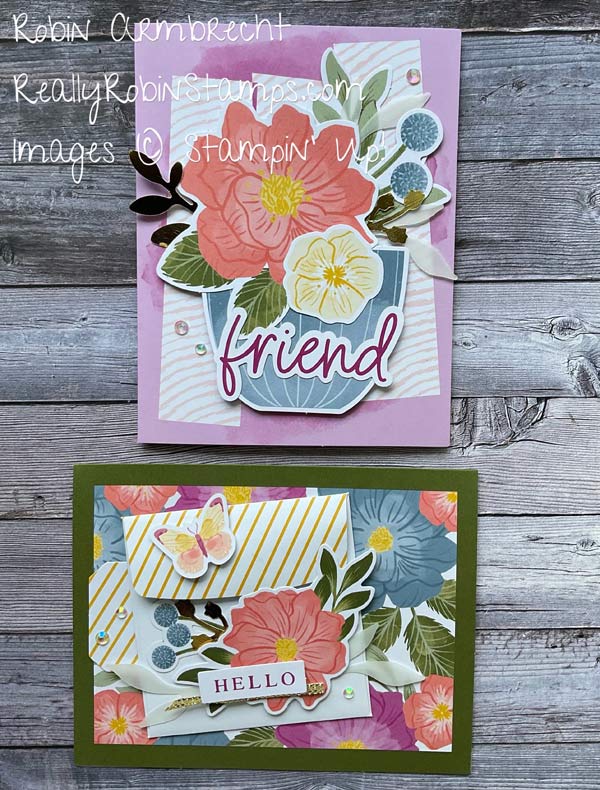
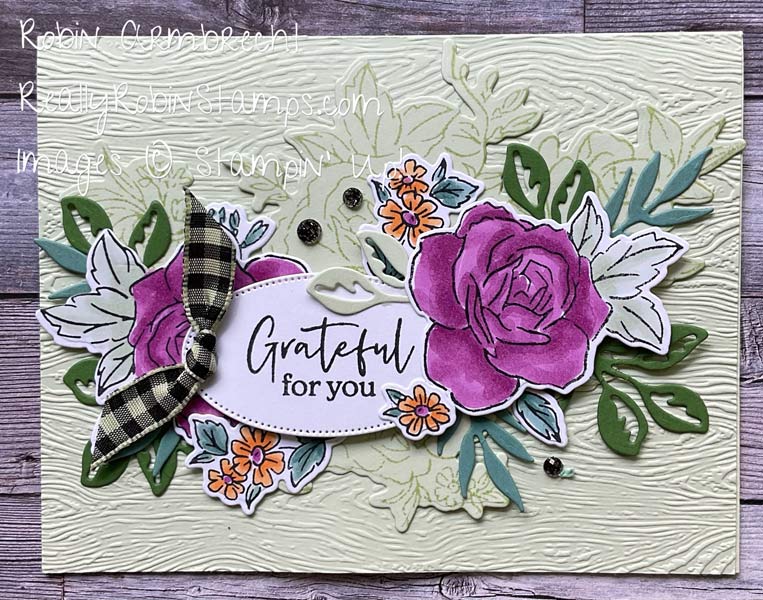
- Flower
- Open Frame
Now it’s time for you to think about and create some focal point clusters! I hope you collect your elements and put together some amazing clusters! Come share your creations in our Facebook Group, Robin’s Really Super Stampers.

Product List
")
|
")
|
||
")
|
")
|

|
|

|

|
||

|

|

|
")
")
 Specialty Paper")
")
 Large Check Ribbon")


I love the focal point cluster idea. Never thought of it like you have.
Thank you, Karen! I’m so glad you are enjoying FPCs! I have several more videos about them – they are one of my favorite topics!
Thank you Robin. You continue to educate the elements of beautiful cards.
I appreciate you being excited about FPCs too! We just keep practicing and learning, right?
Watched the replay today and I am blown away! Incredibly put together focal point clusters. So beautiful! Each one was prettier than the last one! I am loving the leaves, and also the soft sea foam floral, but the sled and frame on the beige is just gorgeous! I can’t thank you enough for how much I have learned over many of your videos. These are all beautiful, and I am still loving learning about collage from you. It is fun to mix every Stamp Set you have to make the collage. Your color info is appreciated, and I think my all-time, make a Gob of cards go-to, is the Stack, Cut and Shuffle. My children’s Hospital cards will all be made in the SCS fashion this year. I enjoy everything you do.💕
Hi Wendy and thank you so much for telling me about your favorite cardmaking topics. Those are also some of my favorites as you can tell. Thanks for all you do to share your cards with others!