
What is a focal point cluster? A cluster is a visually-pleasing way to create a focal point for a card front. What is nice about making clusters is that once they are put together you can plop them onto a basic card base without having to add much more effort to the card front. The natural layers that occur when making a cluster of elements for a focal point adds an artistic and interesting WOW to your card. Ready to learn how to put focal point clusters together?

Things to Consider When Creating Clusters
- What are the elements you want to use?
- What type of cluster to you want to create?
- How will you tie the elements of the cluster to the card front?
I’ve taken the time to try and break down tips and tricks for creating focal point clusters to make it easier to do. Watch the replay of my live video tutorial showing you how to put together two types of focal point clusters, and how to choose your elements to create the clusters.
Elements that Create Clusters
- Choose a BASE to support the cluster. (Pick 1)
- any punched/die cut shape (square, circle, rectangle)
- Large detailed die cut like a leaf, flower, or design
- Tag
- Banner
- Doily
- Distressed paper (crumpled or textured with an embossing folder)
- Vellum
- Choose a SECONDARY SHAPE for the greeting image for the card. (Pick 1)
- Smaller punched/die cut shape than the BASE.
- Smaller tag or banner
- Die cut words
- Choose punched/die cut GREENERY PIECES to layer in an around. (Pick 2)
- Choose coordinating ACCENTS to add interest. (Pick an odd number)
- Torn strip of cardstock or Designer Series Paper
- Ribbon layered under the SECONDARY SHAPE as a strip or in a nest, or tied in knot/bow
- Smallest punched/die cut shapes like flowers, hearts, arrows, stars, leaves
- Foil or Glimmer paper strips
- Punched/die cut detailed edge strips of coordinating cardstock (scalloped, laced, stitched)
- Choose coordinating EMBELLISHMENTS. (Use 3 of 1 type)
- Rhinestones or pearls
- Enamel Dots
- Sequins
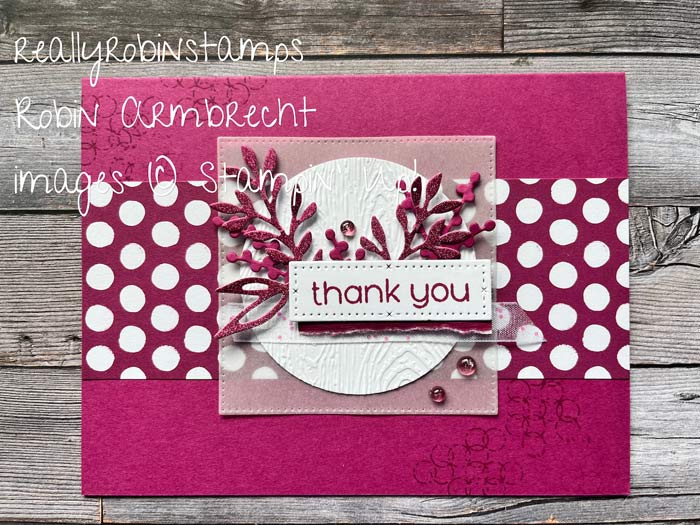
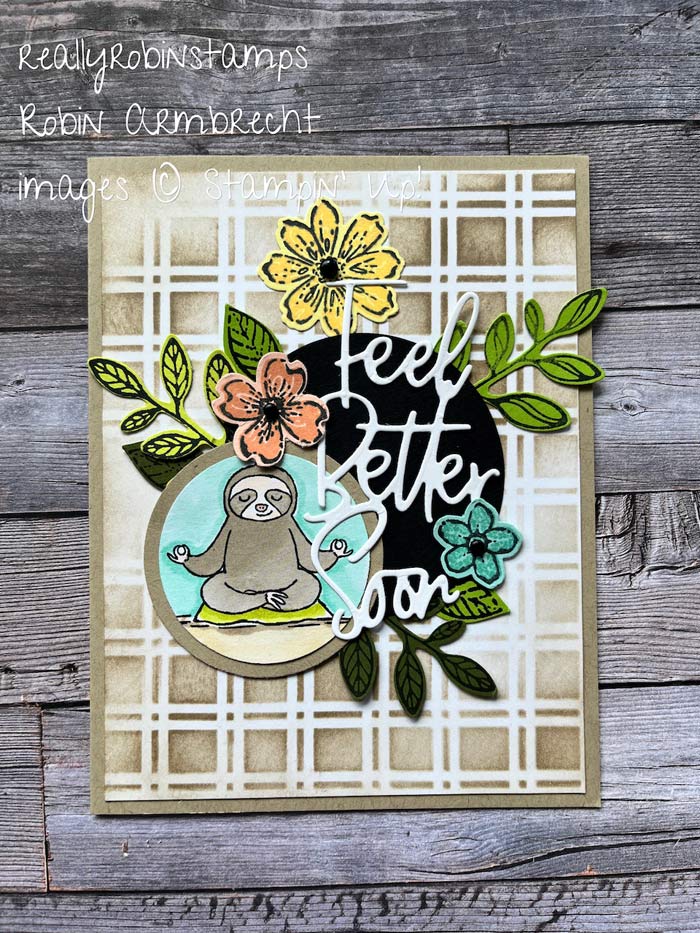
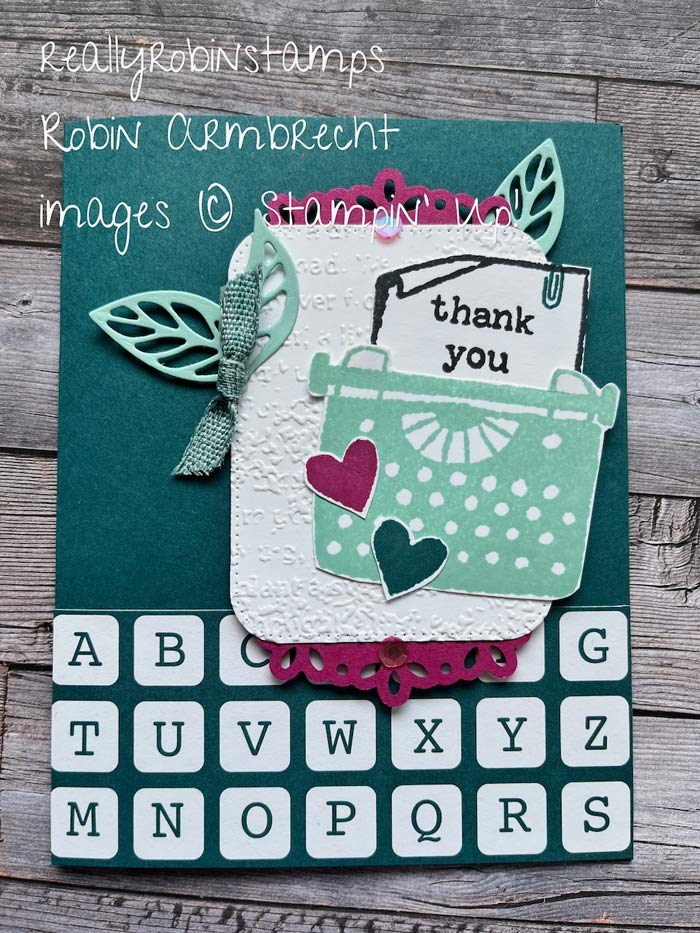
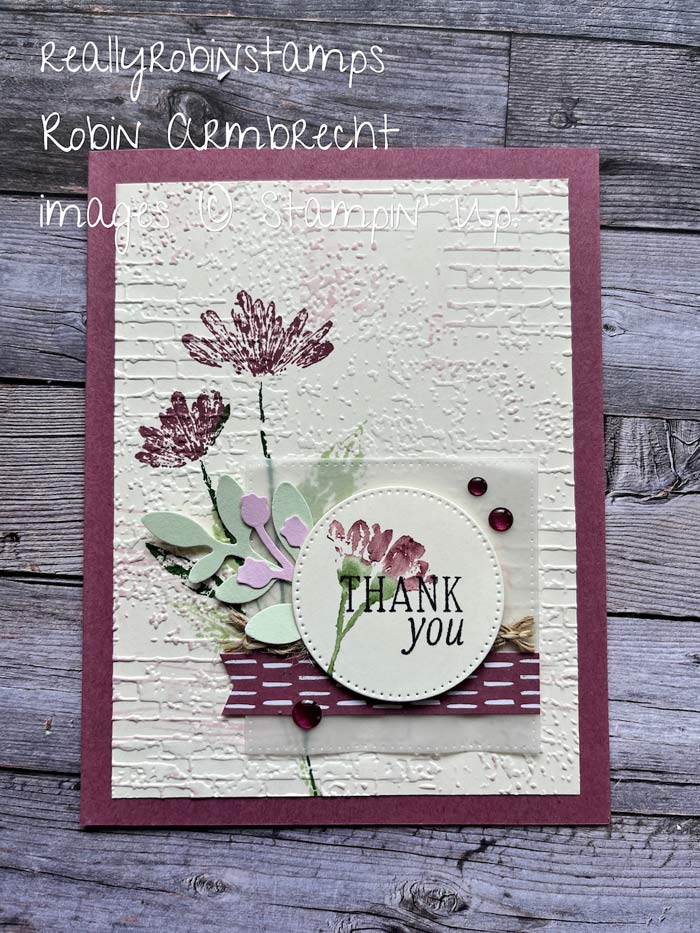
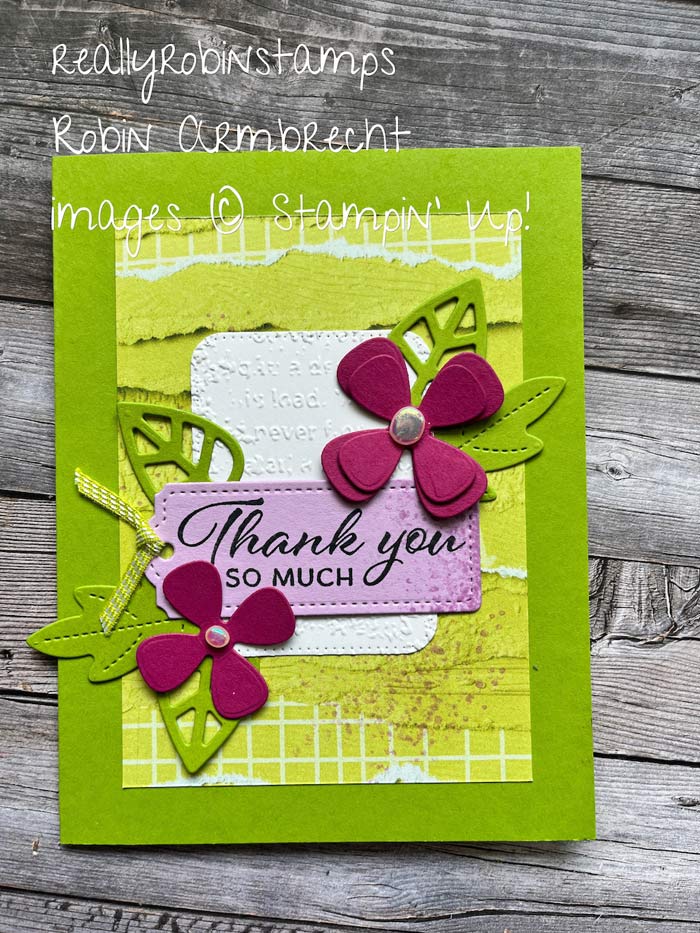
Two Types of Focal Point Clusters: Basic Shape & Tag
As I was researching focal point clusters I found that I could categorize them into four types. In part 1 of this series I am focusing on two of the four types: Basic Shape Cluster and Tag Cluster. I categorized the type of cluster by the base element on which the cluster is designed. the Basic Shape Cluster starts with a simple shape of any kind (square, circle, rectangle, or label), and the Tag Cluster has a tag as the main element.


HOW TO TIE THE CLUSTER TO THE CARD FRONT?
Since the cluster itself is a beautifully layered compilation of elements, the card front where it gets attached just needs to support the theme of your cluster design. What you add to the card front whether it is Designer Series Paper or stamped images needs to coordinate with the cluster but not compete with it. You can create distance between the cluster and the card front by adding a layer of vellum between them if needed.
Card Front Ideas
- 4” x 5-1/4” piece of coordinating Designer Series paper
- 3-3/4” x 5” piece of cardstock embossed with an embossing folder
- 4” x 5-1/4” piece of cardstock stamped with coordinating images
- 4” x 5-1/4” piece of cardstock stenciled with decorative mask and blending brush
What do you think about this process for creating focal point clusters? I hope you will give my “formula” for choosing elements a try and start creating some clusters to use in your cardmaking!

Product List
 Circle Punch")
|
 Circle Punch")
|
 Circle Punch")
|

|

|

|

|
")
|

|

|
||

|
 Designer Series Paper")
")
")
")

Love love love the cluster cards idea. It opened a new “cluster” of ideas in my brain
Hi Marge! Lol! Cluster of brain ideas!!! Love it. Thank you for taking the time to make me smile today!
This was so interesting, Robin. Can’t wait to play with this idea of making clusters.
Hello Anita! I’m thrilled you found this interesting to think about and apply to your own creating! Thank you for your comment!
Robin, was happy to find you on YouTube. You are a gifted stamper and teacher!! I truly enjoyed this particular video! Will be utilizing your techniques! Thanks for Sharing!
Hello Jan! Thank you for taking the time to leave me some helpful feedback, and I’m so happy that my content is interesting and useful to others. Happy creating!
Another great video Robin You do a great job of helping me think of using the things I already have in a new way like your recent episode on how to approach a new bundle Thank you very much
Hi Rita! Yay! I’m so happy that you are looking at your product stash with fresh eyes! Happy creating!
Robin, you never fail to amaze me…love this tutorial and your video, and as I have said before, your delivery is so good with your calm but enthusiastic voice. This technique can be used with a simple card or a well decorated one…it is really useful.
Thank you, Charlotte! Thank you for your encouragement and helpful feedback always!
I just watched the video, totally amazed. How do I get the PDF? I click on the words, nothing happens?
Hello Linda! The pdf is in Part 2. Check out my latest blog post.
Can’t wait to see part two! After part one I went through my cards to see what I missed in the focal point
Hi Mary! I’m glad you are excited about this concept and information. What a great idea to go through finished cards and see if you can add a bit more interest! Happy creating!
Wonderful information! Thank you.
Just watched part one today. I have so many die cut circles leftover from other projects. You have inspired me to pull them out and try this cluster technique. Thank you!
Hello Lisa! I’m so happy to help you give purpose to your already cut shapes – happy creating!
What practical, usable ideas! I feel like I’ve just taken a class! Thanks for sharing your talent. Printing this one for my resource binder.😘
Thank you, Julie! I’m glad you enjoyed this series and thank you for your comment!
Wow!! Thanks for putting into words and a fantastic tutorial this great idea of clustering focal elements together – your method does indeed give great balance. I will be referring to the list from now on. Can’t wait to see your other posts on this too
Thank you, Teresa! I’m happy that you enjoyed this tutorial series. I had a lot of fun putting it together!
I just watched the replay of your Focal Point Cluster Pt.1 video and want to thank you for sharing. Your explanations, and the examples throughout your process, really hit and I’m excited to give it a try. Looking forward to watching Pt. 2 😊
Hi Denise! I’m so happy you learned from the FPC series just like I did when I researched the process of creating them. Thank you for your very sweet comments.