
When I was organizing my paper stash this week I realized that my storage system for Two-Tone cardstock was not working for me. As I took the time to make it manageable I was inspired to USE it (as newly organized craft supplies often become). Thus, the inspiration for today’s playdate theme organically evolved. I remembered that what I love about Two-Tone cardstock is its flexibility in card making and its ability to extend our color palette with having a lighter shade of each of Stampin’ Up!’s fifty signature colors. Today I’m going to share easy ways to use the color shades of Two-Tone cardstock to create amazing backgrounds for your card fronts.
You might be interested in seeing more projects using my Two-Tone Cardstock for making fun folds!.
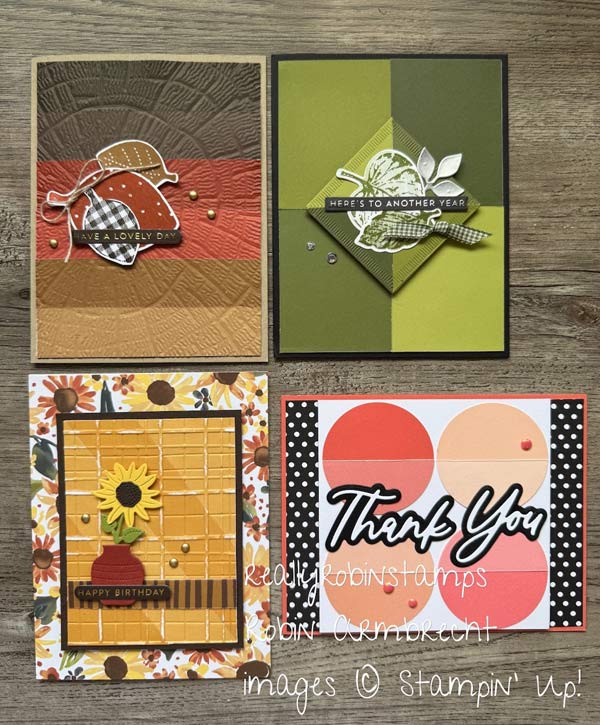
Here’s Your Homework 😉
- Watch the video tutorial, Papercrafting Playdate 186 – Two-Tone Cardstock Background Magic
- Download the written directions to use as a resource while creating.
- Grab some Two-Tone cardstock (or order some!) and start making backgrounds.
Measurements & Directions for Two-Tone Cardstock Backgrounds
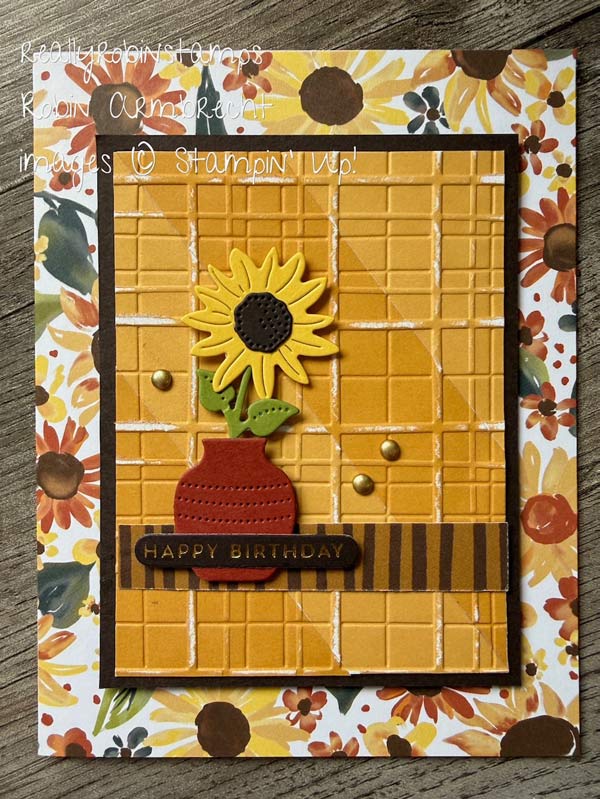
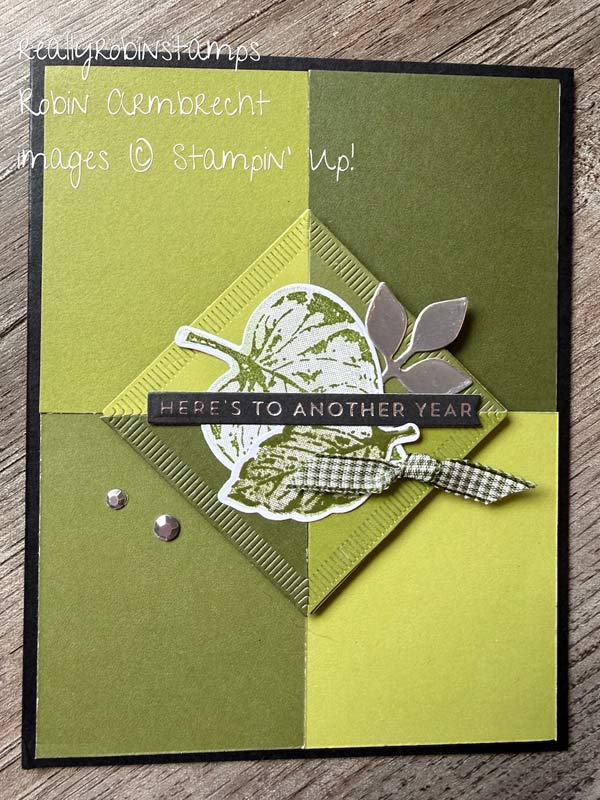
Diagonal Stripes – Makes 2 Cards
- 5-1/2” x 8-1/2” (2) card bases
- 3” x 4” (2) pieces of Two-Tone cardstock
- 3” x 4” (2) Basic White or copy paper
- 3-1/4” x 4-1/4” (2) coordinating cardstock
- Embossing Folder
- Stack the pieces of Two-Toned cardstock together with one piece having the dark side up and the other having the light side up.
- Cut in half diagonally from one corner to the other. Take each triangle half (still stacked) and cut 1” from the long edge.
- Separate dark & light pieces. Attach the cut pieces to the Basic White or copy paper with every other piece being dark & light.
- Use an embossing folder on the pieces and a sanding tool to reveal the white inner core..
- Attach to coordinating cardstock and card base.
Horizontal Stripes
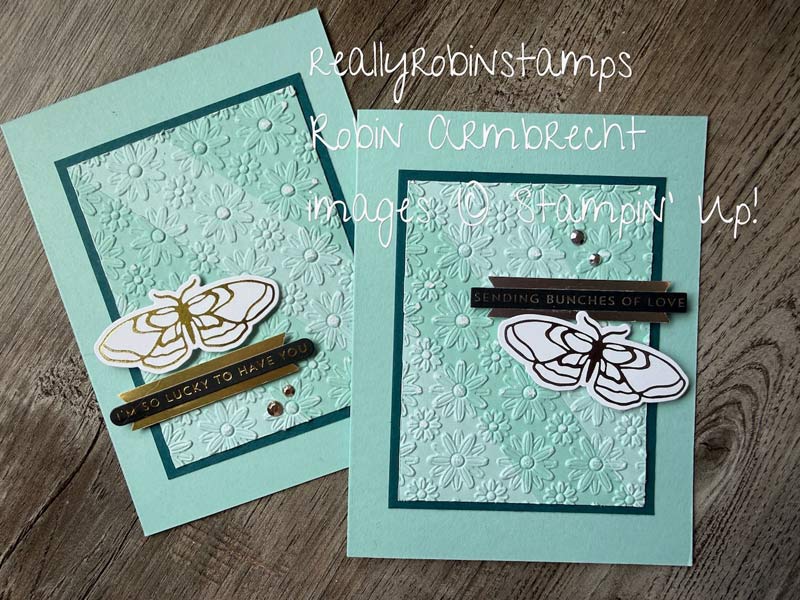
- 5-1/2” x 8-1/2” card base
- 4” x 5-1/4” Basic White or copy paper
- 4” x 2-3/4” (3) pieces of Two-Tone cardstock in graduated colors
- Embossing Folder
- Stack the pieces of Two-Toned cardstock together with all pieces having the dark side up and cut in half lengthwise at 7/8”.
- Attach strips to Basic White or copy paper going from darkest to lightest tone making sure to use both sides of the Two-Tone cardstock.
- Use an embossing folder to imprint a pattern and a sanding tool to reveal the white inner core.
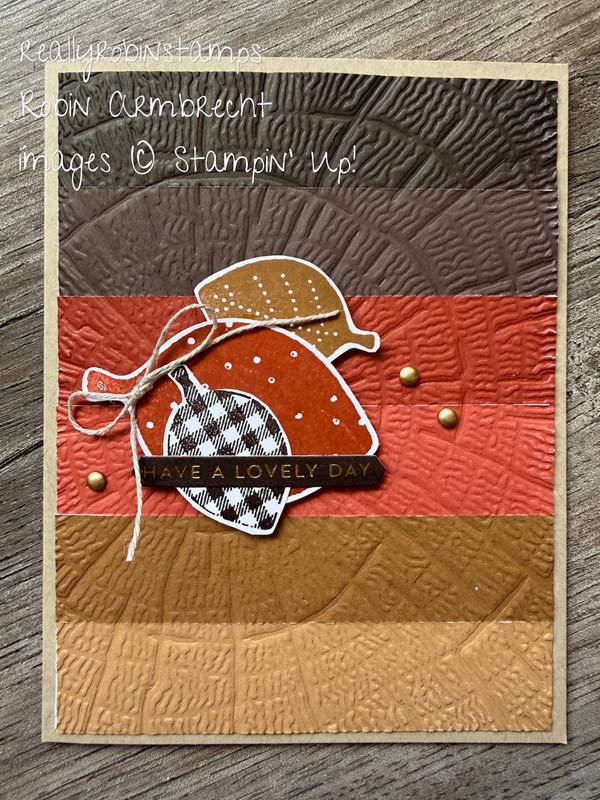
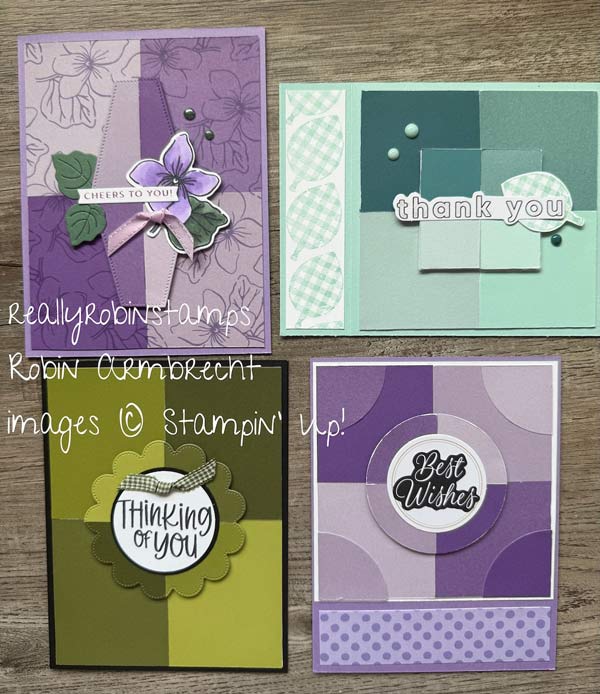
Rectangles – Makes 2 Cards
- 5-1/2” x 8-1/2” card base (2)
- 5-1/4” x 4” (2) pieces of Two-Tone cardstock (or create 4 rectangles 2” x 2-3/4”)
- 4” x 5-1/4” Basic White or copy paper
- Symmetrical die or punch shape. Cut 4 – one from each side/tone of the 2 pieces of Two-Tone cardstock
- Stack the two pieces of 5-1/4” x 4” two-tone cardstock and cut in half lengthwise at 2”, turn and cut in half at 2-3/4”.
- Attach the rectangles to the Basic White/copy paper making sure the dark and light sides of the colors are opposite diagonally.
- Stack the 4 die cut or punched shapes and cut into quarters.
- Pop-up, reassemble, and attach the quarters in the intersection of the 4 rectangles making sure that the opposite color tones are over the corresponding rectangle color. (There will be quarters left over to make additional cards.)
Circles
- 5-1/2” x 8-1/2” card base
- 4-1/8” x 4-1/8” Basic White
- 2” circle punch – Punch 4 circles of Two-Tone cardstock in graduated colors
- 3/4” x 4-1/8” coordinating pattern paper
- Long skinny greeting
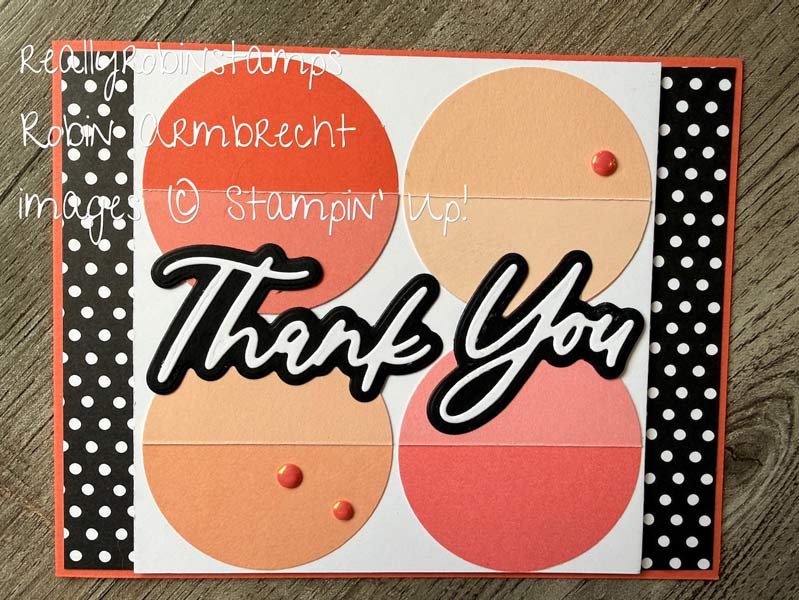
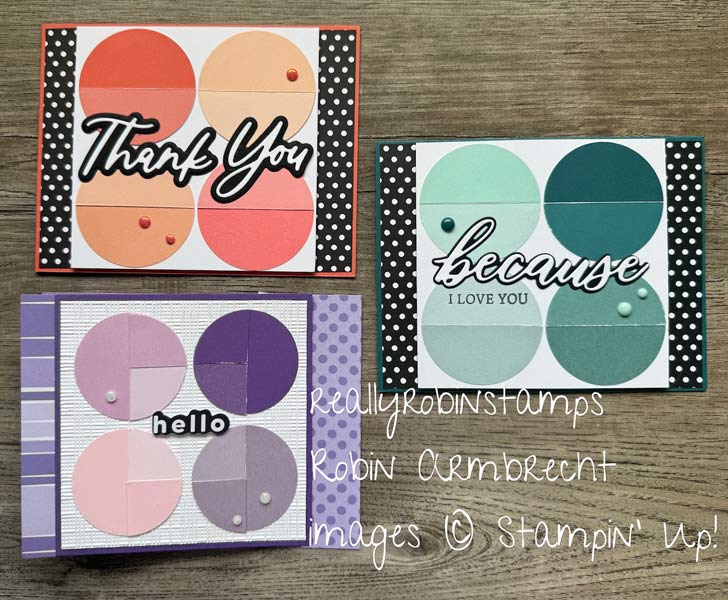
- Stack and cut the four 2” circles in half. (you can make it really easy by cutting 8 circles, 2 of each color).
- Attach the dark half of the circles along the top and bottom edge of the 4-1/8” white square leaving 1/16” margin.
- Sand the edges of the light circle halves and attach them to the corresponding dark half. The subtle white sanded edge creates an illusion of vellum layered over the circles.
- Mount greeting sentiment in between the circles.
- Attach the pattern paper to the edges of the card base and pop up the Basic White in the center.
It’s time for you to take the background ideas using Two-Tone Cardstock and start creating some simple backgrounds to showcase your stamp sets. I’d love to see what you make – come share your creations in our Facebook Group, Robin’s Really Super Stampers.

Product List
![Words & Wishes Bundle (English) [ 167897 ]](https://assets1.tamsnetwork.com/images/EC042017NF/167897s.jpg "Words & Wishes Bundle (English) [ 167897 ]") | ![Words Of Beauty Bundle (English) [ 167090 ]](https://assets1.tamsnetwork.com/images/EC042017NF/167090s.jpg "Words Of Beauty Bundle (English) [ 167090 ]") | ![Butterfly Flight Bundle [ 170065 ]](https://assets1.tamsnetwork.com/images/EC042017NF/170065s.jpg "Butterfly Flight Bundle [ 170065 ]") | ![Scalloped Blooms Dies [ 167646 ]](https://assets1.tamsnetwork.com/images/EC042017NF/167646s.jpg "Scalloped Blooms Dies [ 167646 ]") |
![Nested Essentials Dies [ 161597 ]](https://assets1.tamsnetwork.com/images/EC042017NF/161597s.jpg "Nested Essentials Dies [ 161597 ]") | ![Spotlight On Nature Dies [ 163580 ]](https://assets1.tamsnetwork.com/images/EC042017NF/163580s.jpg "Spotlight On Nature Dies [ 163580 ]") | ![2" (5.1 Cm) Circle Punch [ 133782 ]](https://assets1.tamsnetwork.com/images/EC042017NF/133782s.jpg "2\" (5.1 Cm) Circle Punch [ 133782 ]") | |
![Framed Violets Bundle (English) [ 168194 ]](https://assets1.tamsnetwork.com/images/EC042017NF/168194s.jpg "Framed Violets Bundle (English) [ 168194 ]") | ![Simply Leaves Bundle (English) [ 168165 ]](https://assets1.tamsnetwork.com/images/EC042017NF/168165s.jpg "Simply Leaves Bundle (English) [ 168165 ]") | ||
![Lazy Daisy 3 D Embossing Folder [ 167196 ]](https://assets1.tamsnetwork.com/images/EC042017NF/167196s.jpg "Lazy Daisy 3 D Embossing Folder [ 167196 ]") | ![Forever Plaid 3 D Embossing Folder [ 164049 ]](https://assets1.tamsnetwork.com/images/EC042017NF/164049s.jpg "Forever Plaid 3 D Embossing Folder [ 164049 ]") |
![Sweetly Sentimental Hot Foil Dies (English) [ 170052 ]](https://assets1.tamsnetwork.com/images/EC042017NF/170052s.jpg "Sweetly Sentimental Hot Foil Dies (English) [ 170052 ]")
![Greetings For All Mix & Match Ephemera Pack (English) [ 164862 ]](https://assets1.tamsnetwork.com/images/EC042017NF/164862s.jpg "Greetings For All Mix & Match Ephemera Pack (English) [ 164862 ]")
![Heirloom Boutique 12" X 12" (30.5 X 30.5 Cm) Two Tone Cardstock [ 167735 ]](https://assets1.tamsnetwork.com/images/EC042017NF/167735s.jpg "Heirloom Boutique 12\" X 12\" (30.5 X 30.5 Cm) Two Tone Cardstock [ 167735 ]")

Thank goodness that you continue to make these Papercrafting Playdates, Robin! After years and years of card making, it would be easy to get in a rut, get bored, lose the mojo. Your playdates always inspire and keep it fresh.
What great feedback, thank you! 😁 I’m super glad you continue to be inspired.
Hi Robyn, I have been really enjoyed your playdates. I love your style of cardmaking you create a layout that’s beautiful but with a special twist.
I would appreciate it if you can send me the Sept-Dec. catalog sorry I don’t have an e-mail account set up on my phone it’s on my laptop that just fizzled out. can’t wait to see what you create from that catalog. Thanks
Just getting this message. I will get the new catalog sent to you!