
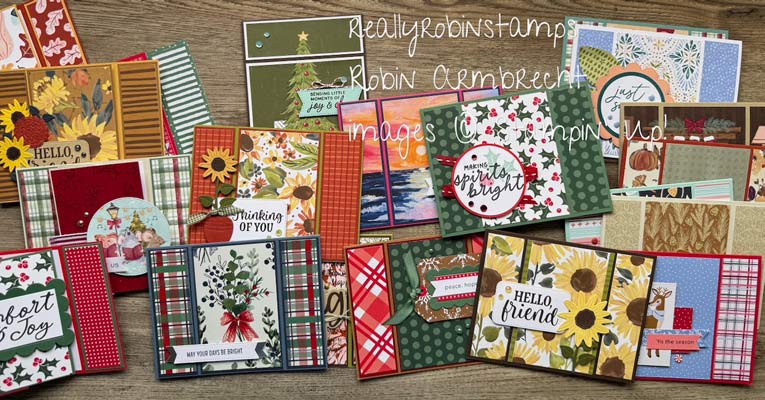
Cards with wonky, awkward angles were showing up with me this week and I decided to not question it. What I discovered is that these cards are all related in that they have unexpected angles. Grab your ruler & pencil and let’s create with some awkward angles!
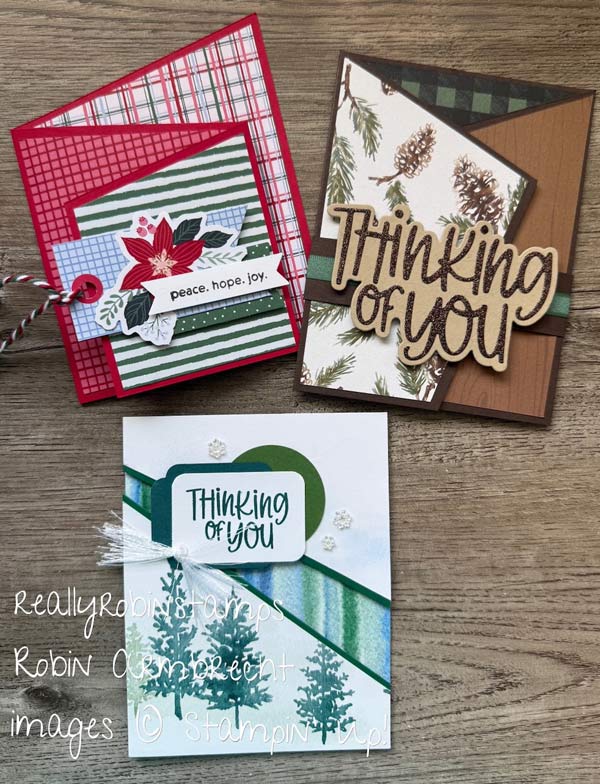
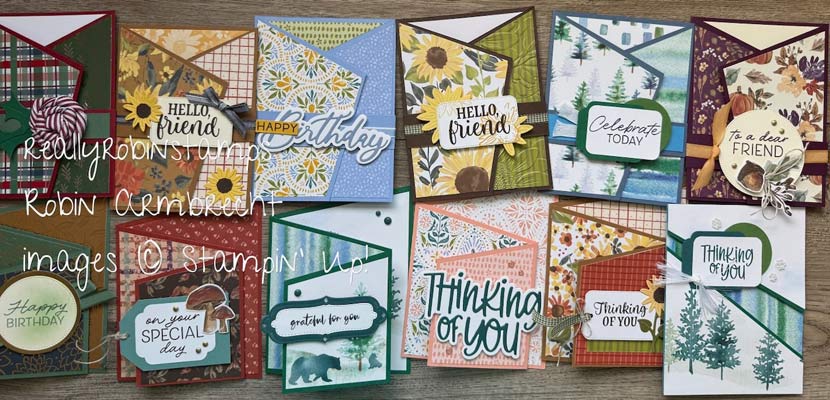
Here’s Your Homework 😉
- Watch the video tutorial for Awkwardly Angled cards to see how they are created.
- Download the PDF to use while you are creating.
- Find some interesting contrasting pattern papers to showcase these angles!
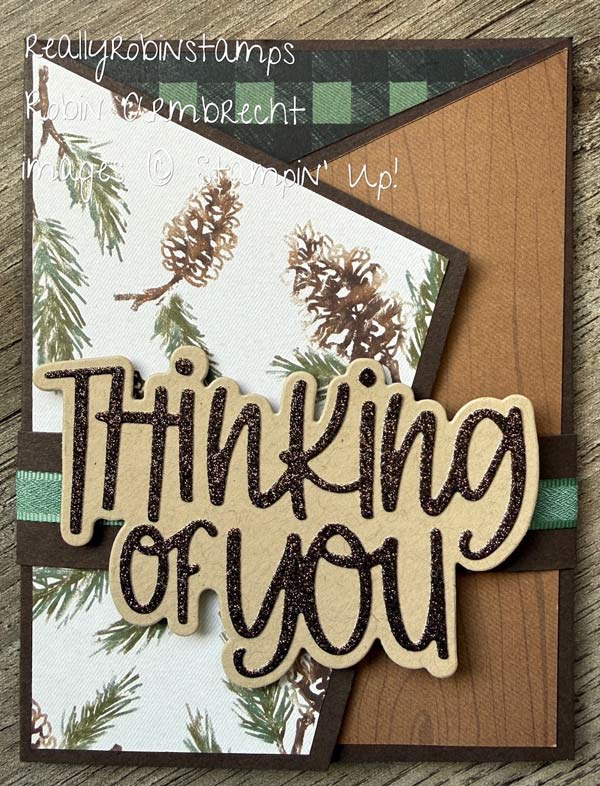
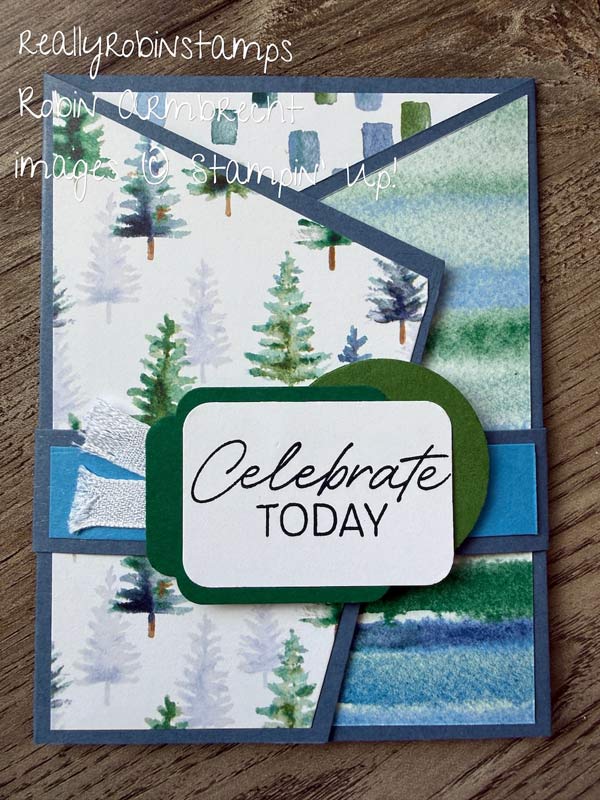
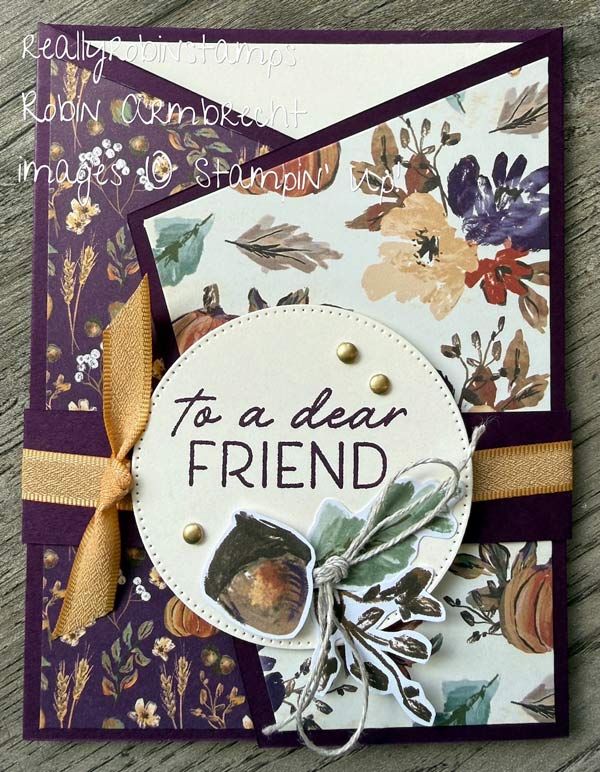
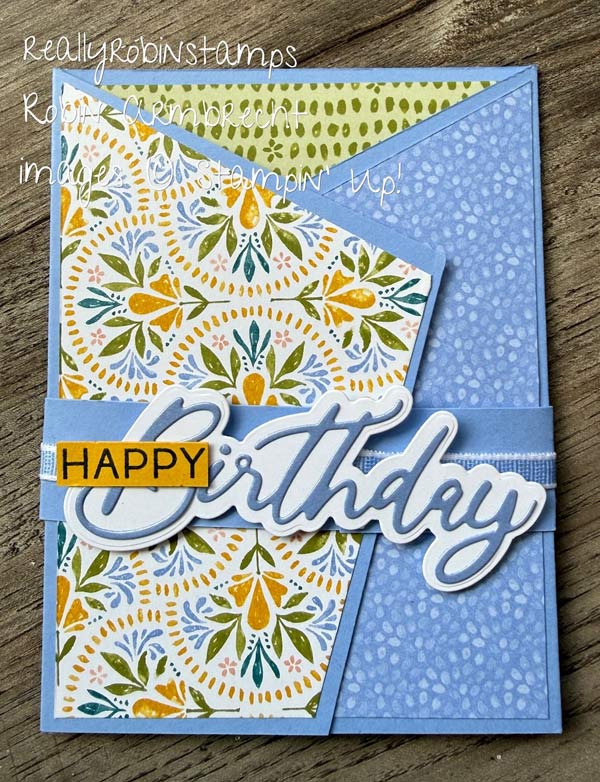
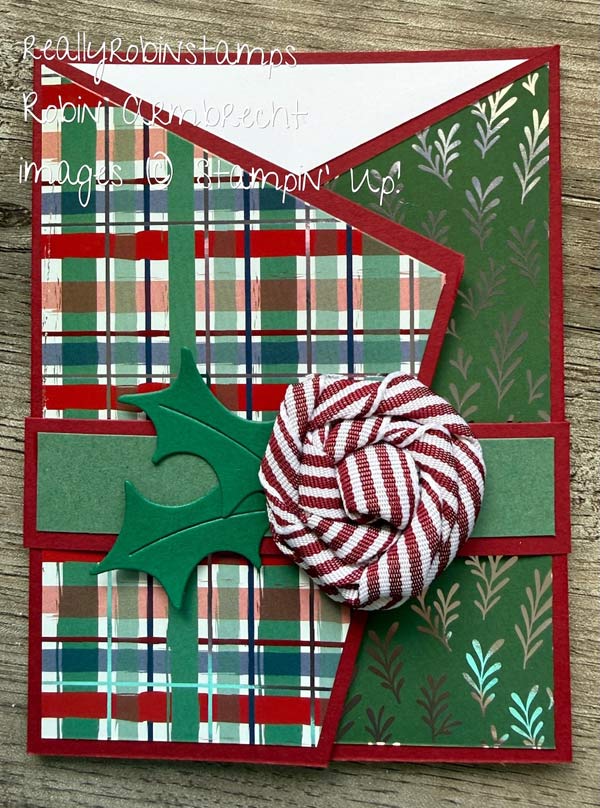
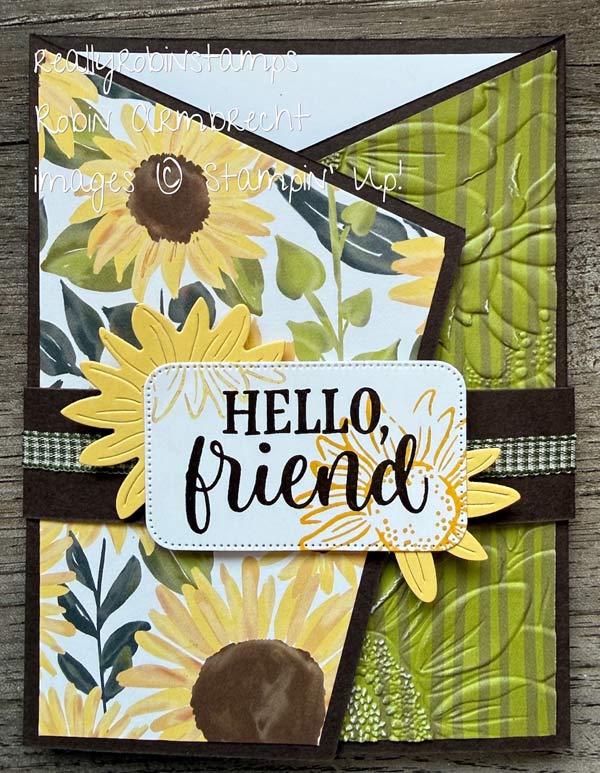
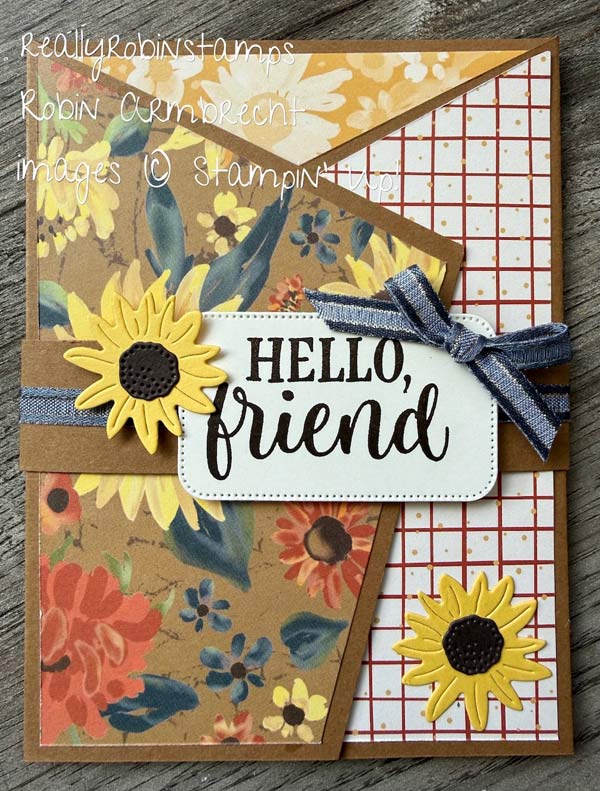
Angled Gatefold
- 5-1/2” x 11” cardstock base
- 1” x 9-1/2” cardstock same color as base
- 5-1/4” x 4” Basic White for the inside (or 4″ x 10-1/2″ DSP scored at 5-1/4″ with 3-3/4″ x 5″ Basic White)
- 3-1/8” x 5-1/4” (cut 2) Choose two different coordinating DSP patterns
- Die cut or punched shape for greeting
- 9-1/2” coordinating ribbon
- 1. Score the card base at 3-3/8” and 7-5/8” along the 11” edge (or 3-3/8” from each side).
- With pencil and ruler measure and mark 1-1/2” down from the top corners on both sides. Measure and mark 1” in from the bottom corners.
- Cut from the score line to the 1-1/2” mark first, then from the 1-1/2” mark to the 1” mark on both sides.
- Cut the two DSP pieces at the same time with the sides you want showing facing each other on the inside and looking at the back of the right side pattern. Measure and mark at 1-1/2” down from the top right corner and 1” in and cut the same way as the card base.
- Score the 1” x 9-1/2” piece at 3-3/8” and fold around the closed card base to make a belly band. The ends should overlap on the front middle of the card front.
- Wrap and secure ribbon around the belly band from back to front.
- Attach the shaped die cut or punched shape to the belly band over the place where the belly band overlaps.
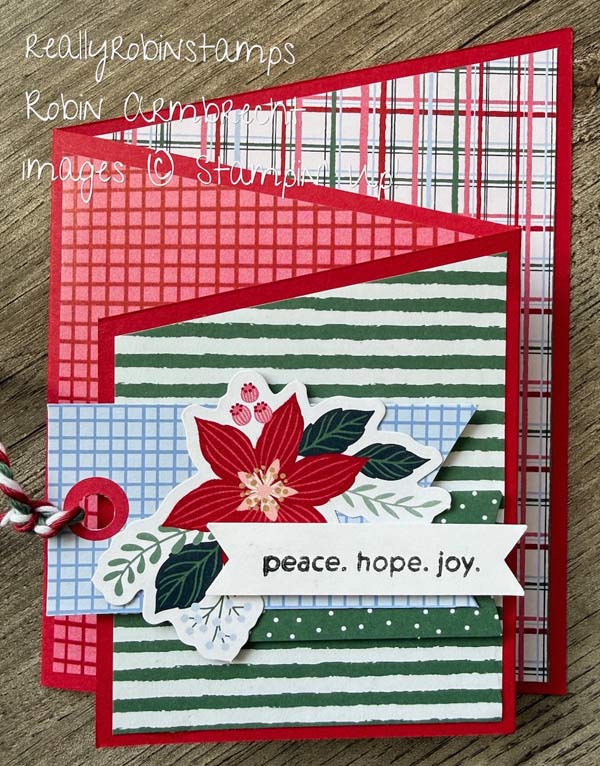
Cascading Trifold Card (makes 2 at one time)
- 11” x 8-1/2” cardstock
- 5-1/4” x 4” DSP #1 (2)
- 4-1/4” x 3-1/2” DSP#2 (2)
- 3-1/2” x 2-3/4” DSP#3 (2)
- 4-1/4” x 3-1/2” Basic White (2)
- Focal point image and/or greeting
- With the cardstock oriented with the 8-1/2” edge at the top and bottom, make a pencil mark 3” from the top right corner and the bottom left corner of the 11” x 8-1/2” piece of cardstock.
- Cut between the two marks, cutting the cardstock in half at an angle.
- Score along the 11” straight edge of each piece measuring from the 5-1/2” edge at 4-1/4” and 8”.
- Fold on the score lines like a “Z” with the 5-1/2” edge in the back on the right, and the smallest panel in front (with the 3-1/2” edge on the left).
- The large, medium and small pieces of DSP will be attached to the panels of the card base that face the front. To make the DSP top edges match the angles of the cardbase, first line up the DSP so that you have 1/8” border around the bottom and side edges, then slide the DSP up another 1/8” from the bottom, hold and trim the top along the angled edge. Do this for the large, medium, and small DSP pieces and the Basic White piece for the middle on the inside.
- Create a focal point cluster and adhere to the front, small panel.
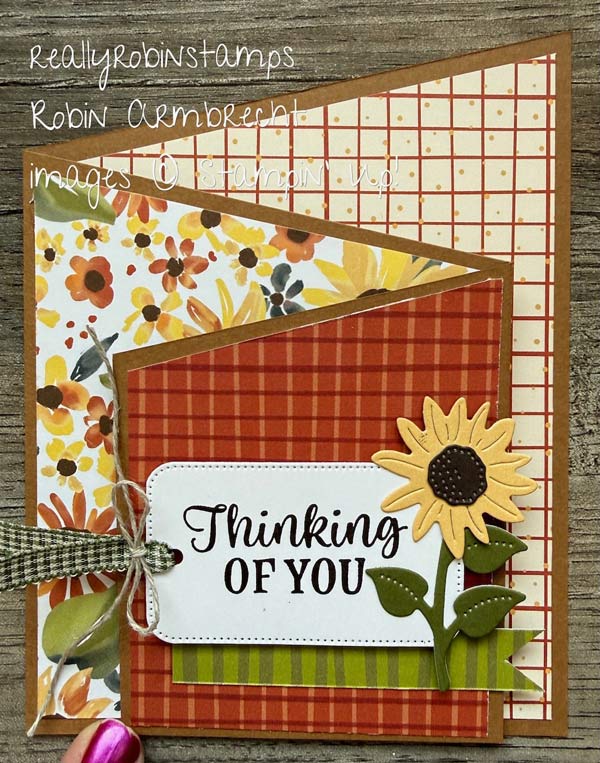
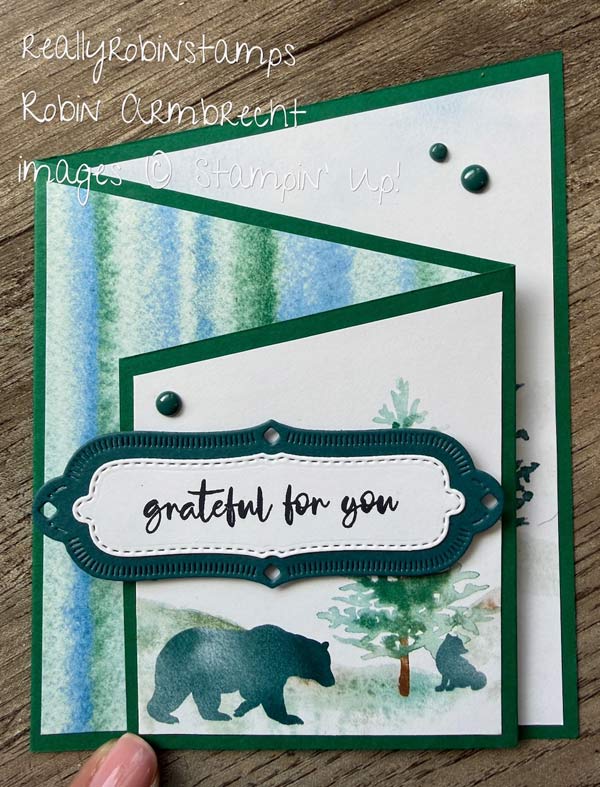
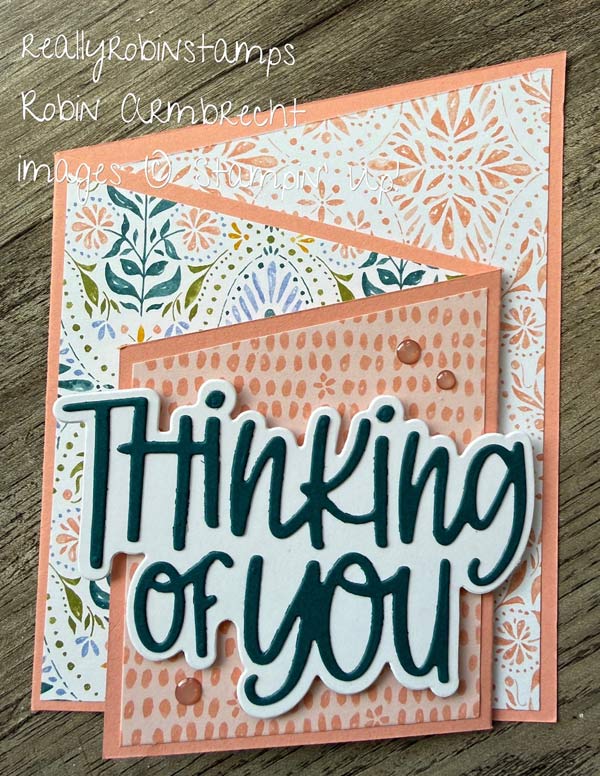
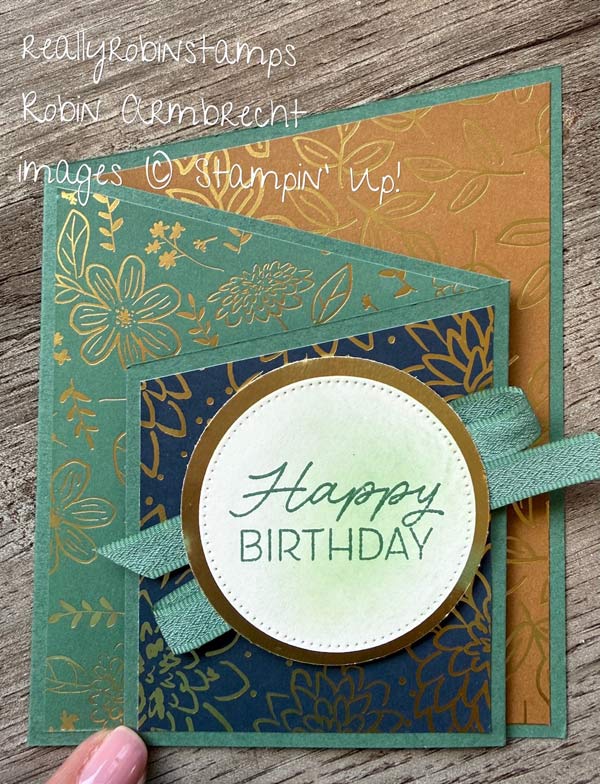
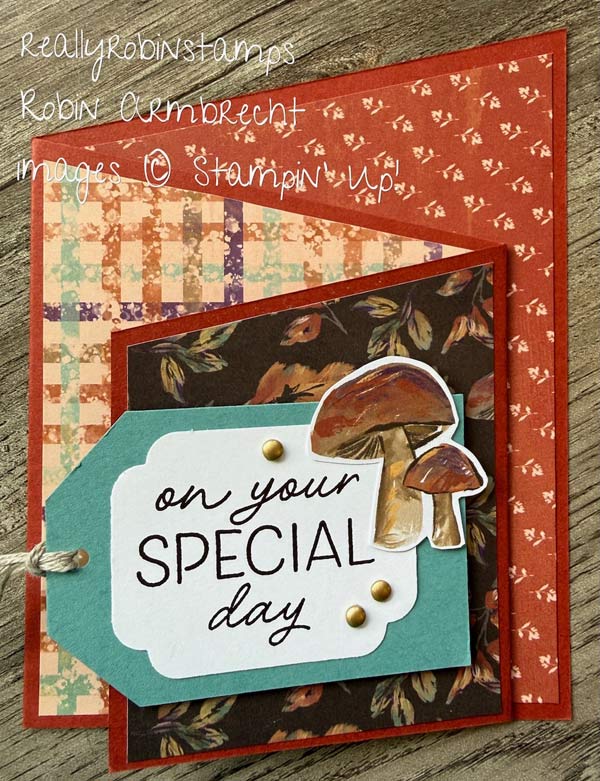
Expanding Diagonal Recessed Panel Card
- 5-1/2” x 8-1/2” card base
- 4-1/4” x 4-1/2” DSP
- 4-1/4” x 5-1/2” lighter cardstock color
- 4-1/4” x 5-1/2” darker cardstock color
- Focal point image and/or greeting
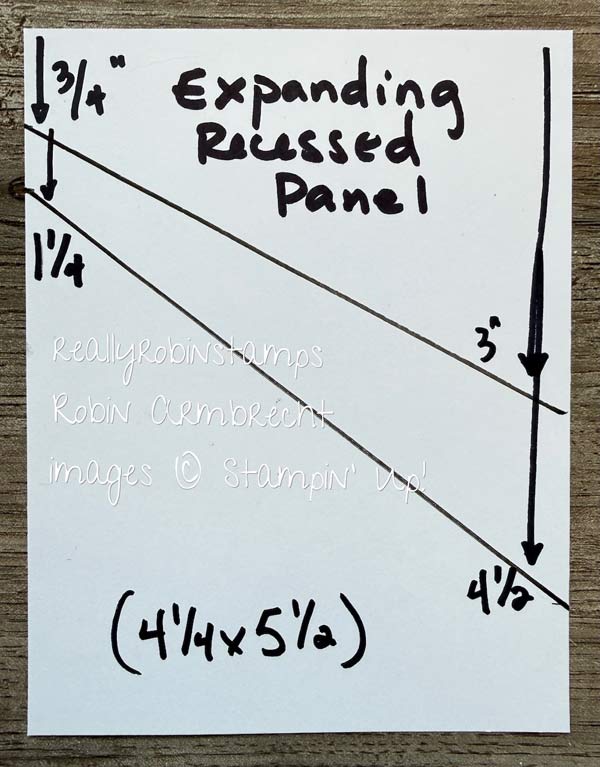
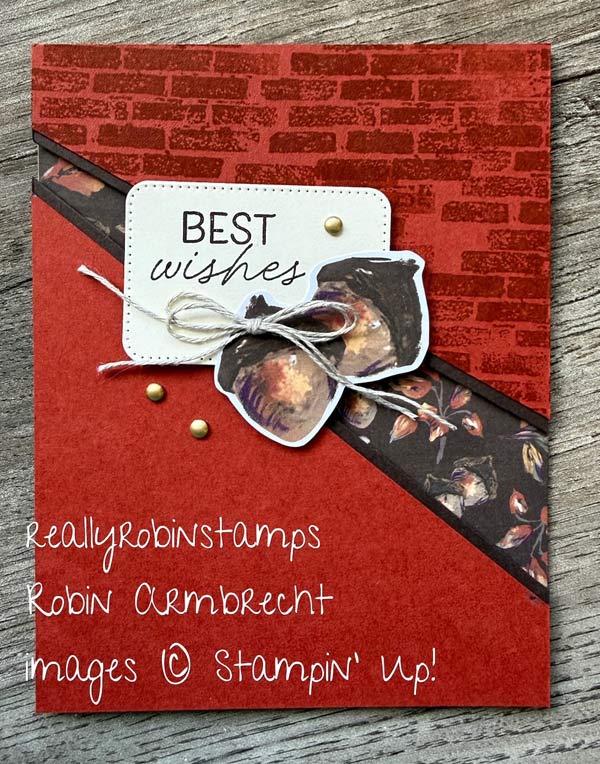
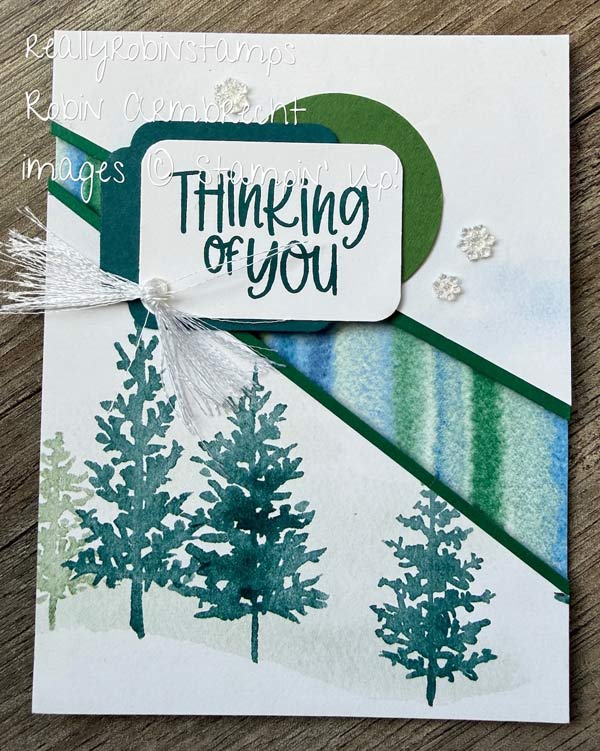
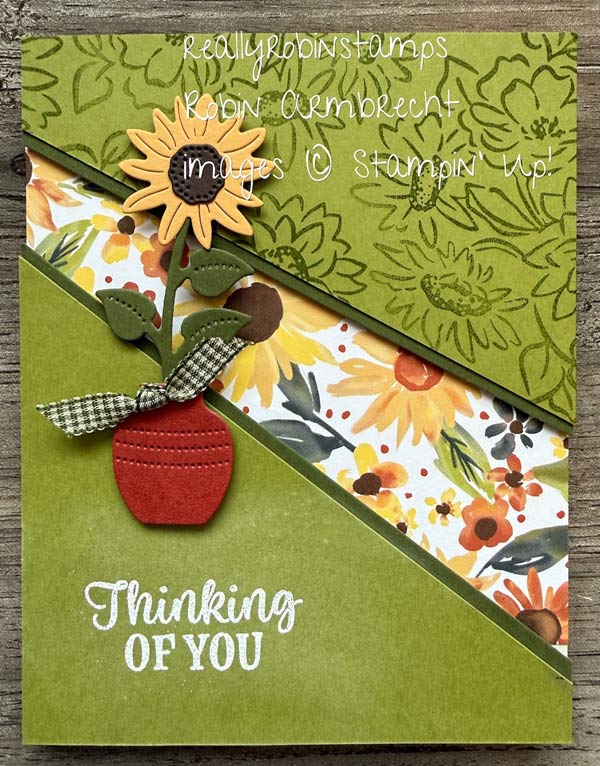
- Cut the two card front pieces into two pieces following the measurements.
- Attach the coordinating cardstock to the back side edge of each cut card front pieces so that only a small sliver (about 1/8”) shows creating a matted look.
- Adhere the piece of DSP onto the card base in the gap where the 2 card front pieces will separate.
- Add Stampin’ Dimensionals to corners, edges and middle of the back side of the cut card front pieces and attach to the card base making sure the matted edges are next to the patterned paper and the outside edges meet the edge of the card base.
- Create a focal point image with a die cut, punch or fussy cut image and attach to card front overlapping the recessed panel.
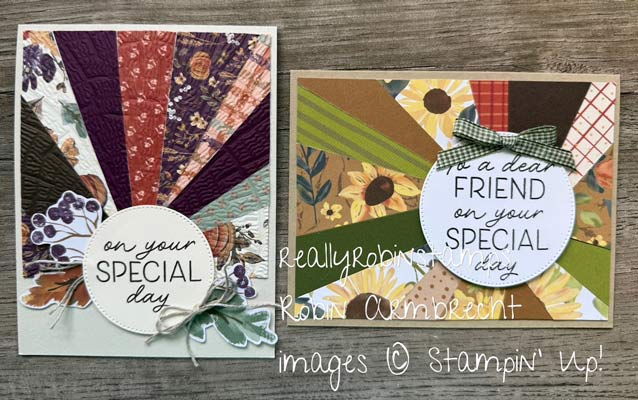
Now it’s your turn to go back to some basic measuring techniques to create some awkwardly angled cards, and I hope you have so much fun being creative!

Product List
![Three Banner Punch [ 167050 ]](https://assets1.tamsnetwork.com/images/EC042017NF/167050s.jpg "Three Banner Punch [ 167050 ]")
|
|||
![Thinking Of You Bundle (English) [ 168263 ]](https://assets1.tamsnetwork.com/images/EC042017NF/168263s.jpg "Thinking Of You Bundle (English) [ 168263 ]")
|
![Advent Labels Punch [ 168398 ]](https://assets1.tamsnetwork.com/images/EC042017NF/168398s.jpg "Advent Labels Punch [ 168398 ]")
|
![Rounded Rectangle Punch [ 167880 ]](https://assets1.tamsnetwork.com/images/EC042017NF/167880s.jpg "Rounded Rectangle Punch [ 167880 ]")
|
|
![1-3/4" (4.4 Cm) Circle Punch [ 119850 ]](https://assets1.tamsnetwork.com/images/EC042017NF/119850s.jpg "1-3/4\" (4.4 Cm) Circle Punch [ 119850 ]")
|
![Autumn Opulence 12" X 12" (30.5 X 30.5 Cm) Specialty Designer Series Paper [ 168336 ]](https://assets1.tamsnetwork.com/images/EC042017NF/168336s.jpg "Autumn Opulence 12\" X 12\" (30.5 X 30.5 Cm) Specialty Designer Series Paper [ 168336 ]")
![Sunflower Fields 12" X 12" (30.5 X 30.5 Cm) Designer Series Paper [ 168351 ]](https://assets1.tamsnetwork.com/images/EC042017NF/168351s.jpg "Sunflower Fields 12\" X 12\" (30.5 X 30.5 Cm) Designer Series Paper [ 168351 ]")
![Radiant Sunflowers Bundle (English) [ 168359 ]](https://assets1.tamsnetwork.com/images/EC042017NF/168359s.jpg "Radiant Sunflowers Bundle (English) [ 168359 ]")
![Soiree Salutations Photopolymer Stamp Set (English) [ 168337 ]](https://assets1.tamsnetwork.com/images/EC042017NF/168337s.jpg "Soiree Salutations Photopolymer Stamp Set (English) [ 168337 ]")
![Alpine Winter 12" X 12" (30.5 X 30.5 Cm) Designer Series Paper [ 168304 ]](https://assets1.tamsnetwork.com/images/EC042017NF/168304s.jpg "Alpine Winter 12\" X 12\" (30.5 X 30.5 Cm) Designer Series Paper [ 168304 ]")
![Mosaic Garden 12" X 12" (30.5 X 30.5 Cm) Designer Series Paper [ 168566 ]](https://assets1.tamsnetwork.com/images/EC042017NF/168566s.jpg "Mosaic Garden 12\" X 12\" (30.5 X 30.5 Cm) Designer Series Paper [ 168566 ]")
![Whispering Woods 12" X 12" (30.5 X 30.5 Cm) Designer Series Paper [ 168368 ]](https://assets1.tamsnetwork.com/images/EC042017NF/168368s.jpg "Whispering Woods 12\" X 12\" (30.5 X 30.5 Cm) Designer Series Paper [ 168368 ]")
![All Wrapped Up 12" X 12" (30.5 X 30.5 Cm) Specialty Designer Series Paper [ 168473 ]](https://assets1.tamsnetwork.com/images/EC042017NF/168473s.jpg "All Wrapped Up 12\" X 12\" (30.5 X 30.5 Cm) Specialty Designer Series Paper [ 168473 ]")
![Creative Celebrations Mix & Match 6" X 6" (15.2 X 15.2 Cm) Specialty Designer Series Paper [ 168499 ]](https://assets1.tamsnetwork.com/images/EC042017NF/168499s.jpg "Creative Celebrations Mix & Match 6\" X 6\" (15.2 X 15.2 Cm) Specialty Designer Series Paper [ 168499 ]")
![Season Of Celebration Mix & Match Ephemera Pack [ 168494 ]](https://assets1.tamsnetwork.com/images/EC042017NF/168494s.jpg "Season Of Celebration Mix & Match Ephemera Pack [ 168494 ]")
![Happiest Season Tags Mix & Match Ephemera Pack [ 168493 ]](https://assets1.tamsnetwork.com/images/EC042017NF/168493s.jpg "Happiest Season Tags Mix & Match Ephemera Pack [ 168493 ]")
![Framed & Fabulous Photopolymer Stamp Set (English) [ 170573 ]](https://assets1.tamsnetwork.com/images/EC042017NF/170573s.jpg "Framed & Fabulous Photopolymer Stamp Set (English) [ 170573 ]")

These cards are beyond fabulous… and soooo much fun to make! Your instructions were very thorough. Thanks so much, Robin. You rock!!!
Karrla
Thank you so much! I’m so happy you enjoyed these cards, and I appreciate your comment.