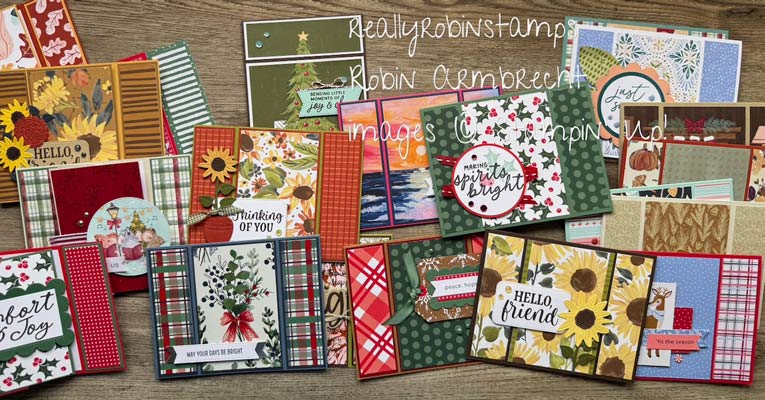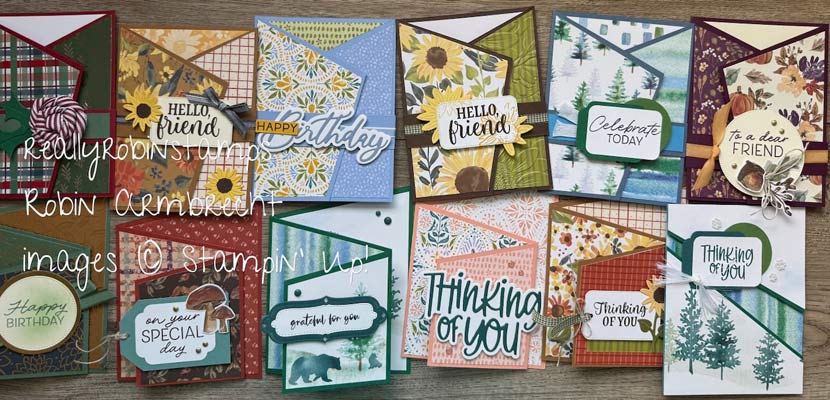
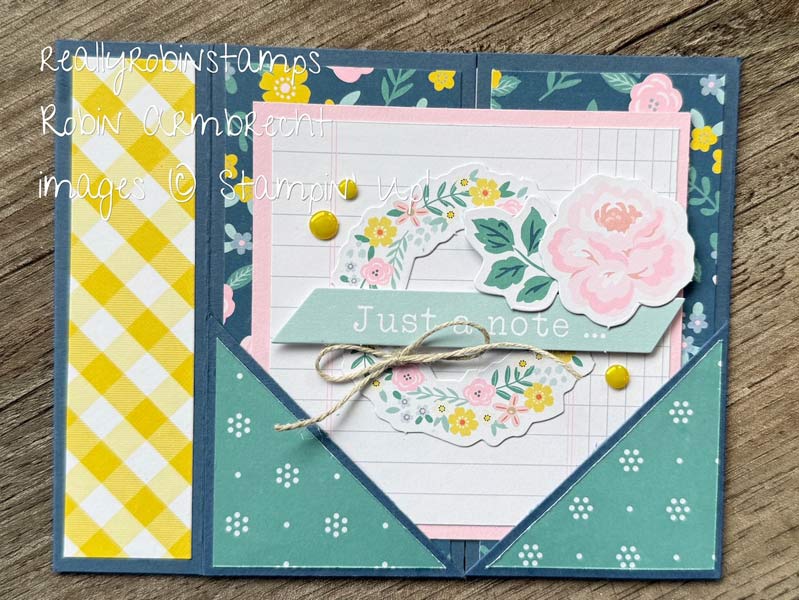
When a new fun fold wanders past my social media feed it is such a genuine treat! You would think after 26 years of making cards that I would have seen it all, but the opposite is true. I love being surprised by new designs from other creative minds. This is why card making never gets boring to me. Today I’m presenting the Pocket Gatefold Card, a new (to me) fun fold with a couple ways to vary the design to fit your needs! I think you are going to enjoy this one.
Today’s fun folds were inspired by some fabulous demonstrators! I encourage you to go see their amazing projects!
- Cary’s Creative Table: https://2biggirlscrafting.blogspot.com/2026/10/double-z-fold-tag-christmas-card.html
- Connie Stewart Simply Simple Stamping: https://simplysimplestamping.com/pocket-gatefold-card/
- Creative Moments by G: https://youtu.be/OpKpPV5t-Qg?si=bqkeFS9gDvVWwiKM
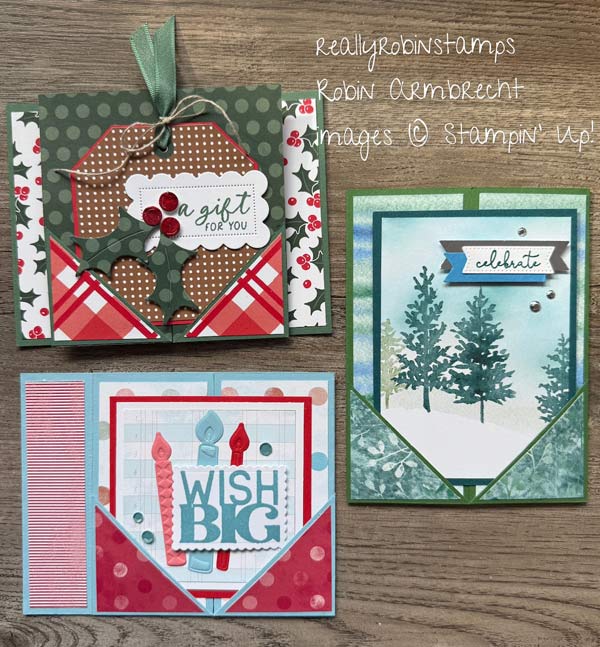
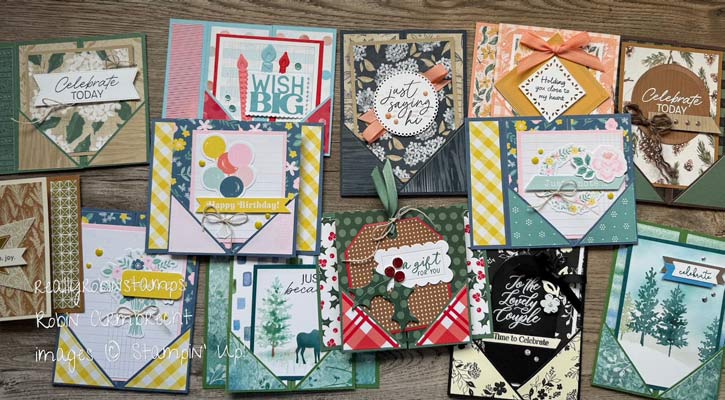
Here’s Your Homework 😉
- Watch the video tutorial for Pocket Gatefold Cards to see how they are created.
- Download the PDF to use while you are creating.
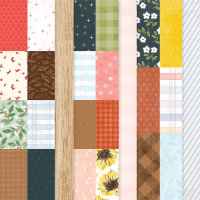
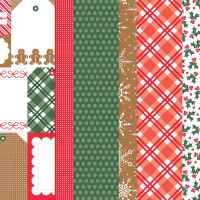
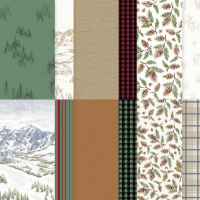
- Search your stash for a few coordinating papers to use on these great fun fold ideas!
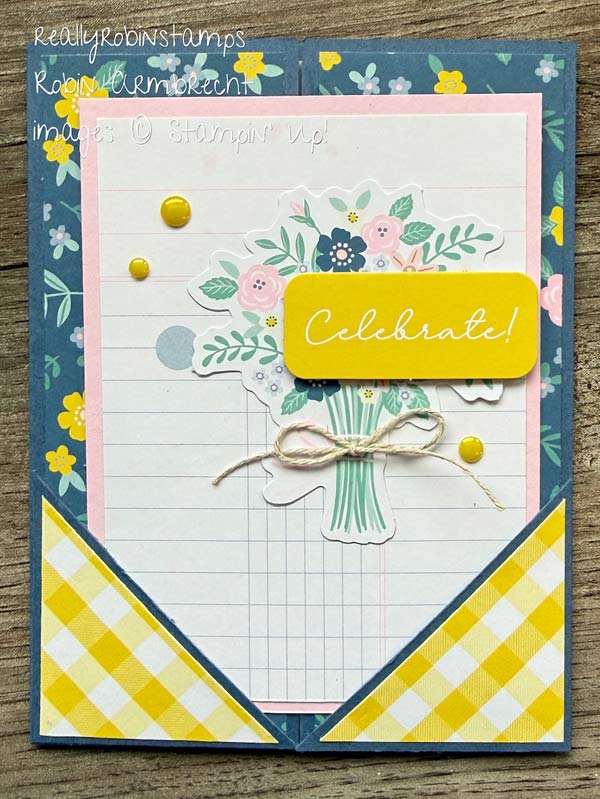
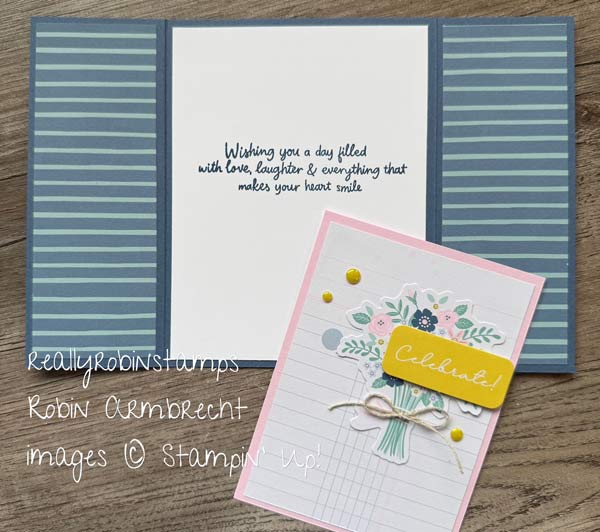
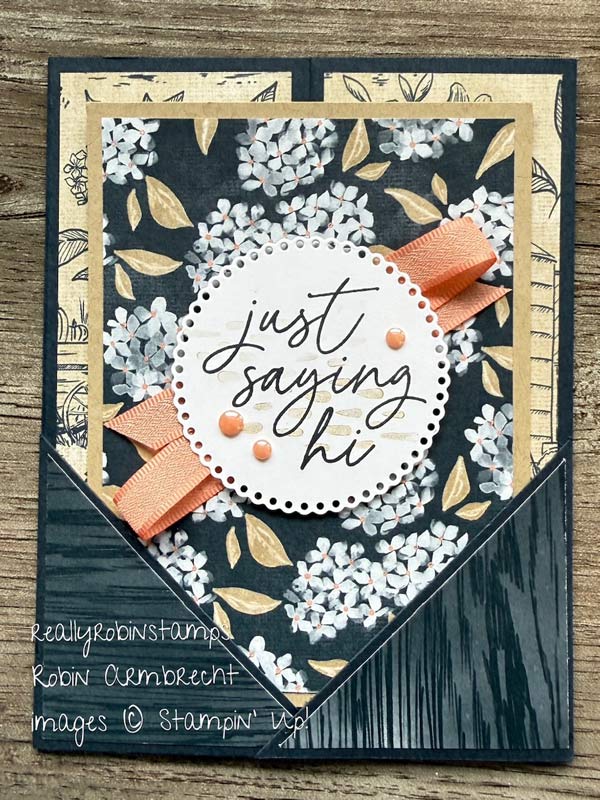
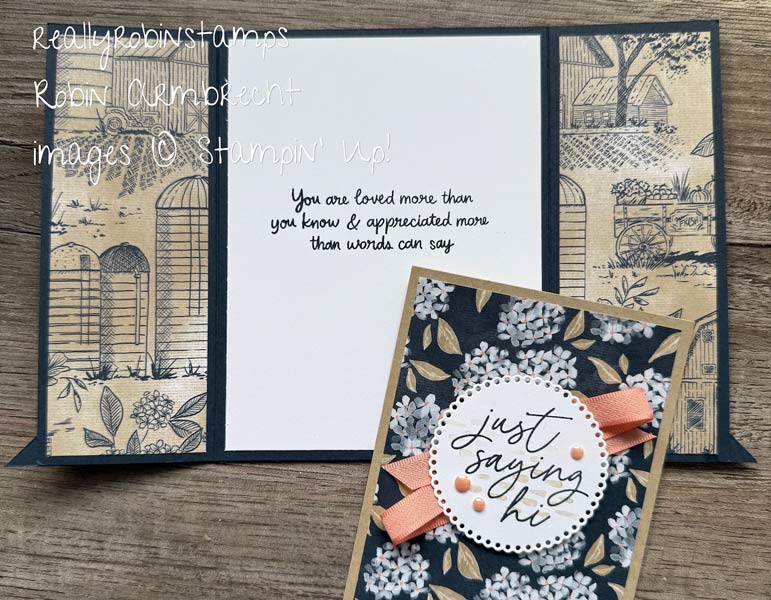
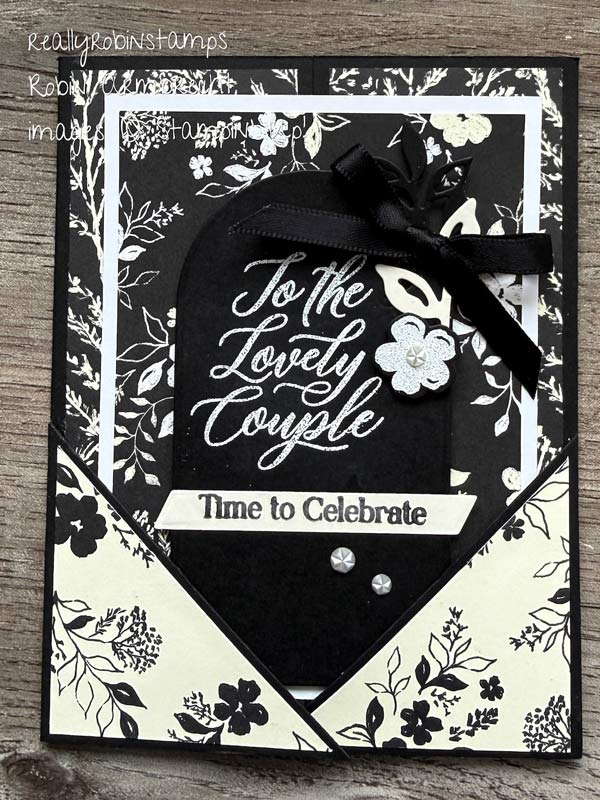
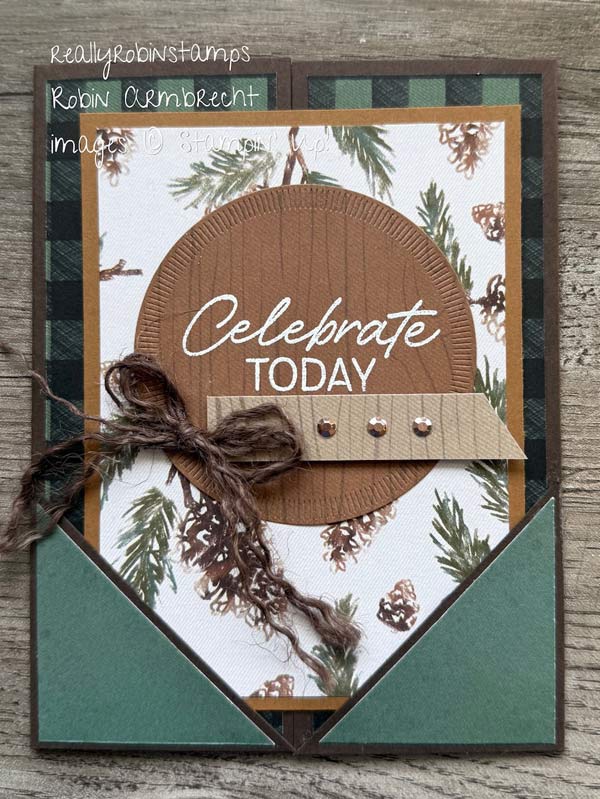
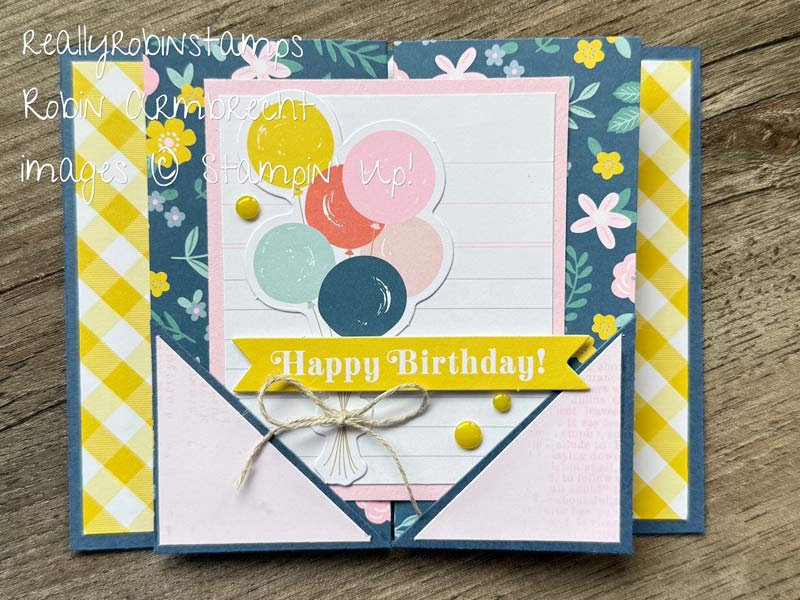
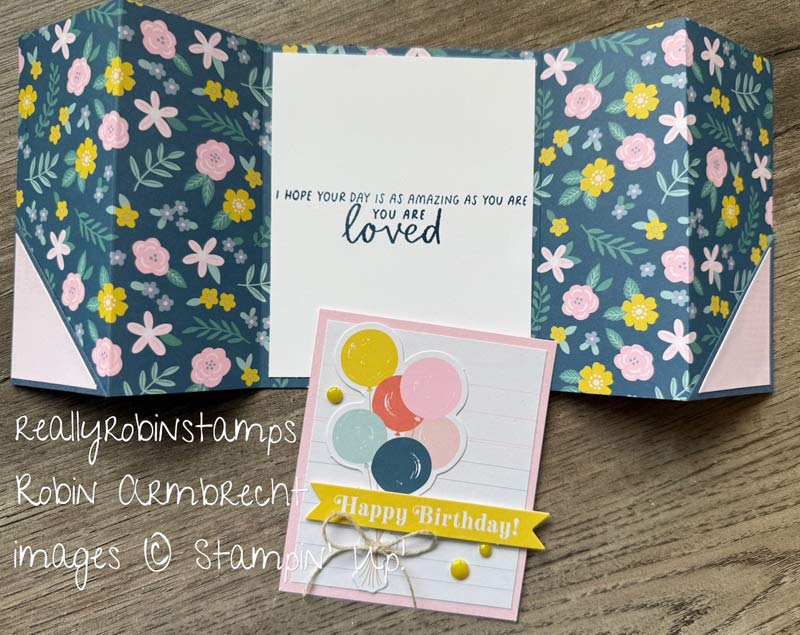
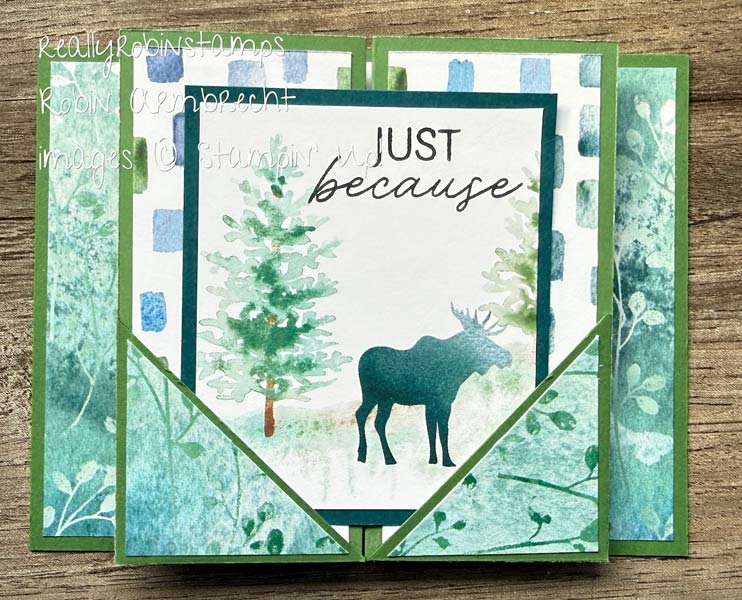
Basic Pocket Gatefold
- 5-1/2” x 8-1/2” cardstock for card base
- 2-1/8” x 2-1/8” cardstock, cut diagonally
- 1-7/8” x 1-7/8” DSP, cut diagonally
- 1-7/8” x 5-1/4” DSP (4) (two for the outside, two for the inside)
- 3-1/2” x 4-3/4” cardstock for insert
- 3-1/4” x 5-1/4” DSP for insert
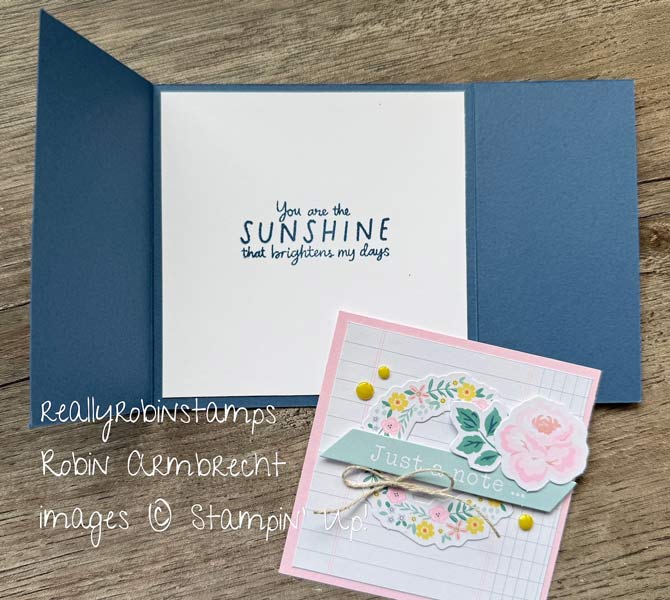
- 4” x 5-1/4” Basic White cardstock for inside
- Focal point
- Along the 8-1/2” edge of the card base, score 2-1/8” from each side.
- Fold on the score lines towards the inside of the card to create the gates.
- Attach the pieces of DSP to the gates inside and out.
- Adhere the diagonally cut DSP pieces to the diagonally cut cardstock piece to create the pocket corners.
- Attach the pocket corners to the gates and adhere ONLY along the right-angle edges (outside edges).
- Adhere the DSP insert to the cardstock insert. Add focal point and greeting.
- Attach the Basic White cardstock to the inside of the card.
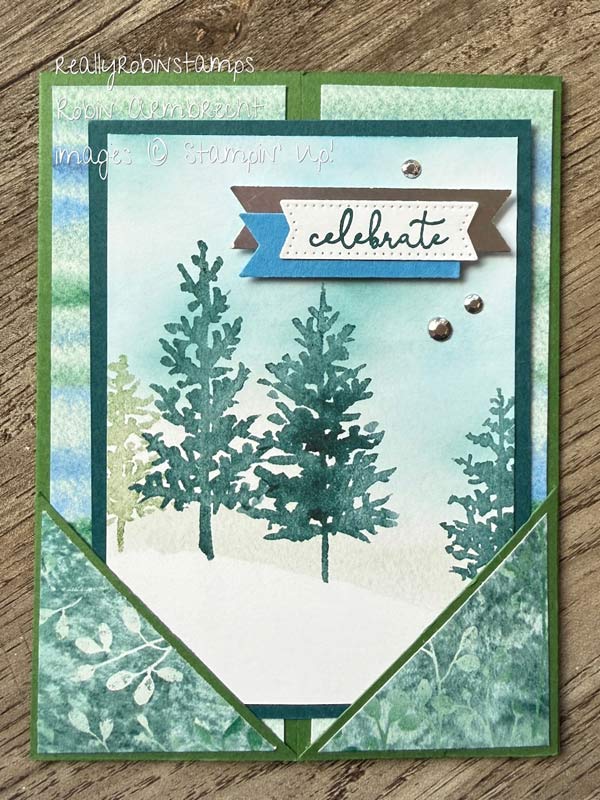
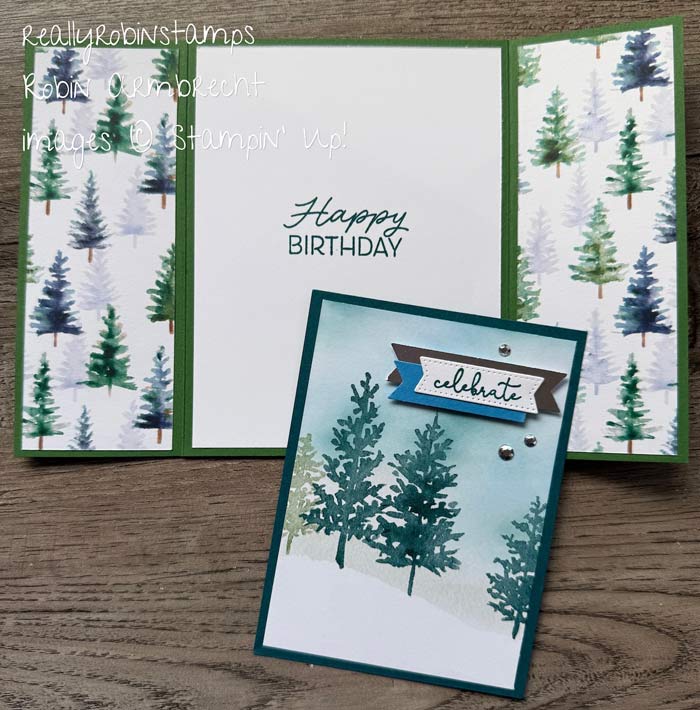
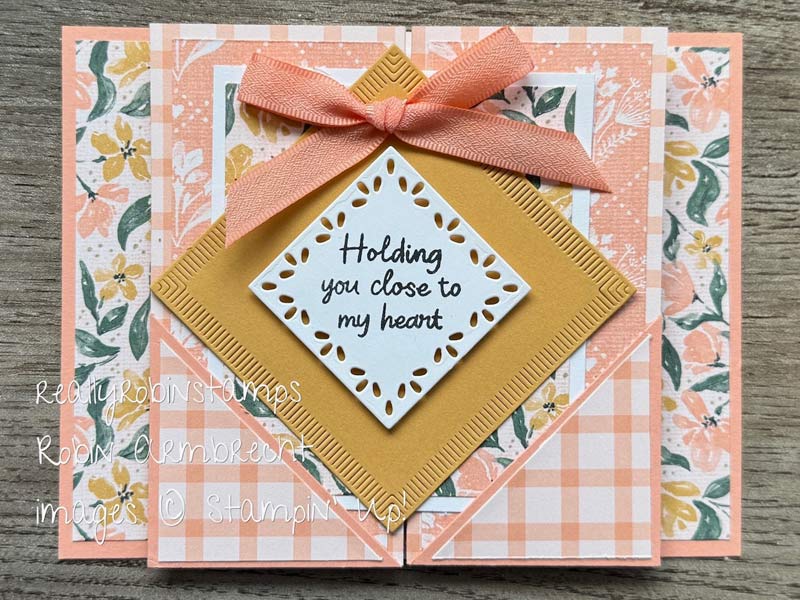
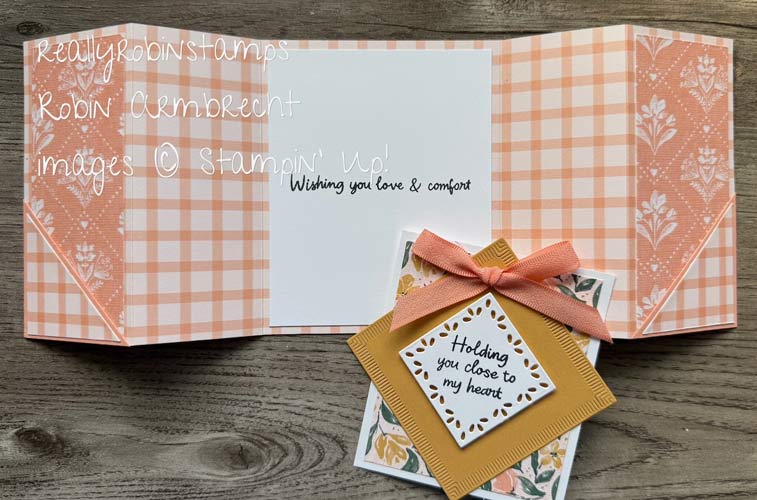
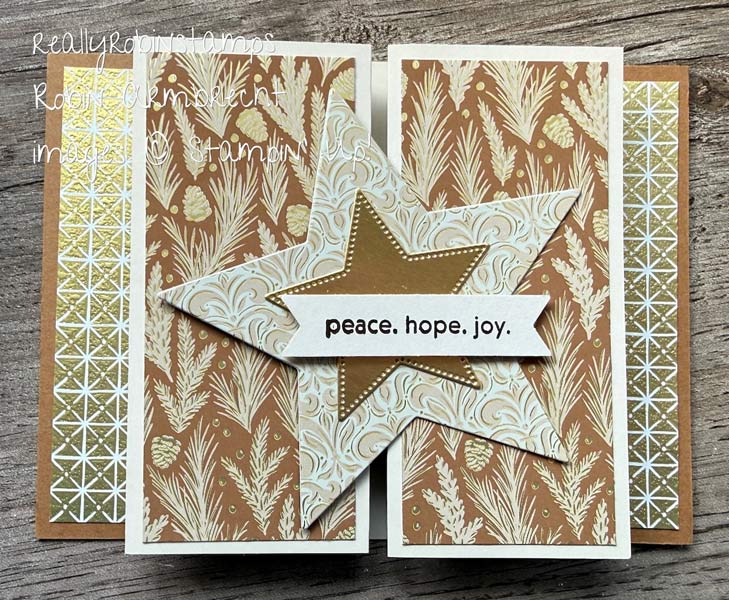
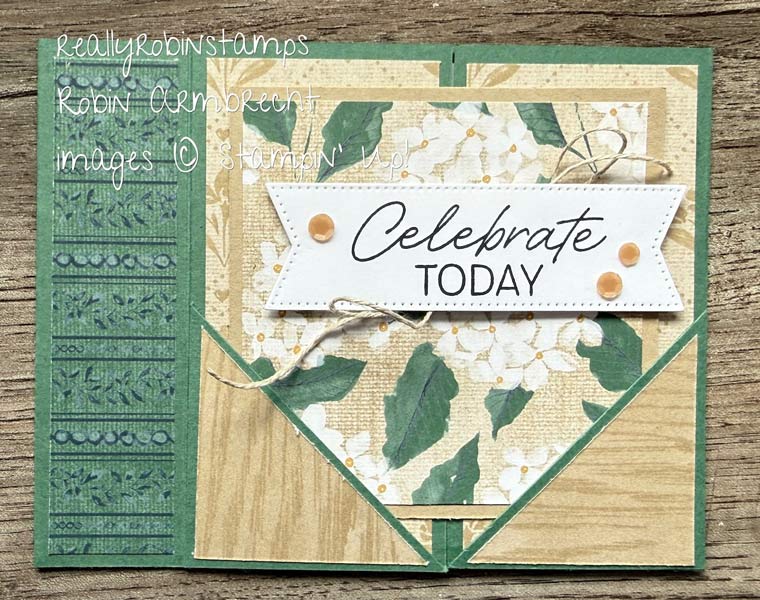
Double Pocket Gatefold
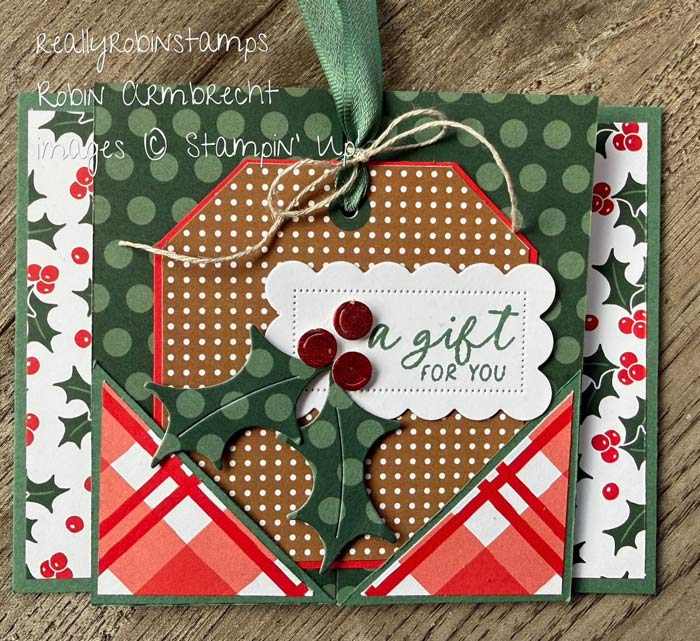
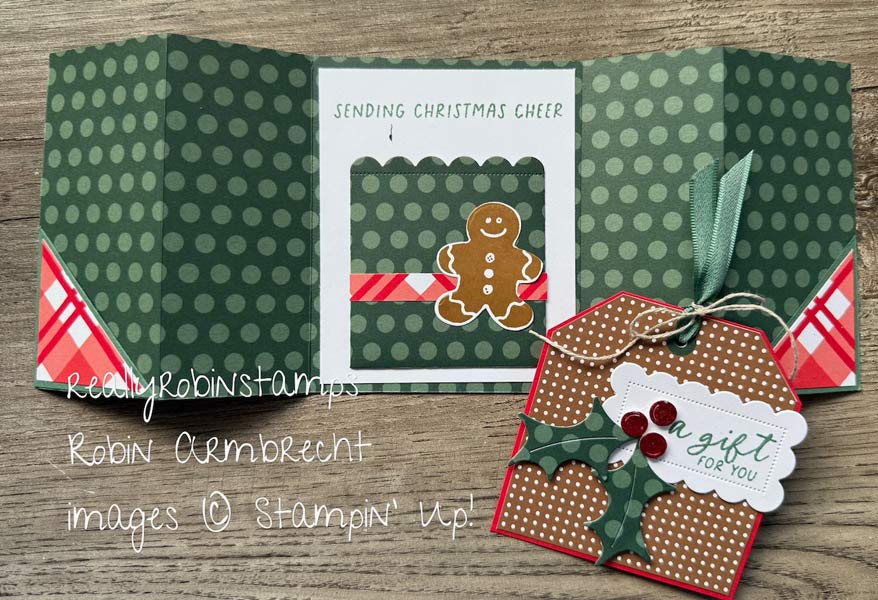
- 4” x 11” two-tone cardstock or DSP for card base
- 4-1/4” x 5-1/2” coordinating cardstock for card base
- 3” x 3-1/2” cardstock for insert card
- 2-3/4” x 3-1/4” DSP for insert card
- 1-3/4” x 4” (2) DSP for outside gatefolds (optional – if using Two-Tone)
- 1-1/2” x 4” (2) DSP for inside gatefolds (optional – if using Two-Tone)
- 7/8” x 4” (2) DSP
- 2” square cardstock, cut diagonally
- 1-3/4” square DSP, cut diagonally
- 3-1/4” x 4” Basic White cardstock for inside
- Focal Point
- Score along the 11” edge at 2”and 3-3/4” from each edge. Fold the 3-3/4” score lines towards the middle of the piece and fold the 2” score lines in the opposite direction creating double gatefolds that meet in the middle.
- Attach the 7/8” x 4” pieces of DSP to the outside edges of the 4” x 5-1/4” cardstock.
- Mount the double gatefold card base onto the 4-14” x 5-1/2” piece of cardstock.
- (Optional if using Two-Tone cardstock) Adhere the four DSP pieces to the outsides and insides of the double gatefolds.
- Adhere the diagonally cut DSP pieces to the diagonally cut cardstock piece to create the pocket corners.
- Attach the pocket corners to the gates and adhere ONLY along the right-angle edges (outside edges).
- Adhere the DSP insert to the cardstock insert. Add focal point and greeting.
- Attach the Basic White cardstock to the inside of the card.
Book Binding Pocket Gatefold Card
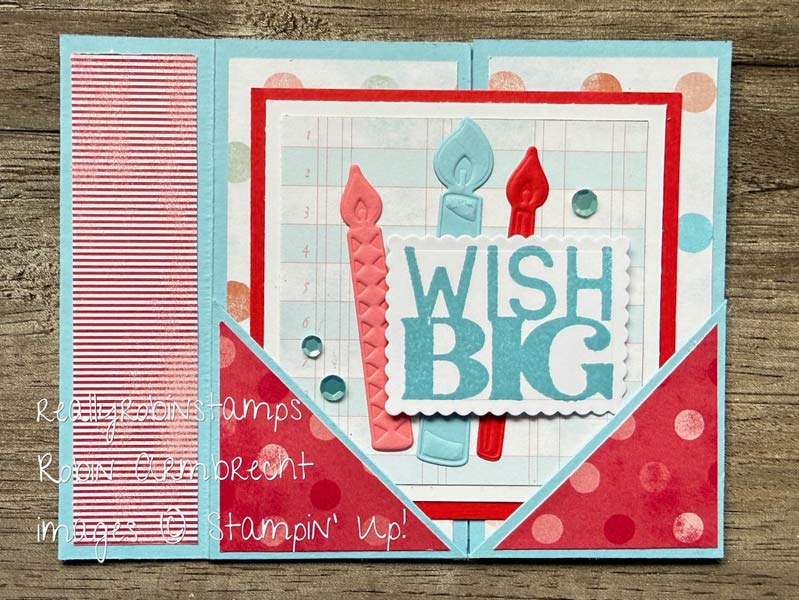
- 4-1/4” x 11” cardstock for card base
- 4” x 1” DSP
- 4” x 1-7/8” (2) DSP
- 2-1/8”x 2-1/8” cardstock cut diagonally
- 1-7/8” x 1-7/8” DSP cut diagonally
- 3-1/2” x 3-1/2” cardstock for pocket insert
- 3-1/4” x 3-1/4” DSP for pocket insert
- 4” x 4” Basic White cardstock for inside
- Focal point
- Score at 2-1/8”, 3-3/8”, and 8-7/8 along the 11” edge.
- Fold on the 3-3/8” score line toward the inside of the card. This will be the left side of the card.
- Fold on the 8-7/8” toward the inside of the card. This will be the right gate.
- Fold on the 2-1/8” score line away from the inside of the card. This will be the left gate.
- Attach the 1-1/4” section to the inside of the card to create the book binding.
- Attach the DSP pieces to the front of the card.
- Attach the 4”x4” inside the card.
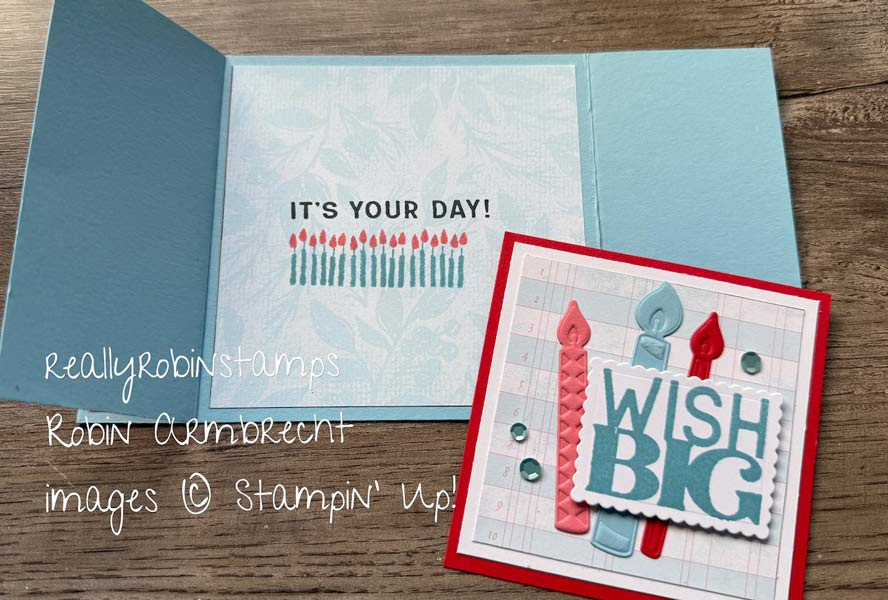
- Attach the pocket corners to the gates and adhere ONLY along the right-angle edges (outside edges).
- Adhere the pocket insert pieces together.
Now it’s your turn to dive into creating some Pocket Gatefold Cards, and I hope you have so much fun!

Product List
 |  | ||
 |  |