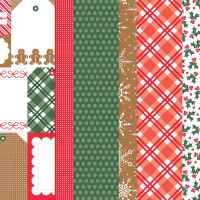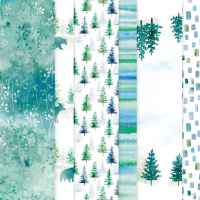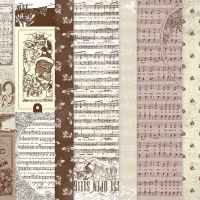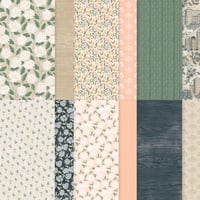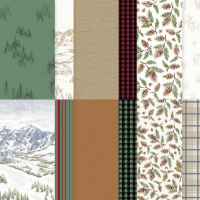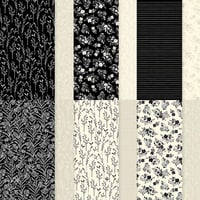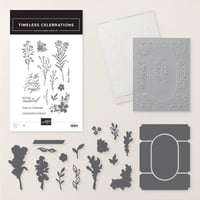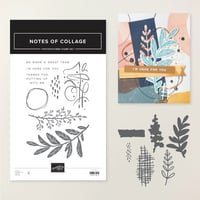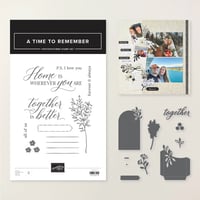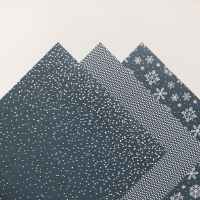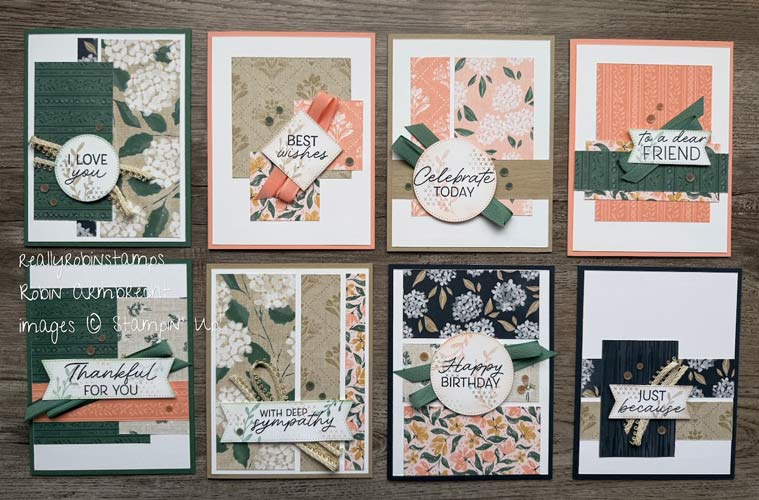
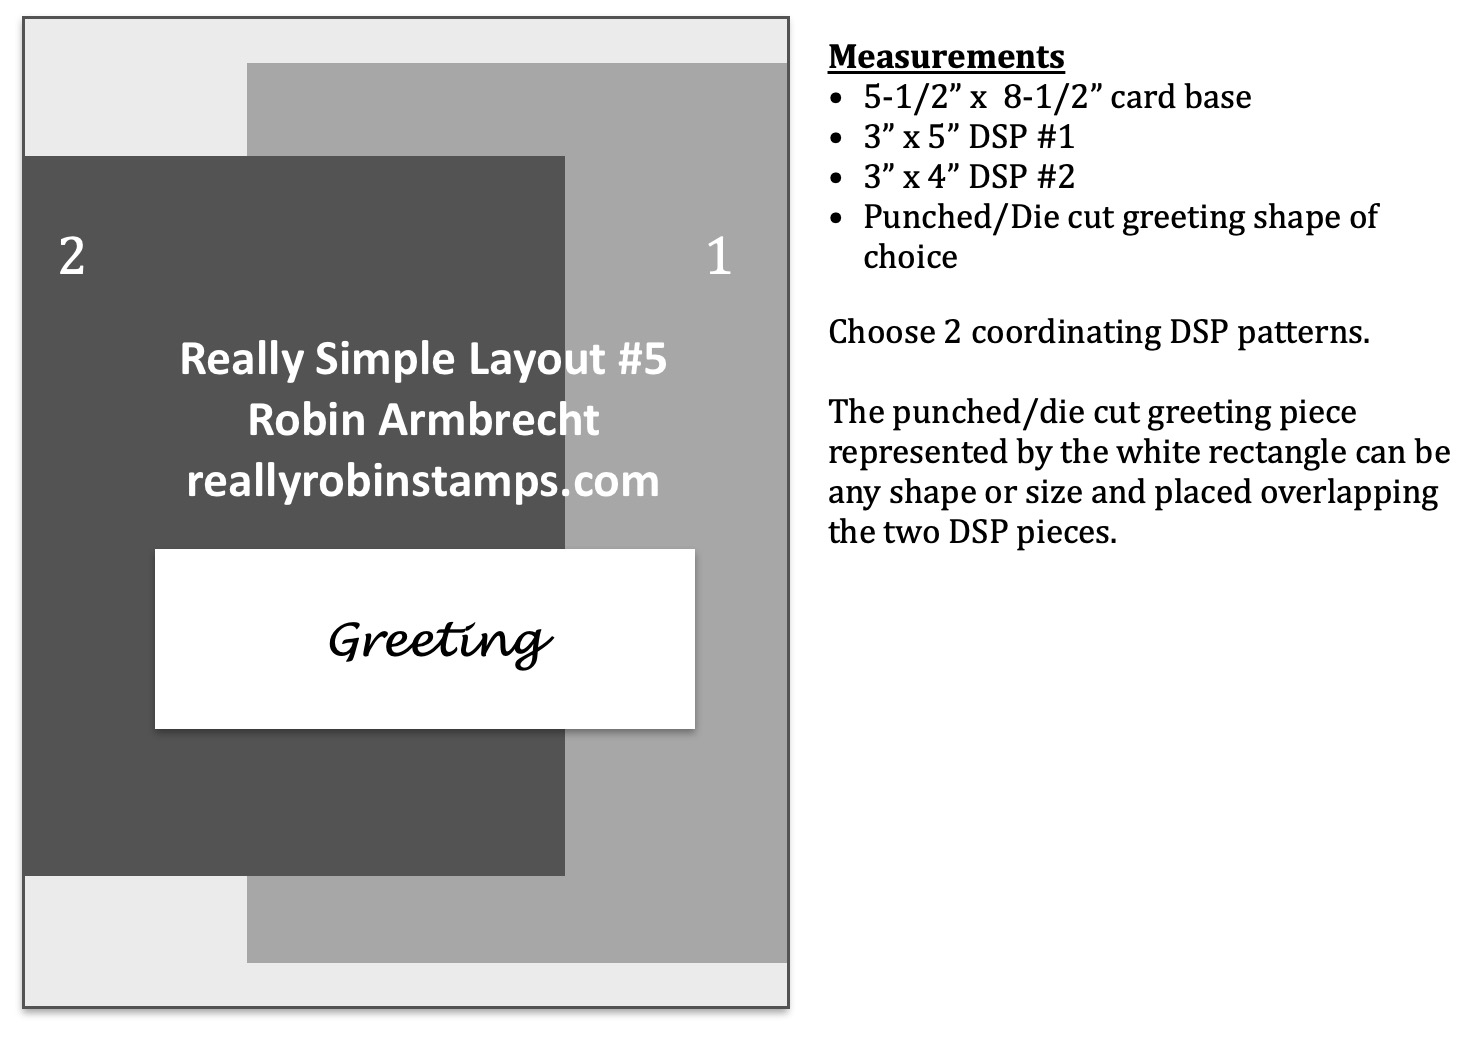
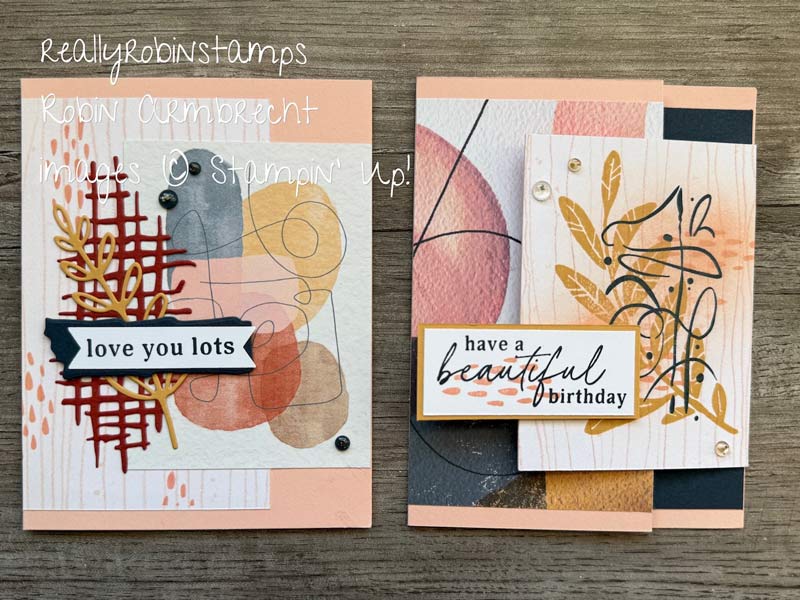
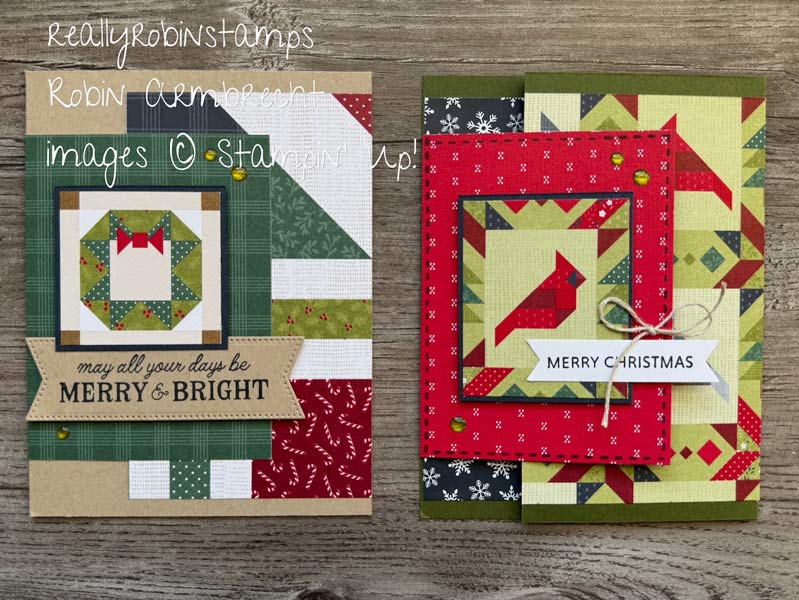
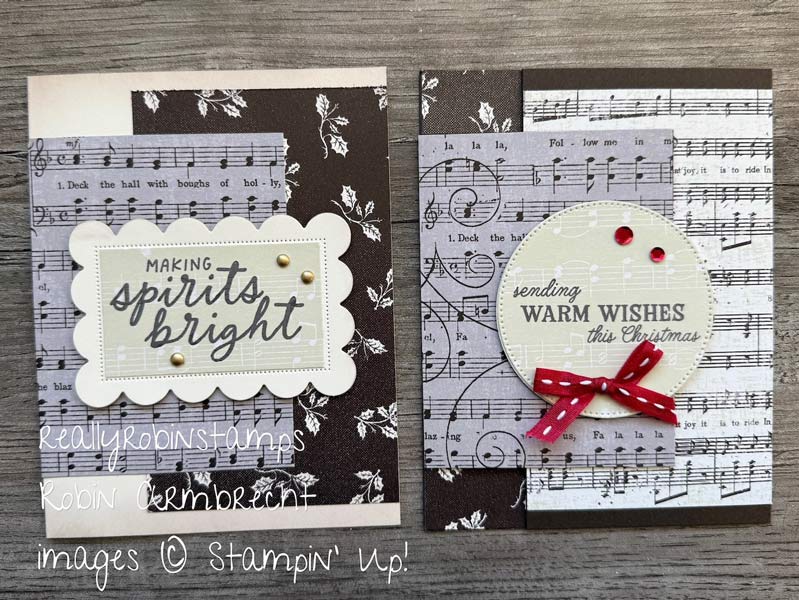
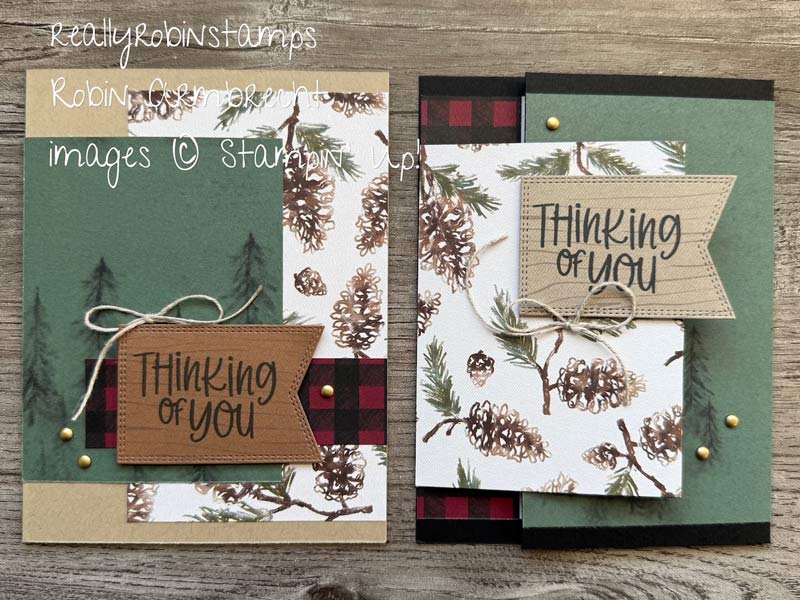
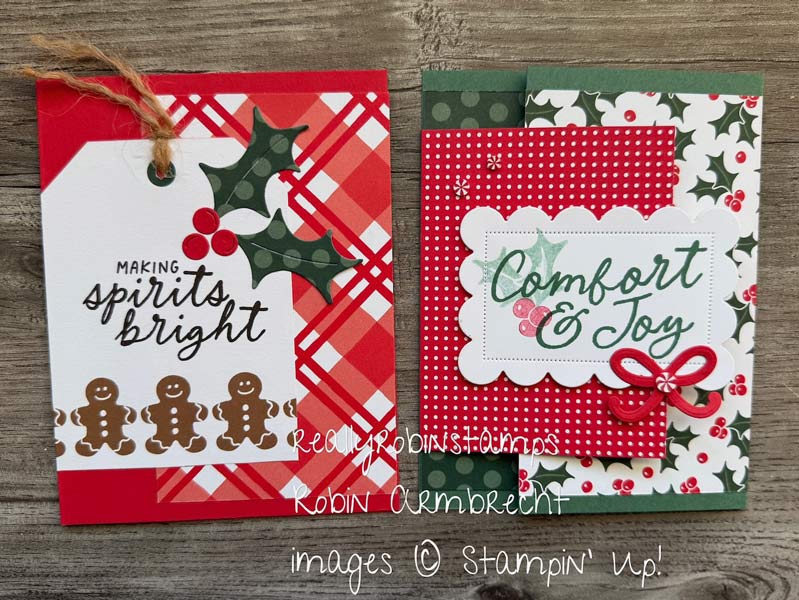
Are you ready for another installment of my new series of card templates called, “Really Simple Layouts”? These layouts are perfect for some quick-to-put-together cards when time is short. This particular layout is lovely in its simplicity as well as its whimsy (overlapping pattern papers are so fun!). The sizes of the pattern papers are helpful for making lots of multiples at one time for a holiday or special occasion.
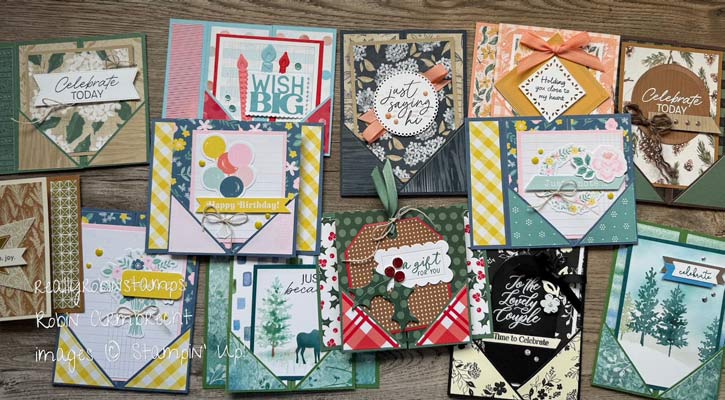
In addition to showing you a new Really Simple Layout, I am going to also teach you how to take the basic layout and step it up to create two related card ideas that I am calling “card cousins” 😂. All the information needed to create on your own is below including the supplies I used for my projects.
Here’s Your Homework 😉
- Watch the video tutorial for Really Simple Layout #5 to learn how to create with it.
- Download the 2 PDFs to use as a resource when you are creating on your own.
- Grab some friends and teach them how to make a handmade card using a REALLY SIMPLE LAYOUT!! Stamping with friends is always a good idea!
RSL #5 (really simple layout) Measurements
- 5-1/2” x 8-1/2” card base
- 3” x 5” DSP #1
- 3” x 4” DSP #2
- 4” x 5-1/4” Basic White for inside
- Punched/Die cut greeting shape of choice (or 1” x 3”)
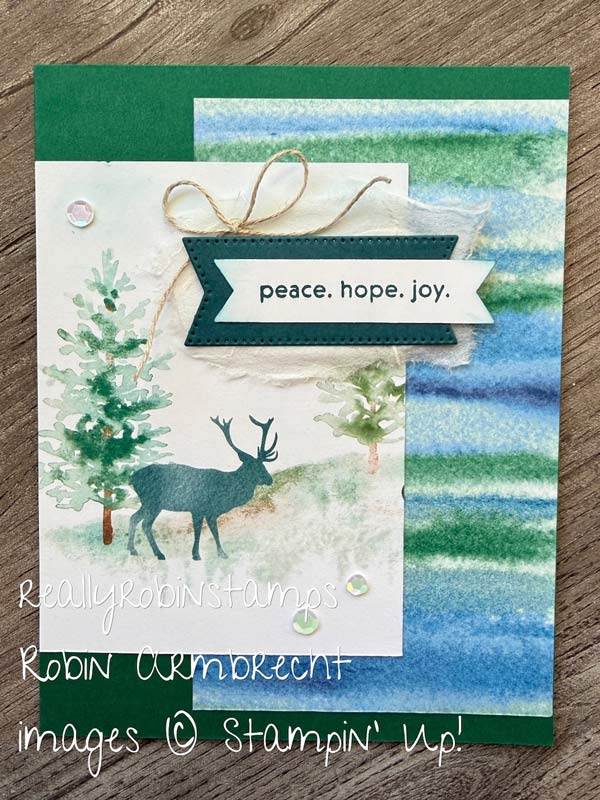
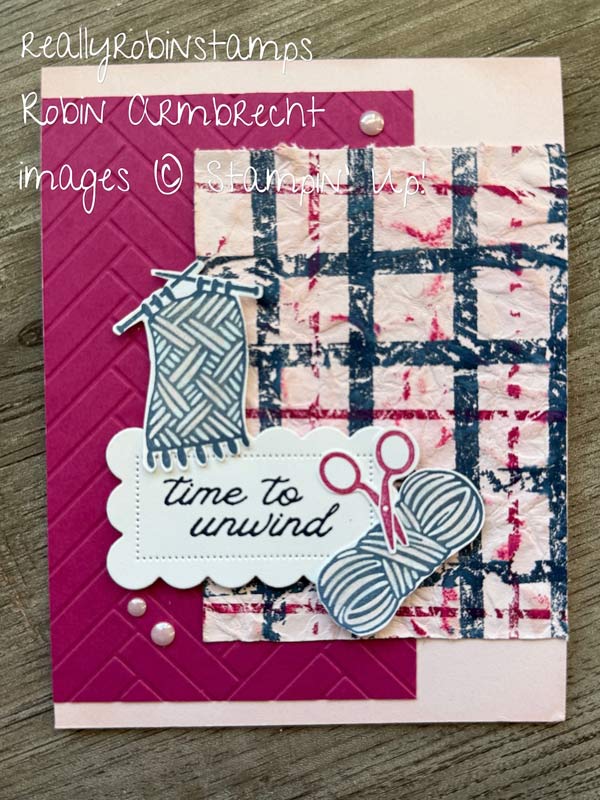
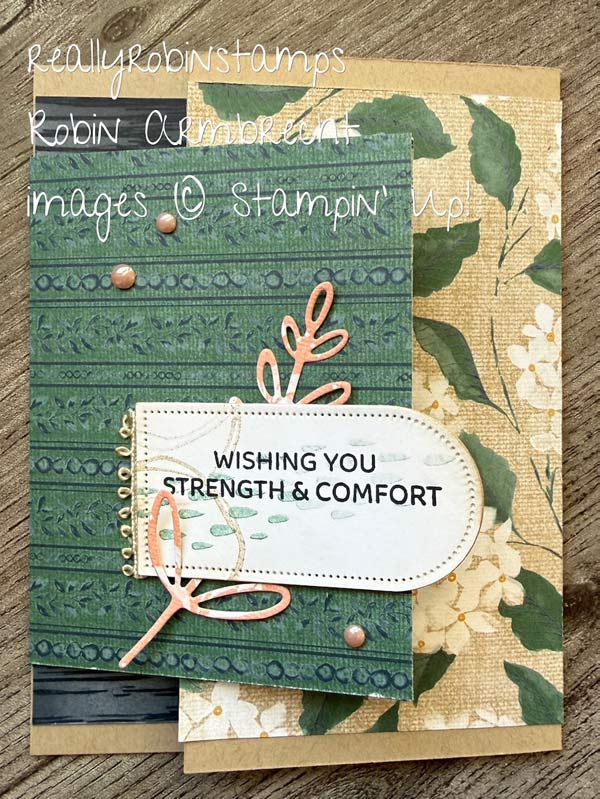
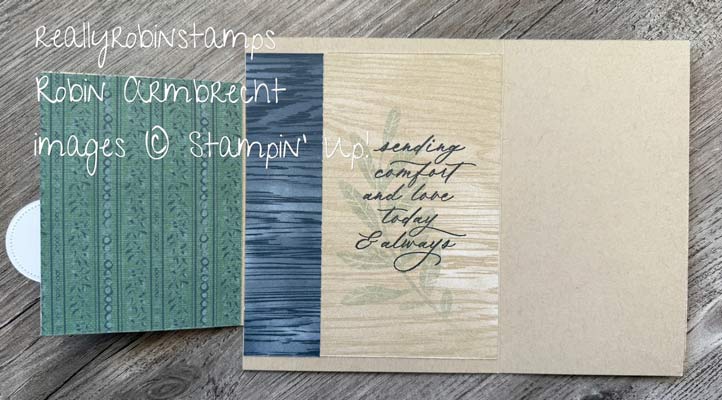
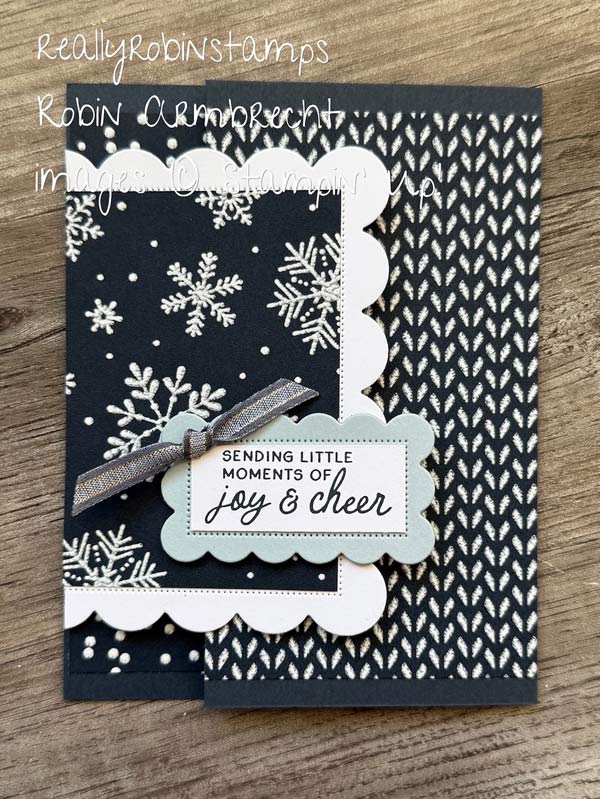
Side Flap Fold Card (a cousin to RSL#5)
- 5-1/2” x 7-1/4” card base, scored at 4-1/4”
- 3-1/2” x 4” cardstock (same color as the card base), scored at 3”
- 3” x 5” DSP #1
- 3” x 4” DSP #2
- 1-1/4” x 5” DSP #3
- 2-7/8” x 5” Basic White for inside
- Punched/Die cut greeting shape of choice (or 1” x 3”)
- Score the card base at 4-1/4”. Orient the card base so that the opening is on the left side.
- Attach DSP #1 on the right flap of the card front centered top to bottom. There will be 1/4” margin top and bottom.
- Score the 3-1/2” x 4” piece of cardstock along the 3-1/2” edge at 3”. Crease the 1/2” section well so it will bend easily. Attach this section to the inside of the card base, even with the left edge of the card base creating a flap.
- Attach DSP #2 onto the flap.
- Stamp greeting sentiment on shape of choice. Pop-up and attach onto the flap hanging off a bit as desired.
- Attach DSP #3 on the inside of the card on the left side and the Basic White cardstock on the right side.
- Optional: Add more DSP patterns to the flaps on the inside of the card. Use the same measurements for DSP #1 & #2.
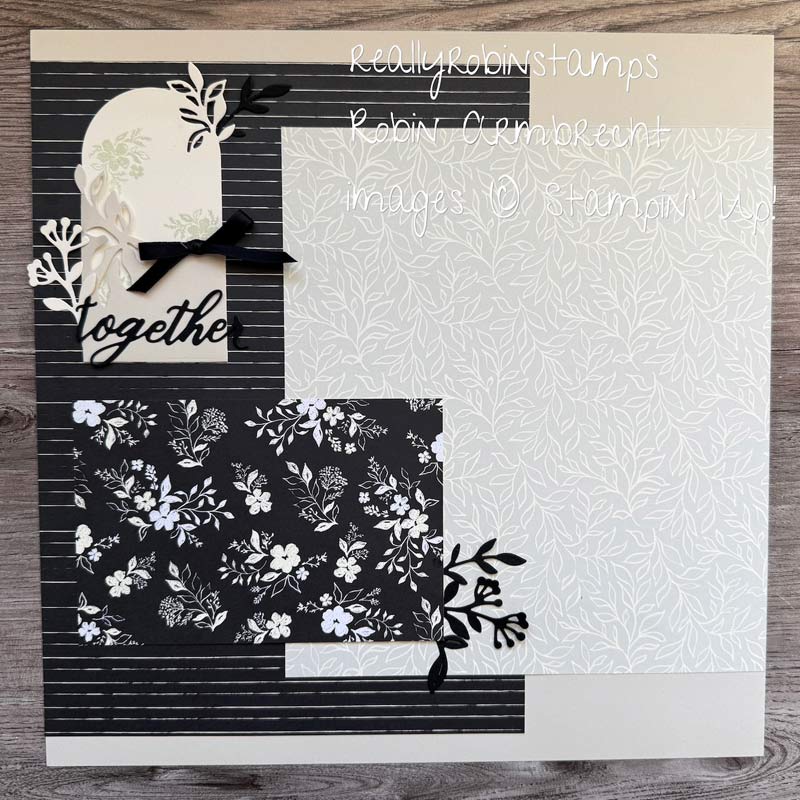
Scrapbook Layout (another distant cousin to RSL#5)
- 12 x 12 piece of Basic Beige Two-Tone cardstock
- 8″ x 9″ Somewhere in Time DSP
- 8″ x 11″ Somewhere in Time DSP
- 4″ x 6″ Somewhere in Time DSP
Now it’s your turn to take the basics of the Really Simple Layout #5 and create some cards and a card cousin or two! I hope you have so much fun with these projects.

Product List