
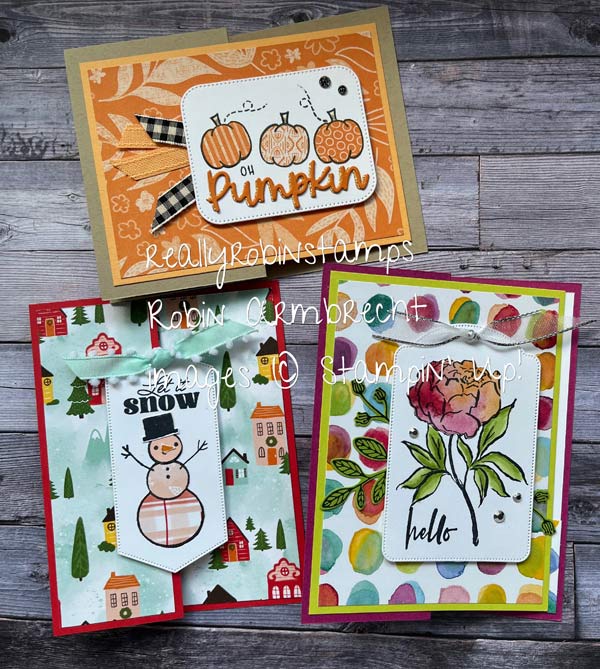
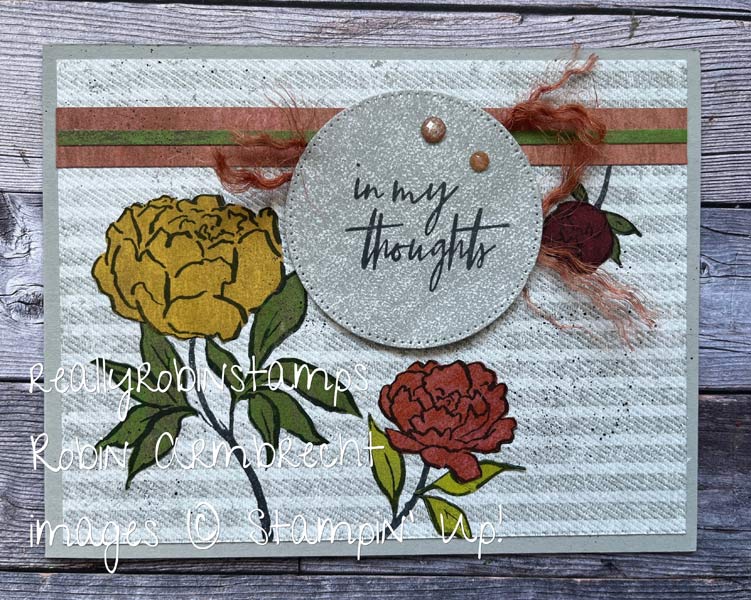
Paper Piecing is an easy technique that can add interest and whimsy to your stamped images. This technique in a nutshell is “coloring” in your images with paper. Paper piecing is one of those techniques that you can do even if you are a beginner card maker with minimal supplies. All you need for this technique are the basics: black ink, pattern paper, scissors, line-art images, and patience. 😅
Choosing Designer Series Paper (pattern paper) & Images
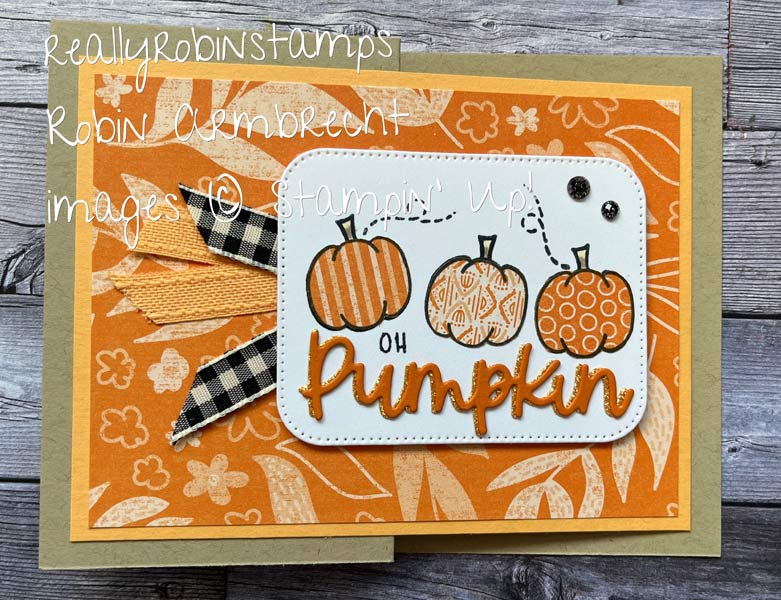
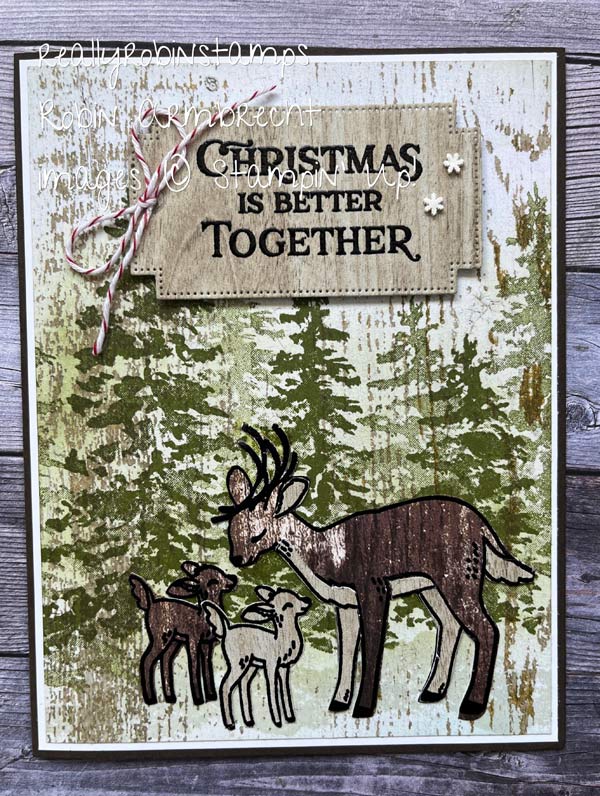
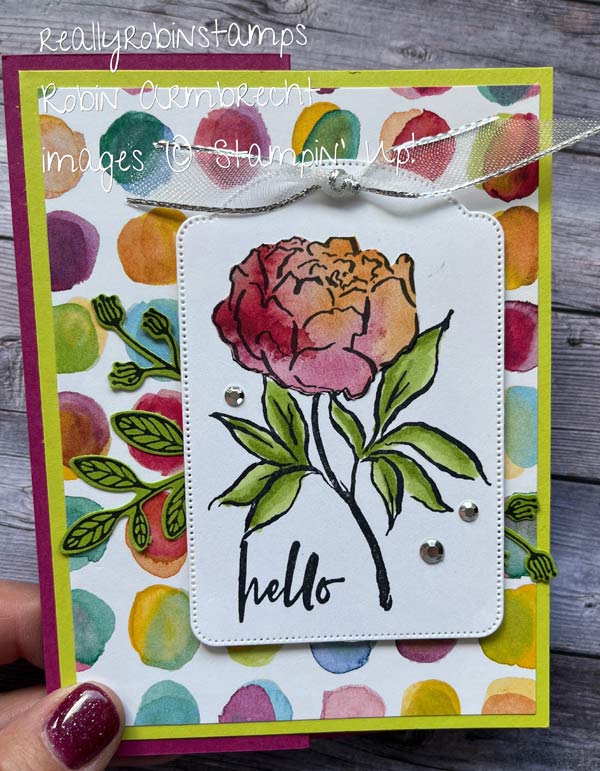
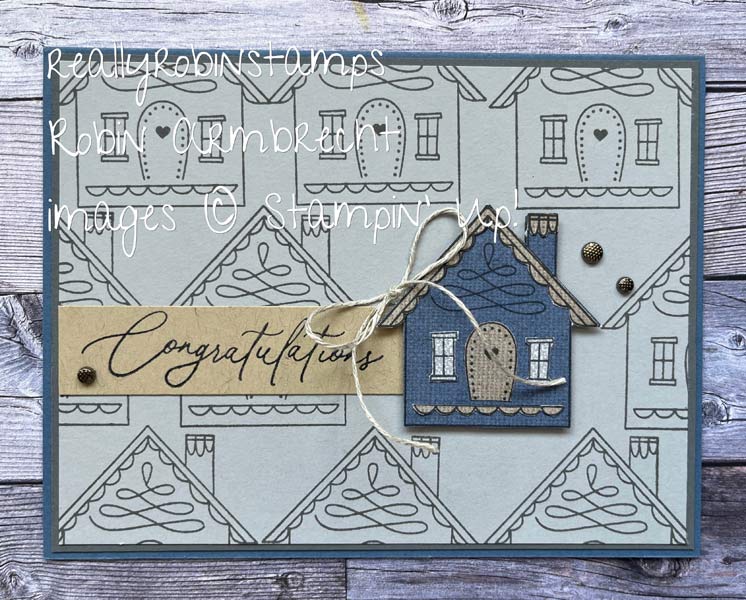
The best paper patterns to use for paper piecing have small, simple designs because usually the images you choose have small parts. Large designs will not translate as well into small images. Examine the “B” sides of your Designer Series Papers – these are often subtle patterns that are perfect for this technique. The best stamp images to use are line-art style images (the kind you would usually stamp in black ink and color with markers, watercolors, or pencils). It is easier to cut and layer the pattern paper when the image’s outline is simple and defined, but with careful cutting you can make many images work.
Here’s Your Homework 😉
- Watch the video tutorial and download the pdf to use while crafting. (yes, yes, I know you know this!)
- Do a deep dive into your stamp sets and look for images with the line-art style.
- Look at your Designer Series Paper packs and find patterns that would create great textures & designs for images.
- Grab your best pair of scissors for fussy-cutting.
- Relax and have so much fun!
Paper Piecing Directions
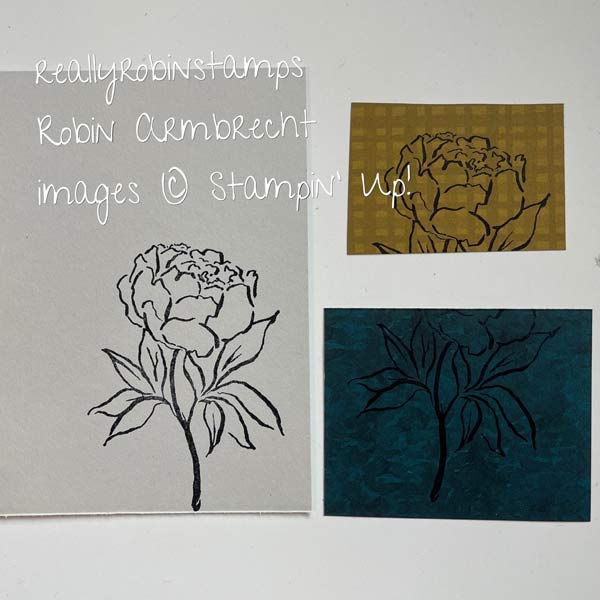
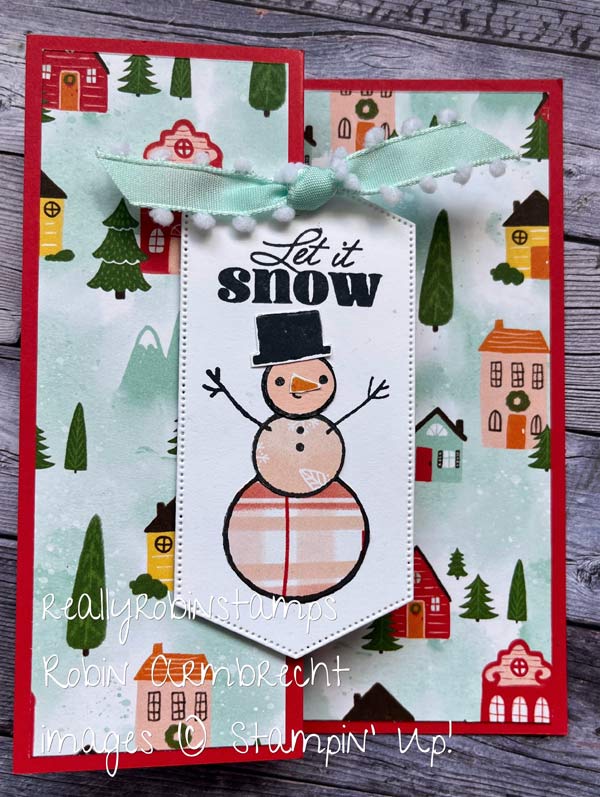
- Ink the image in black ink and stamp on the pattern paper.
- Cut out the image or part of the image you want “colored” in the pattern paper. It is important to cut as close to the black line on the image as possible without leaving a border.
- Repeat stamping and cutting out other parts of the image with different pattern papers.
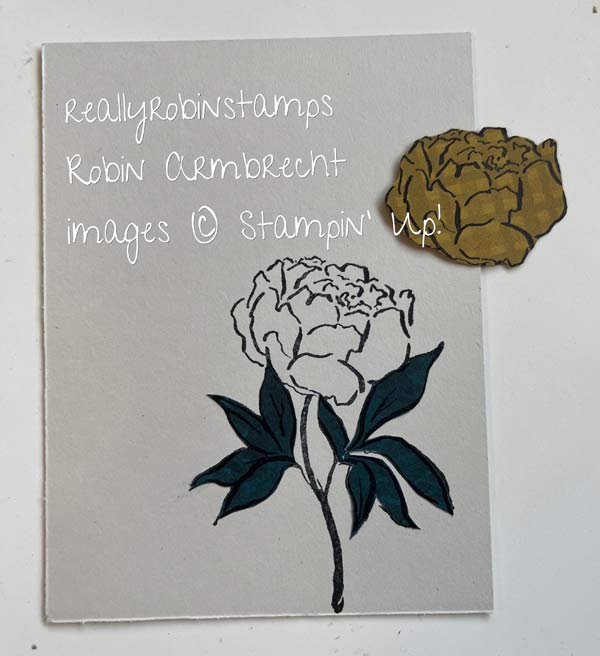
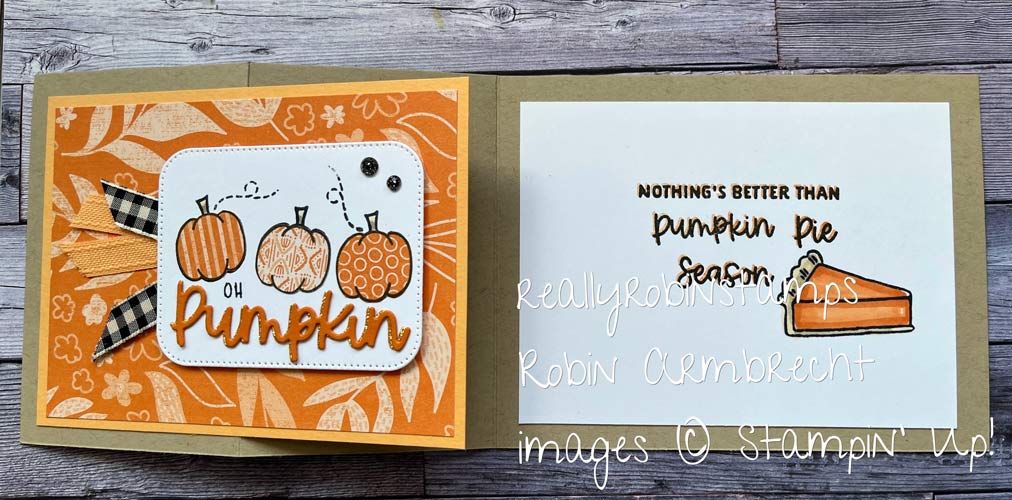
- (Optional) Stamp the image in black ink on the card front.
- Glue the cut out pieces on to the stamped images on the card front, filling in the image with the pattern paper cut-outs.
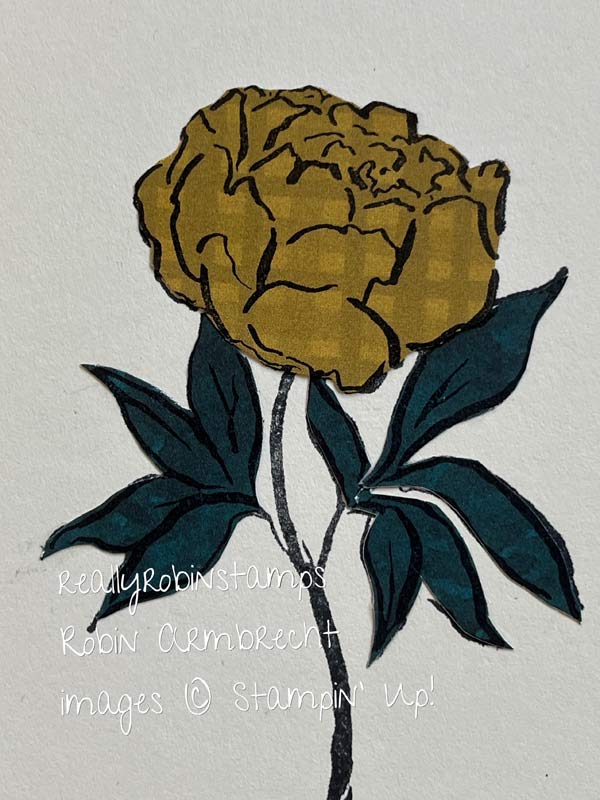

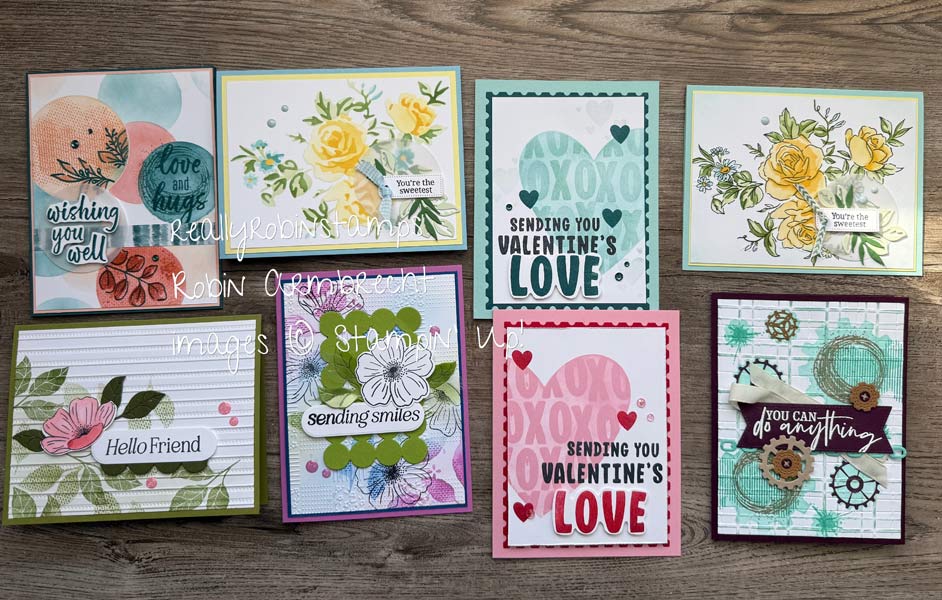
Now it’s your turn to try this technique! I challenge you to search your stash for line-art images and pattern papers that will work best for paper piecing. I’d love to see what you create! – Robin

")
")
")
")
")
")
")
")
")
")
")
 Designer Series Paper")
 Designer Series Paper")
 Designer Series Paper")
 Designer Series Paper")
 Designer Series Paper")
 Designer Series Paper")
 Designer Series Paper")
 Designer Series Paper")

What is the directions for the pumpkin card
Marie, if you watch the video you will hear and see how the pumpkin card is put together.
i love that you leave your mistakes in the video and teach how to fix them…..I always learn a lot, ThANKS
Hi Anne! You will always get “real” stamping from me! Lol! Thank you for your sweet message!
All I can say is WOW! I love the Christmas birdhouse and everything else. You are such an inspiration. Thank you.
Thank you so much, Jana! I really appreciate your kind message.
Another great playdate with so many fun ideas. Thank you so much, Mary Edwards, Duncanville, TX
Hi Mary! I’m so happy you enjoyed this technique!
I love this technique idea. thanks for your creativity!
Thank you, Heidi! I hope you try this technique either for the first time or once again!