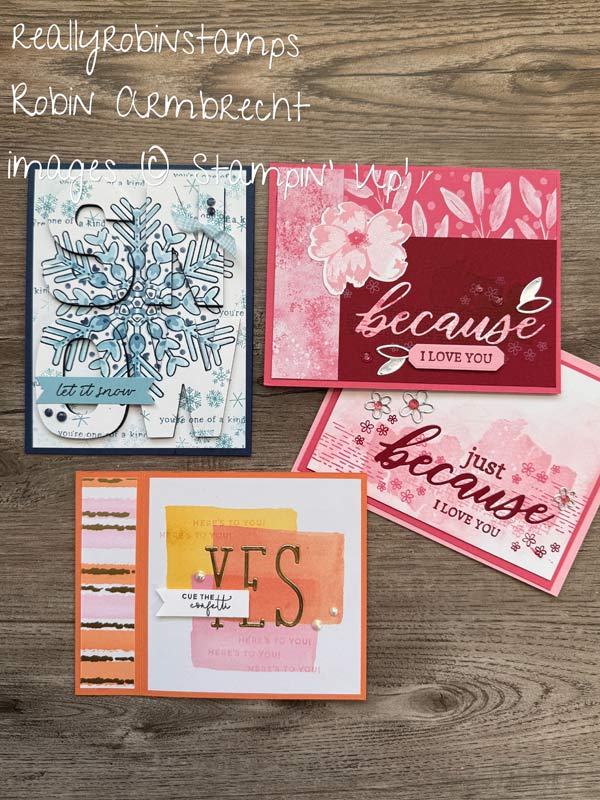
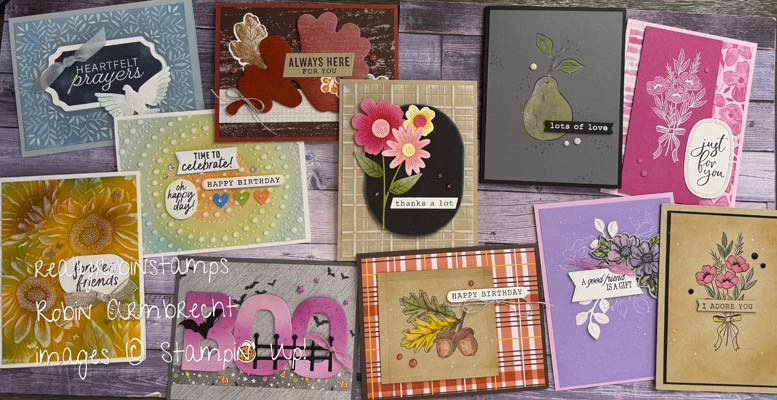
If you are like me, you have lots of paper scraps, many of which are strips of different sizes. Whether it is trimming edges to matte layers of cardstock, or cutting down pieces to fit a certain project size, we are left with scraps that are “too good” to throw away. Let’s be honest too, the scraps can pile up! Today’s projects are Part 2 of ideas to use with paper scraps that are strips. If you haven’t looked at Playing With Paper Strip Scraps Part 1 yet start there! Then dive into some new projects: Herringbone, Chevron, & Brick patterns and the Bargello Technique.

Here’s Your Homework 😉
- Watch the video tutorial for Playing With Paper Strip Scraps – Part 2
- Download the pdf to use as a reference when you create.
- Search your stash for paper strips and get started!
Supplies & Directions for Herringbone, Chevron, & Brick Patterns
- 1” x 6” (or a bit longer or shorter) paper strips
- 1” x 6” Basic White (optional)
- 5-1/4” x 4” Basic White cardstock
- 5-1/2” x 8-1/2” cardstock card base
- On the 5-1/4” x 4” piece of Basic White, adhere one of the 1” x 6” strips of DSP diagonally across the center (or use a 1” x 6” Basic White strip instead). Adhere the second and third strips perpendicular to the first strip adhered first in step 1 and overlapping the corners. The ends of the strips should hang off the side of the cardstock quarter until all the strips are adhered.
- Continue adhering strips perpendicular to each other to fill in the remaining space on the cardstock quarter.
- Let the glue dry. Turn the cardstock quarter to the back and trim off the overhanging edges with scissors.
- Attach to the card base. Add a focal point.


Supplies & Directions for Bargello Technique
- 6” x 4” Basic White
- 6” x 4” Adhesive Sheet (optional)
- 1/2” x 4” paper strips (or longer)
- You need different colors and/or designs for a total of 12 strips
- 5-1/4” x 4” Basic White cardstock
- 5-1/2” x 8-1/2” cardstock for card base
- On the 6” x 4” piece of Basic White, arrange and adhere the strips of DSP from top to bottom making sure they are touching.
- Cut the 6” x 4” piece into 8 (½”x6”) strips.
- Adhere the strips onto the 5-1/4” x 4” piece of Basic White cardstock staggering the strips up and down so that the dsp or color designs create stair steps.
- Attach to the card base. Add a focal point.


What are you going to start on first? Are you thinking of some paper scraps you have stored that need some love? I hope you grab your nearest paper strip scraps and try one or all of these ideas! – Robin


![Painterly Pears 12" X 12" (30.5 X 30.5 Cm) Designer Series Paper [ 166146 ] Painterly Pears 12" X 12" (30.5 X 30.5 Cm) Designer Series Paper [ 166146 ]](https://assets1.tamsnetwork.com/images/EC042017NF/166146s.jpg)
![Painterly Pears Suite Collection (English) [ 166159 ] Painterly Pears Suite Collection (English) [ 166159 ]](https://assets1.tamsnetwork.com/images/EC042017NF/166159s.jpg)
![Perfectly Pears Bundle (English) [ 166154 ] Perfectly Pears Bundle (English) [ 166154 ]](https://assets1.tamsnetwork.com/images/EC042017NF/166154s.jpg)
![Mossy Meadow & Gold 1/4" (6.4 Mm) [ 166158 ] Mossy Meadow & Gold 1/4" (6.4 Mm) [ 166158 ]](https://assets1.tamsnetwork.com/images/EC042017NF/166158s.jpg)
![Low Profile Sparkle Dots [ 166157 ] Low Profile Sparkle Dots [ 166157 ]](https://assets1.tamsnetwork.com/images/EC042017NF/166157s.jpg)
![Lovely Garden 12" X 12" (30.5 X 30.5 Cm) Designer Series Paper [ 165524 ] Lovely Garden 12" X 12" (30.5 X 30.5 Cm) Designer Series Paper [ 165524 ]](https://assets1.tamsnetwork.com/images/EC042017NF/165524s.jpg)
![Celebratory Sips 12" X 12" (30.5 X 30.5 Cm) Designer Series Paper [ 165586 ] Celebratory Sips 12" X 12" (30.5 X 30.5 Cm) Designer Series Paper [ 165586 ]](https://assets1.tamsnetwork.com/images/EC042017NF/165586s.jpg)
![Need For Tweed 12" X 12" (30.5 X 30.5 Cm) Designer Series Paper [ 166144 ] Need For Tweed 12" X 12" (30.5 X 30.5 Cm) Designer Series Paper [ 166144 ]](https://assets1.tamsnetwork.com/images/EC042017NF/166144s.jpg)
![Stylish Shapes Dies [ 159183 ] Stylish Shapes Dies [ 159183 ]](https://assets1.tamsnetwork.com/images/EC042017NF/159183s.jpg)
![Stripes & Dots Cling Stamp Set [ 165334 ] Stripes & Dots Cling Stamp Set [ 165334 ]](https://assets1.tamsnetwork.com/images/EC042017NF/165334s.jpg)
![Jar Of Joy Photopolymer Stamp Set (English) [ 166176 ] Jar Of Joy Photopolymer Stamp Set (English) [ 166176 ]](https://assets1.tamsnetwork.com/images/EC042017NF/166176s.jpg)
![Sweet Jar Builder Punch [ 165506 ] Sweet Jar Builder Punch [ 165506 ]](https://assets1.tamsnetwork.com/images/EC042017NF/165506s.jpg)


