
My husband, Tim, inspired this week’s Papercrafting Playdate idea. We celebrated our 30th wedding anniversary last week and I was the recipient of one of his amazing handmade cards. As always, he impresses me with his creativity in putting together a sweet message for me. (Equally impressive is the fact that he can anything in my stamp room without my help!) Check out this post to see other amazing cards he has made me through the years.
He created a gatefold card without even knowing what he was doing; he just went with the flow of his idea – to make the number 3 and the number 0 fold together, meeting in the middle. After he gave it to me and I oohed and ahed over it, he said that he wanted the numbers to interlock but he couldn’t figure it out. Immediate inspiration for me!

Check out my Papercrafting Playdate Facebook live video to see a walkthrough of all the variations of gatefold cards.
So we are going to dive into making 3 kinds interlocking gatefold cards! But first, let’s review the basic gatefold card. Unlike traditional cards that open from one side, gatefold cards open in the middle, creating two doors like a gate. Many times, these cards are held closed by a belly band or by attaching a focal point piece on one side.
Basic Gatefold Card

Basic Gatefold – Skinny Door Version
• 5 1/2″ x 8 1/2” – card base, scored at 2 1/8” along long edge
- 4” x 5 1/4” – DSP, cut in half at 2” (or 1 7/8” x 5 1/4”, cut 2)
- 2 1/2” x 3 3/4” – cardstock, cut with a stitched die
- 4” x 5 1/4” – Basic White cardstock for inside
Basic Gatefold – Chuncky Door Version
• 4 1/4″ x 11” – card base (scored at 2 3/4” along long edge)
- 2 1/2″ x 4”, cut 2 – DSP (or 4” x 5 1/4” cut in half)
- 3” x 4” cardstock, cut with a stitched die and layered with Basic White
- 4” x 5 1/4” – Basic White cardstock for inside
Directions for both Versions
- Score card base along long edge at 2 1/8” (or 2 3/4” ) depending on which gatefold you are making – skinny or chunky . Fold on score line and crease well. Fold the other side in to meet the edge in the center. This creates both doors of the gatefold.
- Attach DSP to the doors.
- Create a focal point. Attach one half of this piece to one of the gatefold doors.
- Stamp inside greeting and attach the 4” x 5 1/4” Basic White on the inside of the card.
- Decorate and embellish as desired.
Let’s move on to our first interlocking gatefold card. I call this one a Flap Hinge interlocking gatefold card. What a mouthful! But it is really pretty easy to make.

Basic Interlocking Flap Hinge Gatefold Card
The basic card base of this this card is exactly the same as the basic gatefold. The difference is that you create flaps that attach on the opposite outside edges of the card. These flaps make a fun interactive addition to the gatefold doors. It is very easy to make this card with either size card base to get two different looks to the design. The hinge flap size can be adjusted to whatever looks good to you for the stamping/embellishing that you want to do.


Interlocking Buckle Gatefold Card
Next we have the Interlocking Buckle Gatefold card. This card design is super duper fun because the buckle mechanism is just addictively wonderful to play with and it is really simple to make!


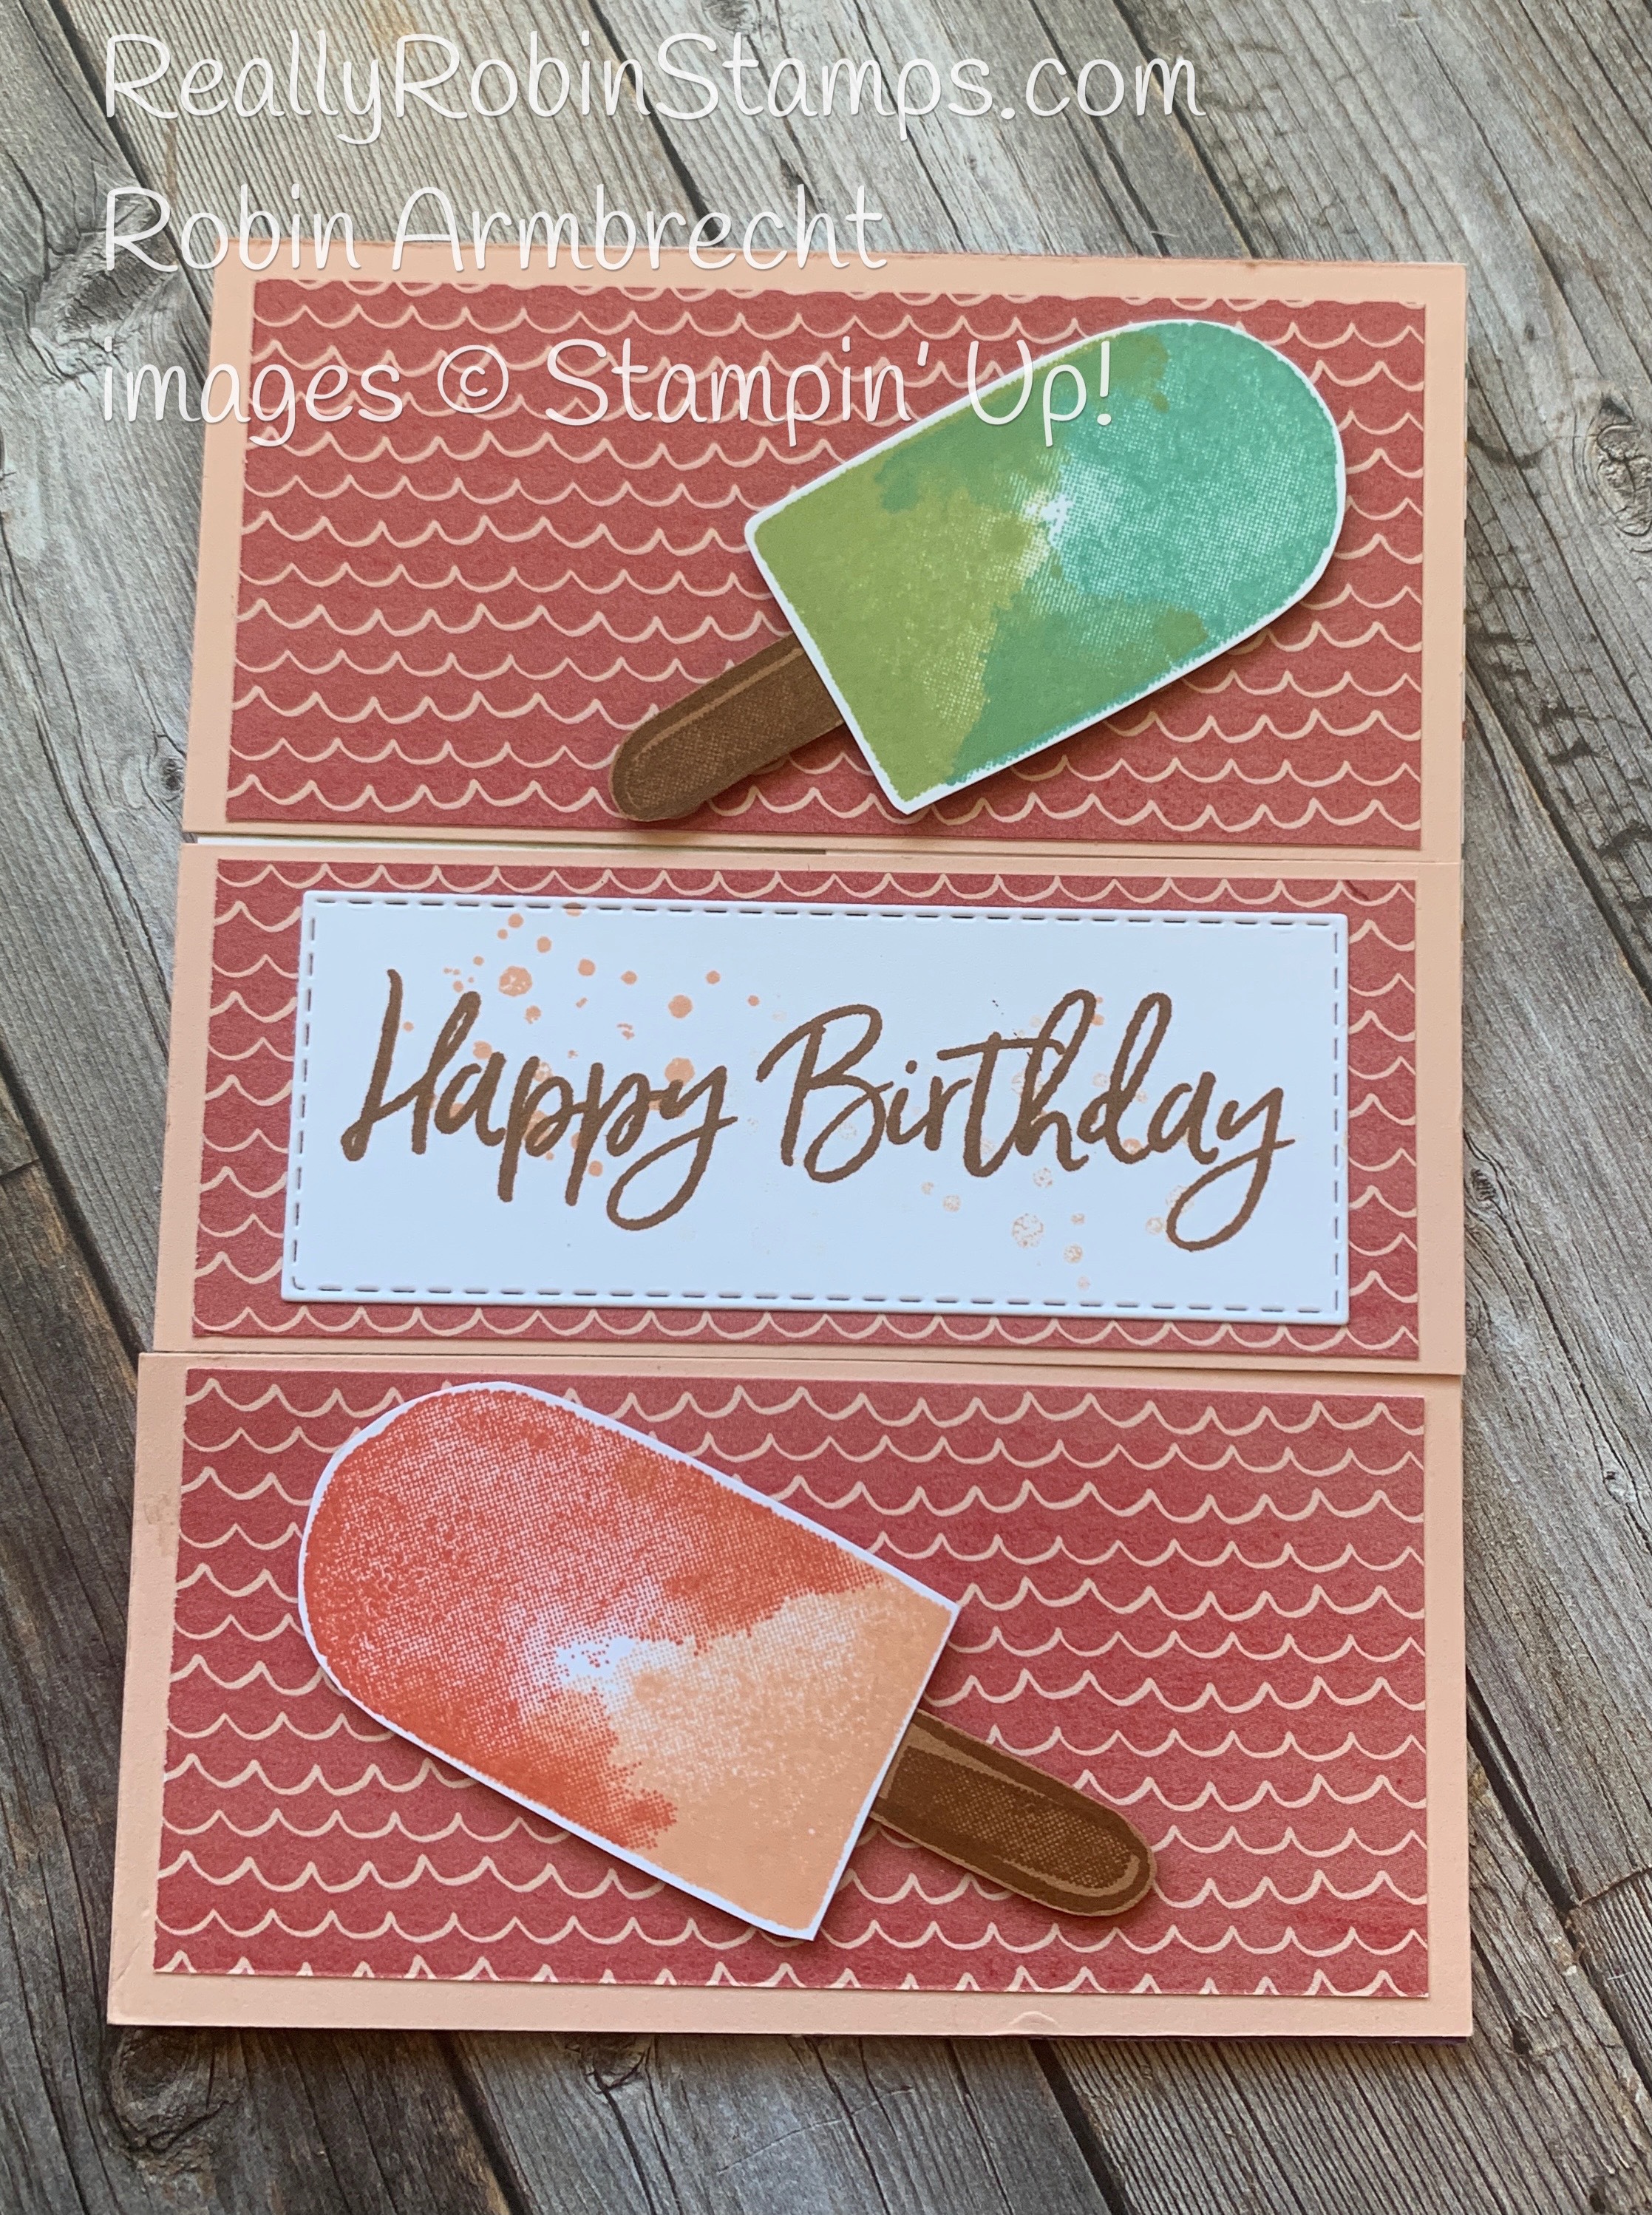
Interlocking Triple Flap Gatefold Card
Lastly, I bring you the amazing Interlocking Triple Flap Gatefold card. This is the one you NEED to make right now! Grab your supplies and get busy. You will love how this card opens and closes. Trust me!


Today’s journey through gatefold cards has been delightful. If you have stuck with me this far thank you so much! I appreciate you wanting to learn new ways to manipulate cardstock – just like me!
Leave me a comment about which version of the gatefold card is your favorite – I’d love to hear from you! Happy stamping!
Product List

|

|
||||

|
|||||

|

|

|
|||

|
 Designer Series Paper")
")


 Designer Series Paper")
 Host Designer Series Paper")
")
")


Way to go Tim!
He is pretty awesome!
Love the card and instructions I can understand. Nice card by your husband. Hope he is still making cards.
Hi Gail! I’m happy you like the gatefold projects! Yes, my husband still makes me cards and I’m honored.