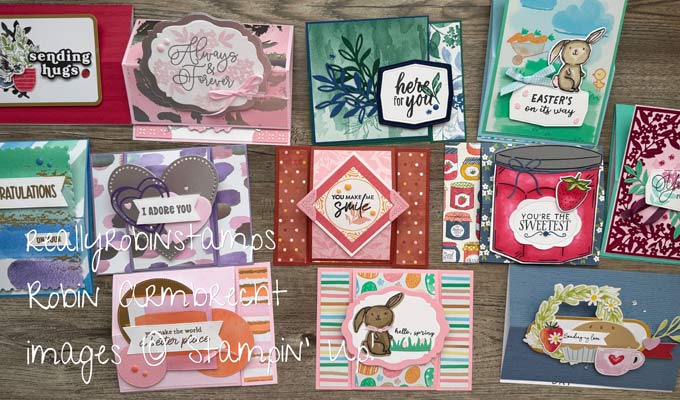
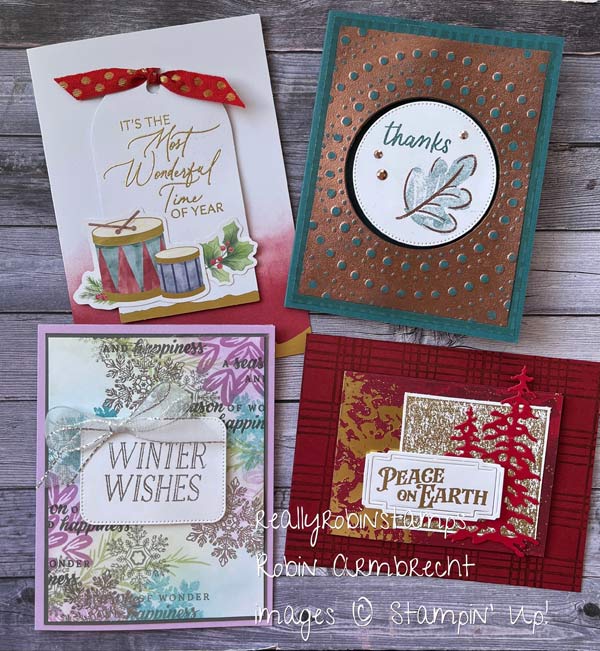
One of the joys of stamping is that there is a seemingly endless supply of techniques, templates, and fun folds to do on repeat. The technique of heat embossing using embossing powders is a technique that thrills over and over again no matter how many times you do it, especially when you use shiny metallic powders! To get a real thrill you need only to emboss your favorite greeting in gold, silver or copper. Today’s projects are going to focus on ways to use metallic embossing powders in your cardmaking projects. I am going to show you how to use different metallic heat embossing techniques on your cards. All supplies used are listed below.
Here’s Your Homework 😉
- Watch the video tutorial for metallic embossing powder techniques.
- Download the pdf to help you while trying the techniques.
- Grab your heat tool, embossing powders, and favorite stamp images to create some heat embossing magic!
Three Other Ways to Use Metallic Embossing
- Acrylic Block stamping.
- Metallic Embossing Folder Backgrounds
- Metallic Collage Elements
Acrylic Block Technique
To create a metallic distressed shape, ink a clear acrylic block (usually used for attaching images to for stamping) in Versamark ink. Stamp the inked block onto a piece of cardstock. Add powder, tap the excess off, and heat. Use this shape as a backdrop for any kind of focal point.
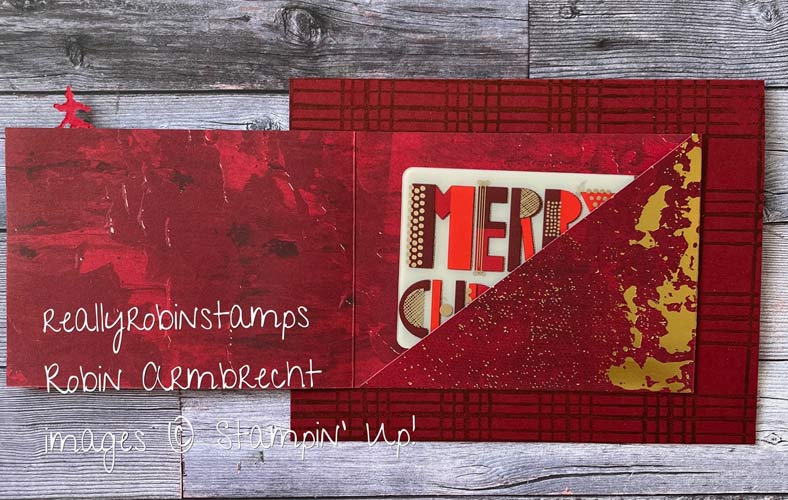
Gift Card Holder Fold
3” x 12” DSP
– Score at 4” and 8” creating three panels.
– Fold panels toward each other.
– Cut diagonally on the right panel and attach along the bottom to create pocket.
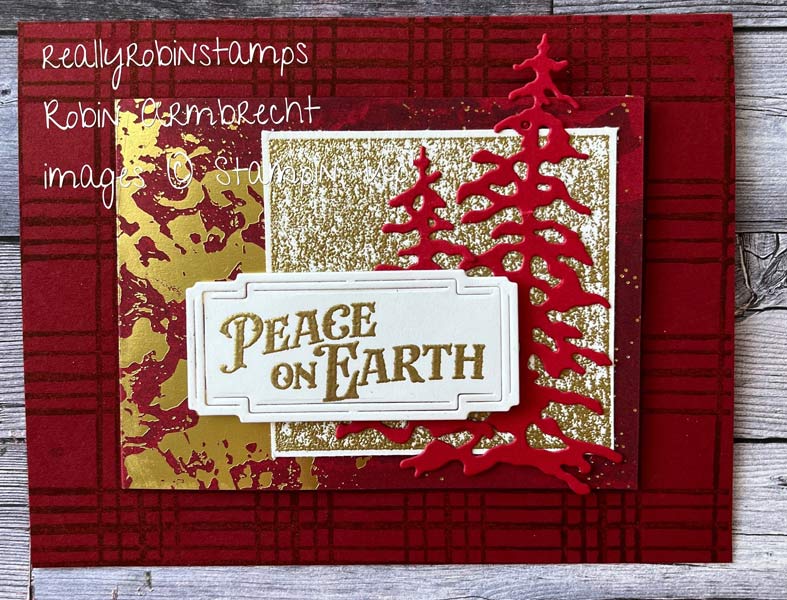
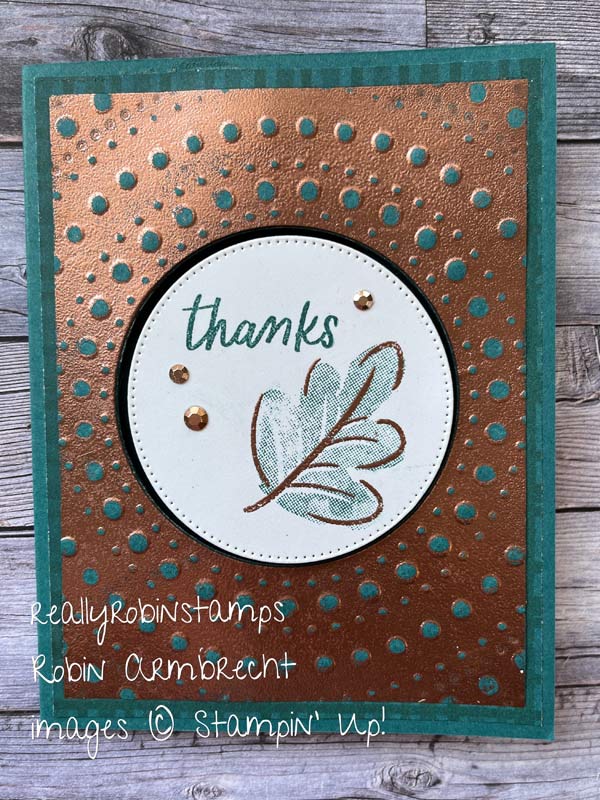
Embossing Folder Technique
To create an entire background of metallic sheen that also has dimension, use an embossing folder. (This works best with embossing folder designs that are simple.) Ink up the top side of the embossing folder with Versamark Ink (this is the side with the Stampin’ Up! logo). Lay the cardstock over the inked side and closed the folder. Emboss the cardstock by running the folder through the Cut & Emboss Machine. The background of the embossing folder will be inked, and the raised portions will not. Pour embossing powder over the entire piece of cardstock and heat.
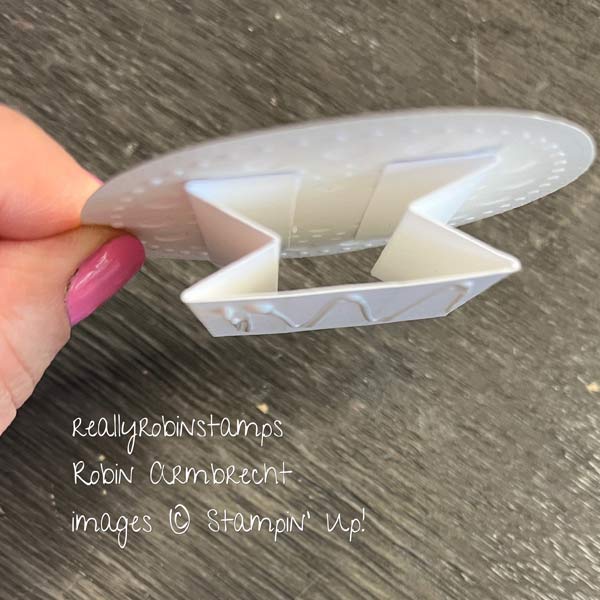
Pop-Up Device
1-1/2” x 4-1/2” scored at ½”, 1”, 1-1/2” from each side. Accordion fold the sides and attach to project.
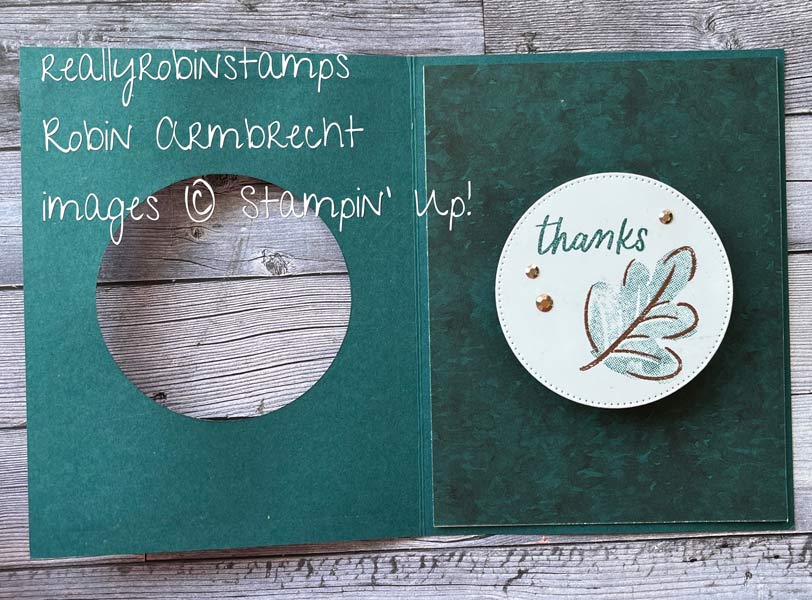
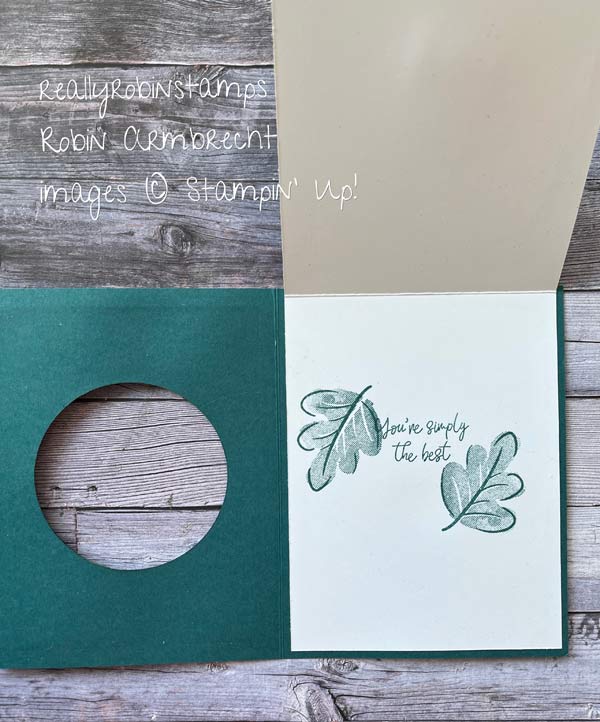
Card Within a Card Fold
- 5-1/2” x 8-1/2’ card base
- 4” x 10-1/2” inside card base
– Score each card base in half.
– Cut a window in the outside card base.
– Attach the inside card base
– Close both card bases and attach the pop out focal point inside the window using pop-up device.
Metallic Collage Elements
Adding metallic embossed images to a stamped collage or background creates a huge WOW and is so easy. Create the collaged background first and let those inks dry completely. Rub the Embossing Buddy over the background. Ink and stamp the images that you want to be metallic in Versamark ink. Add powder, tap the excess off, and heat.

I encourage you to get out your embossing powders to revisit some metallic heat embossing magic, or put it on your to-do list of stamping techniques you would like to learn! Happy creating, Robin

Product List
")
|

|

|

|

|

|
||||

|

|
|||

|

|
|||
")
")


 Specialty Designer Series Paper")
 Foil Sheets")
 Specialty Paper")
 Specialty Designer Series Paper")
")


")

 Sheer Ribbon")
 Glittered Ribbon")
 Trim Combo Pack")