
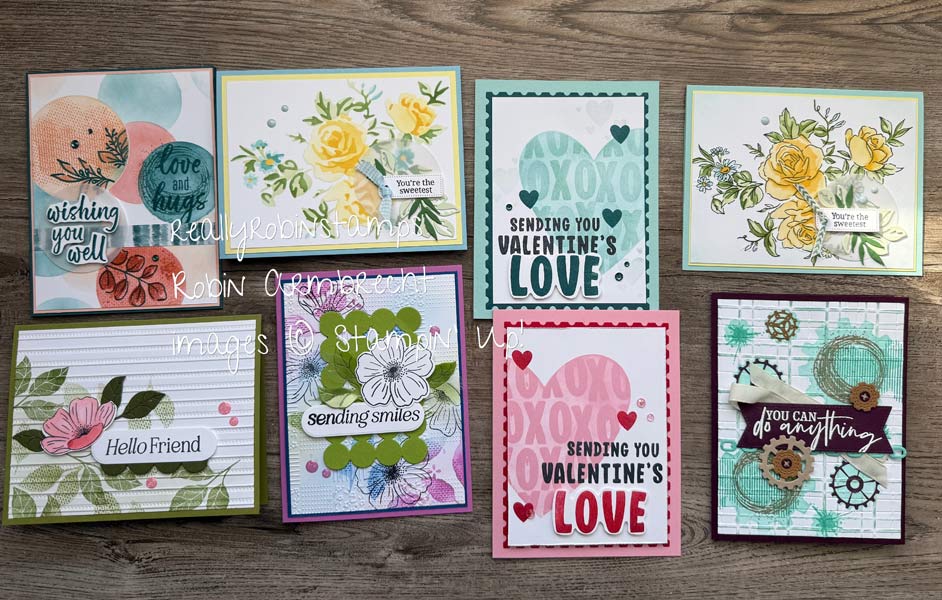
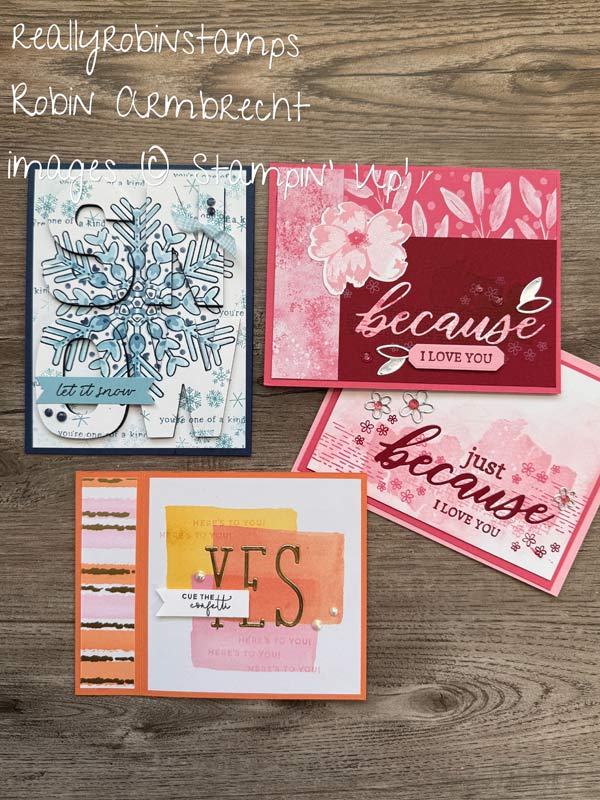
A long time ago in a galaxy far, far, away was my very first Papercrafting Playdate episode! One of the cards I demonstrated on that first video was using the Rip & Flip Technique (Watch Papercrafting Playdate #1). We are going to bring back the Rip & Flip technique with all kinds of versions to try. The Rip & Flip technique is great because it showcases both sides of the Designer Series Paper and a beautiful torn edge at the same time. Plus it’s fast and easy! Today I am going to show you four versions of the Rip & Flip technique plus a bonus card idea.

All of these versions of the Rip & Flip Technique (plus the bonus card idea) have one thing in common: Designer Series Paper measuring 3″ x 4″. I think you will surprised at all the possibilites this size piece of DSP can offer!
Here’s Your Homework 😉
- Watch the video tutorial, Papercrafting Playdate 149 to see the Rip & Flip technique in action.
- Download the pdf to use as a reference while you leearn this technique.
- Cut up some delicious Designer Series Paper into 3″ x 4″ pieces and start creating!
Rip & Flip Version #1

Rip & Flip Version #2

Rip & Flip Version #3

Rip & Flip Version #4

Center Seam Fold

Now it’s your turn to create some Rip & Flip card fronts with your beautiful pattern paper (I can hear your paper calling you!😂) and practice your tearing!


Awesome! I especially love V4!
I am a brand new card maker. I have never made any cards before. I watched your YouTube video on day and the way you demonstrated the technique I can’t wait to start. I know of Sizzix but I don’t have any products.
Robin, I’m learning all sorts of cool things from your videos. Anxious to try the Rip n Flip.