
One of the things I love about rubber stamping is the sheer amount of different techniques to try using paper and inks. And when you are easily pleased by simple art, these techniques seem magical. Stampin’ Up!’s White Craft Ink Pad is one of the items in my collection of inks that has multiple uses for many different techniques. Today’s tutorial is going to introduce you (or reintroduce you ) to the magic of using White Craft Ink in cardmaking. This is the first part in a series on techniques to try with White Craft Ink, and will cover five different ways to use White Craft Ink.
About the Product
White craft ink is rich, permanent pigment ink that is great for embossing or for creating an opaque look on dark cardstock. You can also use it on wood, fabric, and other materials too. The White Craft Stampin’ Pad comes uninked with a White Craft Ink Refill you can use to ink the pad before use. Pigment ink works differently than dye-based ink in how it carries the color. Instead of soaking into the cardstock to dry it remains on the surface of the cardstock. The ink will take time to air dry or it can be heat-set with the Heat Tool.
It’s time to learn about and practice the techniques. First watch the video tutorial to see all the techniques step by step. Then download the pdf to use as a guide while you try these techniques in your own cardmaking.
Supplies Used for the Five Techniques
- White Craft Ink Pad & Refill
- Sponge Dauber
- Heat Tool
- White Embossing Powder
- Classic Inks
- Dark Cardstock
- Embossing Folders
- Acrylic Block
- Water Painter
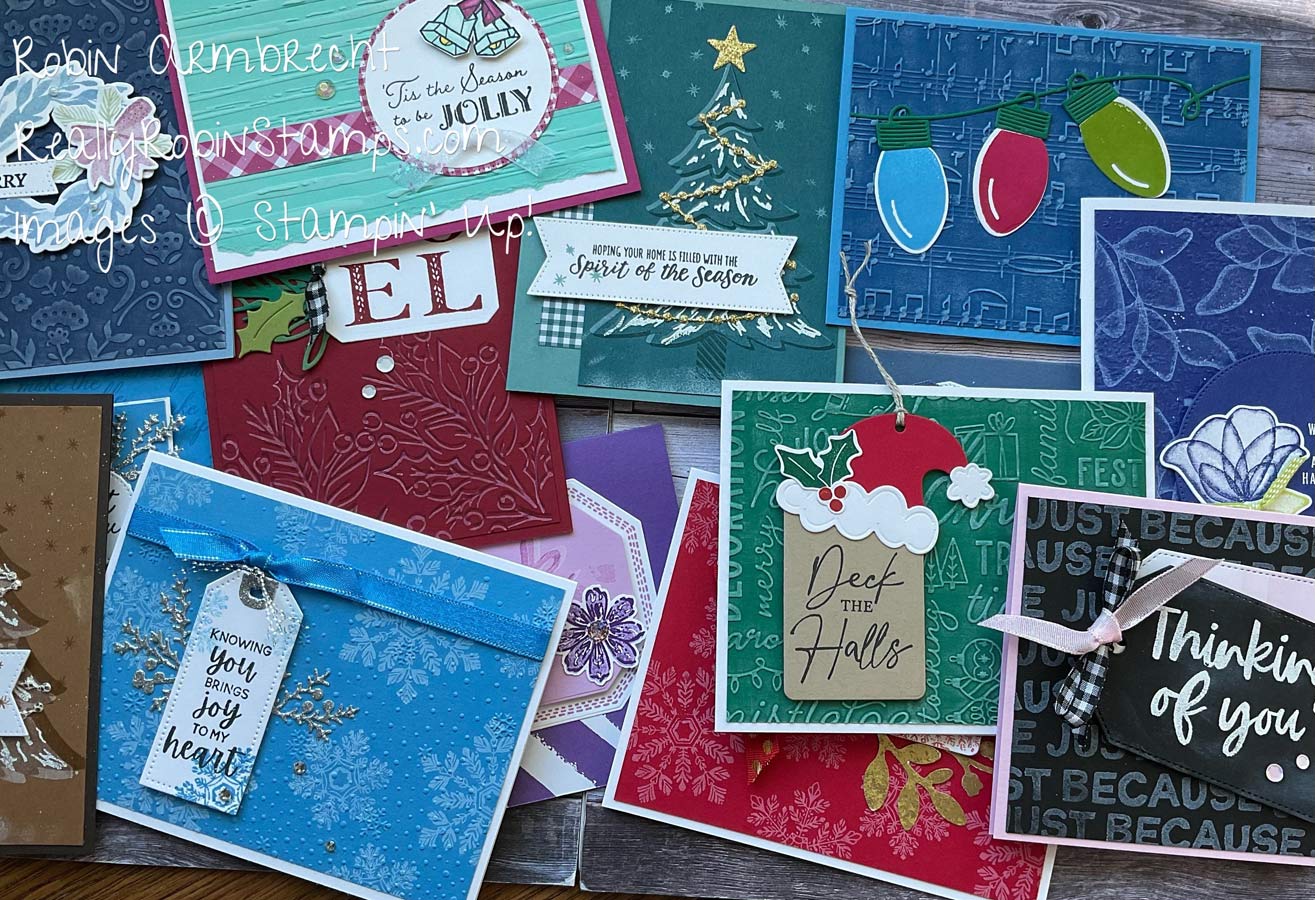
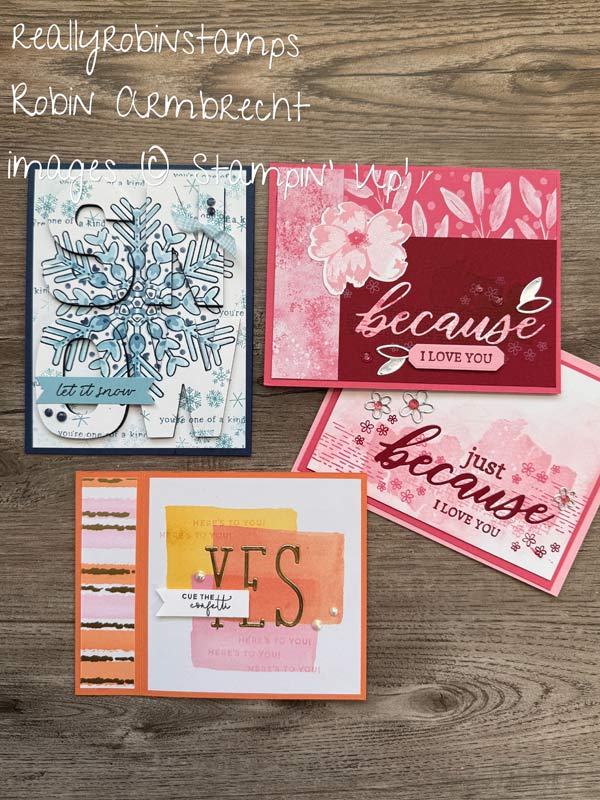
Technique #1 – Background Stamping
This technique is my favorite! Nothing looks prettier on a dark color of cardstock than some white ink! Use any stamp image to create a repeated random pattern on a piece of dark cardstock and make a background. The White Craft ink will leave the image with an opaque feel and take on some of the color of the dark cardstock.


Technique #2 – Embossing Folder Direct to Paper
This easy technique will make the embossed image created by an embossing folder come to life, especially when using a darker cardstock color. It can be accomplished by using a Sponge Dauber tool to gently add color to the raised cardstock or by dragging the entire ink pad gently over the embossed image as in the Direct-to-Paper technique.


Technique #3 – White Heat Embossing
Use White Embossing Powder over an image stamped with White Craft Ink to make a bright, white, and shiny image. When heat embossing remember to use an Embossing Buddy first over the cardstock to remove any static or oil smudges from your fingers. Next, stamp an image in White Craft Ink. Then pour White Embossing Powder over the image and tap off the extra. Melt the embossing powder with the Heat Tool.


Technique #4 – Shadow Stamping
This two step technique creates a real “wow” effect. First stamp an image in White Craft Ink on dark cardstock. Then stamp again over the white ink in a dye ink the same color as the dark cardstock but move the image slightly to one side and up or down to create a shadow effect.


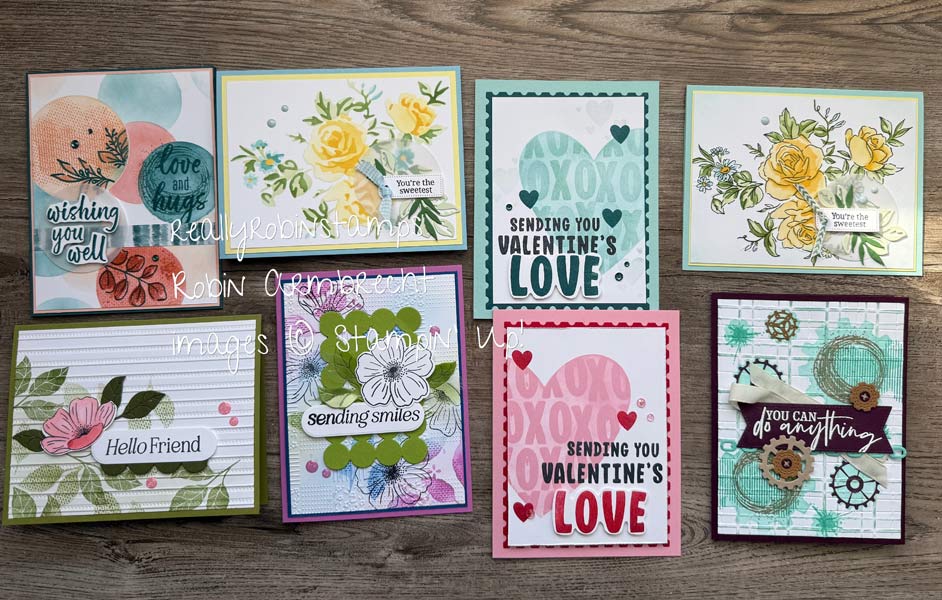
Technique #5 – White Ink Splattering
Ok, this actually might be my favorite technique with White Craft Ink. AND you can combine it with all the other techniques as well because it is so simple. Put a small amount of White Craft Ink on a plastic surface to use as a palette. Use a water painter brush to add water to the ink until the consistency is like half & half. Pick up this liquid with the brush tip and hold the brush tip up over your cardstock. Gently tap on the brush with a finger from your other hand to splatter the ink over your project moving your hand around to the areas where you want the splatter. The splatters will get smaller the farther you are from the paper. If you want to see really fine splatter then use an old toothbrush instead of a paint brush.

I hope you are ready to get out your White Craft Ink Pad and put it to work with one or all of these fun techniques. Come share your card creations with us on our Facebook Group – Robin’s Really Super Stampers. Enjoy and happy creating!

Product List
")
|

|
||

|

|

|
|

|
")
|
||
")
|
|||


")
")
")
")
")

I watch you every time you share ,
Enjoying every moment,
Today Tuesday just got home from my scrapbooking club.
I have that whit ink can’t wait to see what you have in line for us,
Many thanks to you
Diane Duguay (Sept-Iles,Québec Canada)
I hope you have taken out your White craft pad and put it right to work for you!