If you have been following me for a while you may have figured out that I get really excited when I teach a technique that involves only stamps, ink, and cardstock. To me, this is the essence of stamped art. Today’s technique is one of the most basic and yet impressive techniques called masking. This simple technique packs a huge punch, and can be used over and over again in so many different ways.
What is masking? It is the technique that is necessary for layering images and creating depth by allowing one image to show off behind another image. One of the definitions of the word masking is: something that serves to conceal or shield something from view. We use the masking technique to create depth in our stamped art. We conceal one image behind another to bring reality to a stamped scene or grouping.
Let’s get started with our masking projects. We are going to start with simple masking, discuss the use of decorative masks, and then jump to the stepped-up technique of RETIFORM. For even more masking ideas, check out some past projects using the masking technique. Scroll all the way to the end of the post to see the supplies used in these masking projects.
Supplies for Masking & Retiform Techniques
- Classic ink pads
- Blending Brushes (large or small)
- Masking Paper or sticky notes
- Stamp images that are large enough to overlap, or create a scene
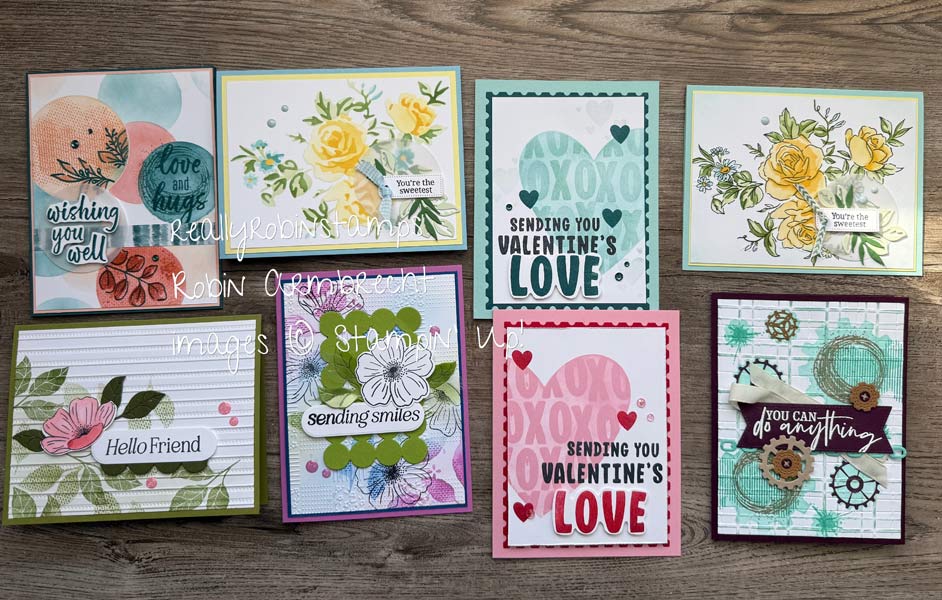
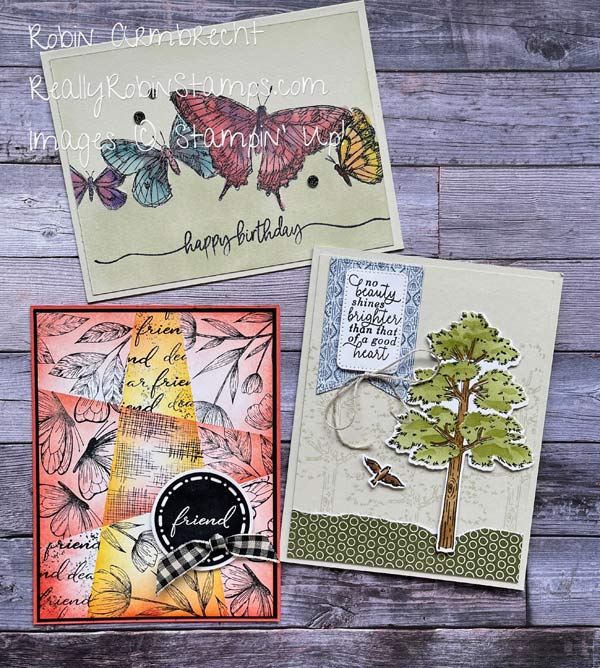
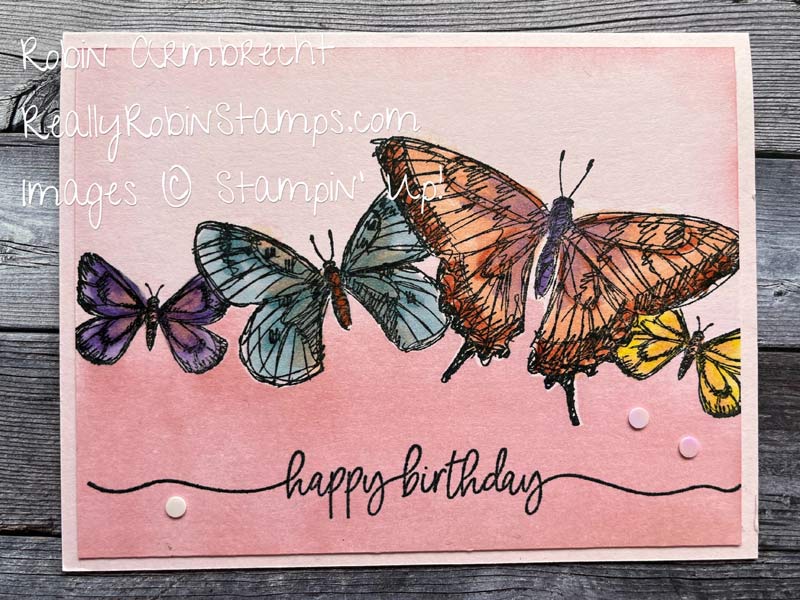
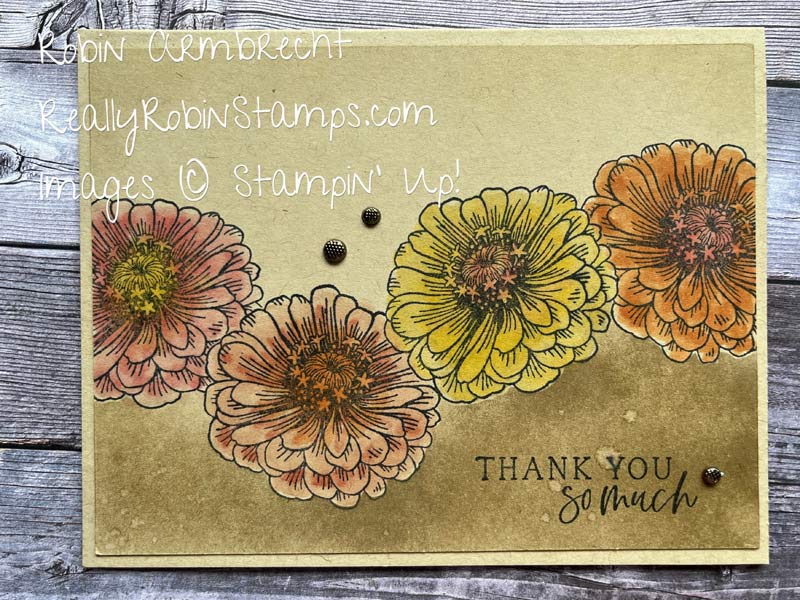
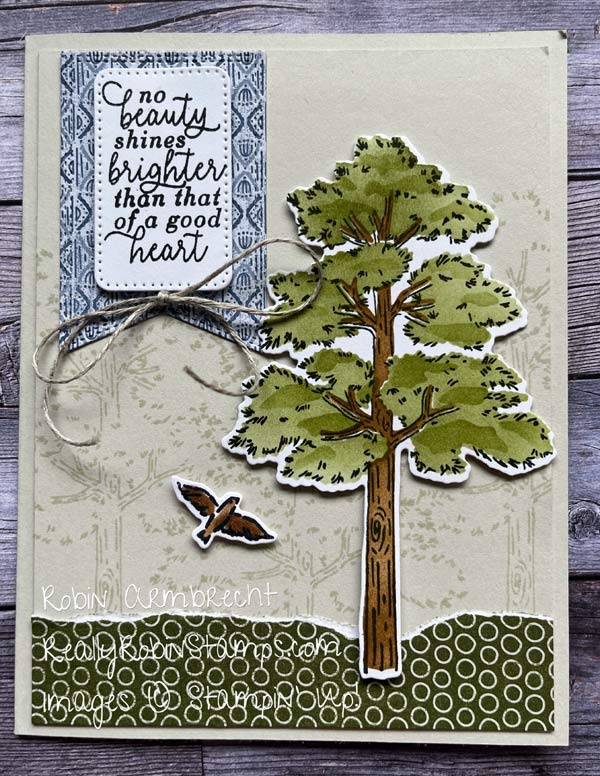
Basic Masking Technique
Choose the image you want to be in the front and stamp that first. Cover this image with a masking paper that is cut exactly the same size as the image. Stamp another image right next to and overlapping the first image. Where you overlap you will be stamping onto the masking paper. Remove the masking paper to reveal the layered images.

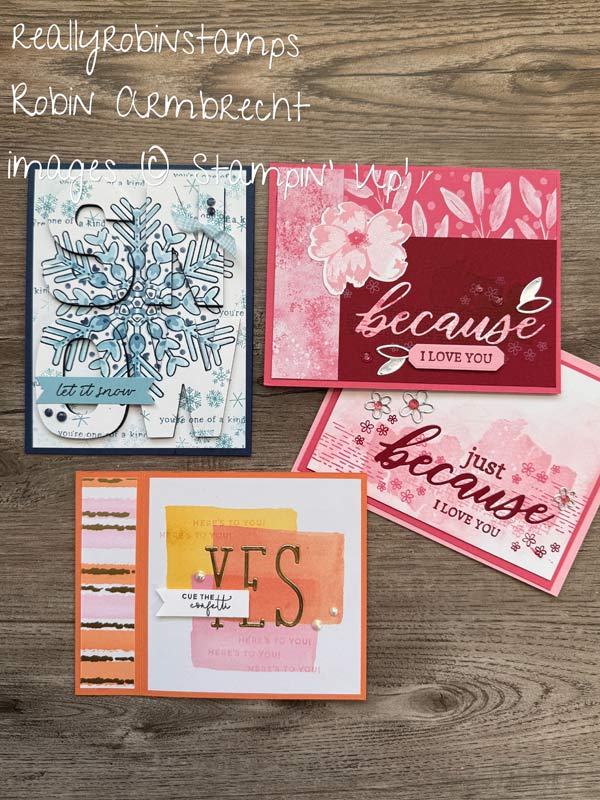
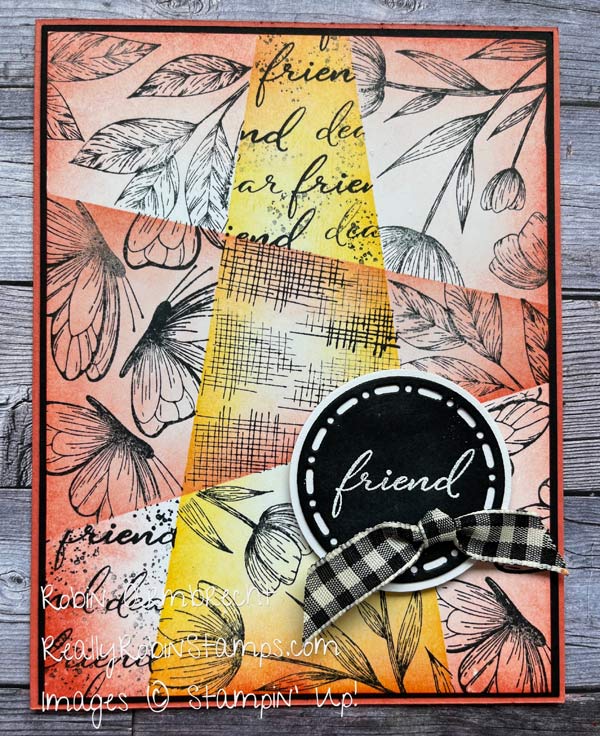
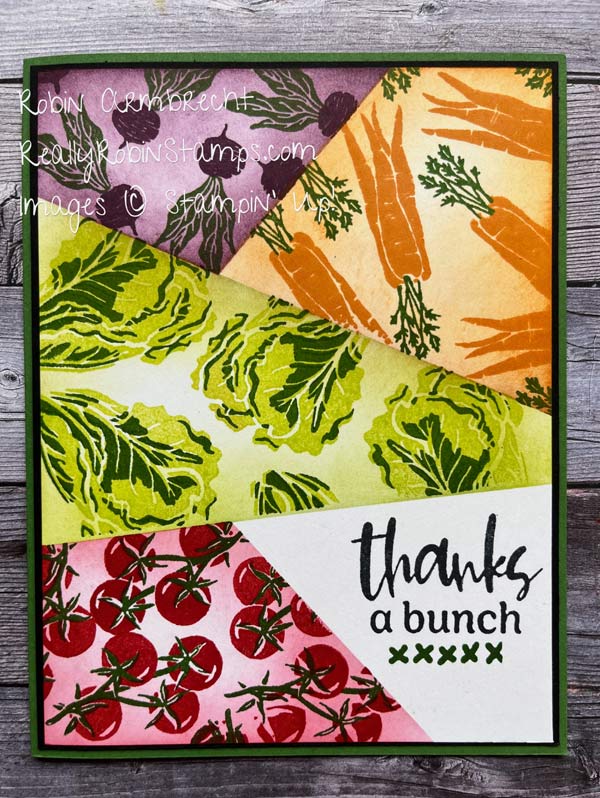
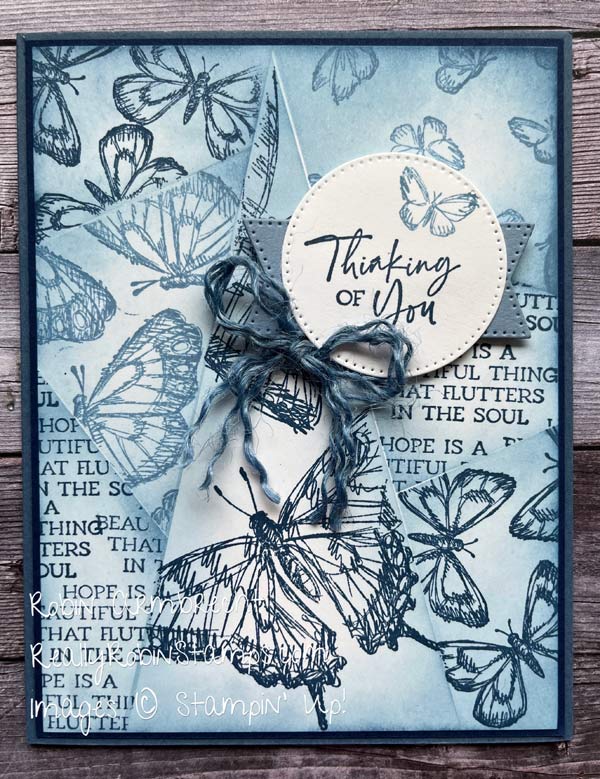
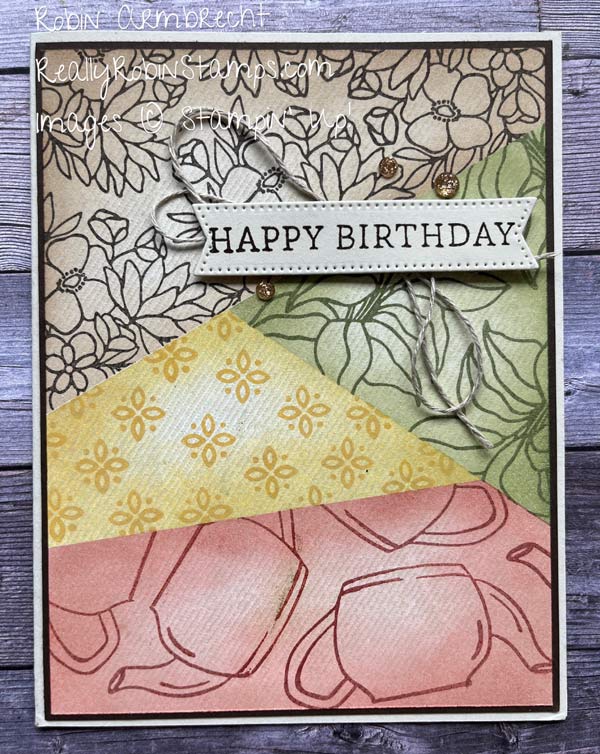
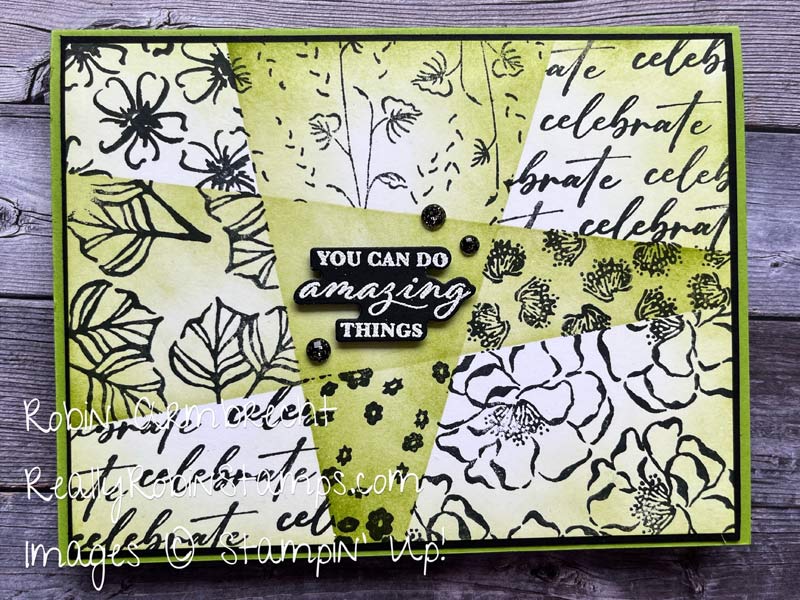
Retiform Technique
The retiform technique uses masking to create a collaged grid design. There is not just one way to create with this technique but many ways to vary the end result. Use long strips of masking paper or multiple sticky notes stuck together to make the long lines across the card front. Create the grid first by blending ink between the masking papers. Then remask each section individually and stamp a collage of images inside.
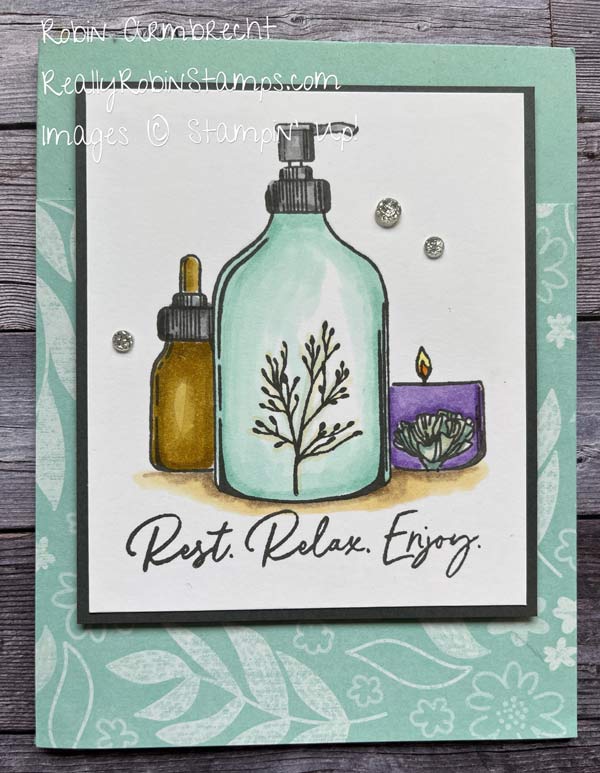
Decorative Masks
Stampin’ Up! has a few stamp sets that have coordinating decorative masks that help with coloring in stamped images. This is much like stenciling, and creates vibrant coloring using ink and a blending brush.
It’s your turn to play with ink and the magic of masking! Come share your creations in our creative community on Facebook: Robin’s Really Super Stampers.

Product List
")
|

|
||

|
")
|
")
|
")
|

|

|

|
")
")